
How to Make an Ironing Board Cover that Stays in Place
This post has been in the works for an embarrassingly long time because my ironing board has been desperately needing a new cover for way longer than I’m willing to admit. I don’t know why I waited so long because making a new one took me less than an hour (and that included taking all the photos for this tutorial!)
I would have just bought a new cover for my ironing board, but all the ones I’ve seen at the store are both ugly and cheap. They’re usually made with just one layer of batting and often they don’t stay in place. While the one I already had was too thin in my opinion, I did like its design, so I used the old one as a pattern to make a newer, better ironing board cover! Bonus, I used a fabric that looks nice in my sewing room.
This post may contain affiliate links, which means that while I am not paid to promote certain items, I will earn a small commission should you purchase items through these links. For more info, see my disclosure policy.
How to Recover Your Ironing Board
Materials:
A couple yards of cotton fabric
Elastic, probably about three yards. I harvested mine from my old ironing board cover. Elastic cord, or another narrow elastic will do. I’ve seen some covers with string instead, which you can just cinch up and tie off.
Cotton Batting, enough for two layers (craft size is fine) OR Insul-brite, a heat resistant batting-like product made for things like potholders and ironing board covers.
2 packages of double fold bias tape
To get started, I pulled all the elastic out of my old ironing board cover and put it aside. Then I smoothed my old cover out as much as possible so that I could use it as a pattern. I pinned it to my fabric and cut around it. You do not need to add seam allowance. If you don’t currently have a cover to trace, lay your ironing board itself down on your fabric as a template, adding three inches to all sides.
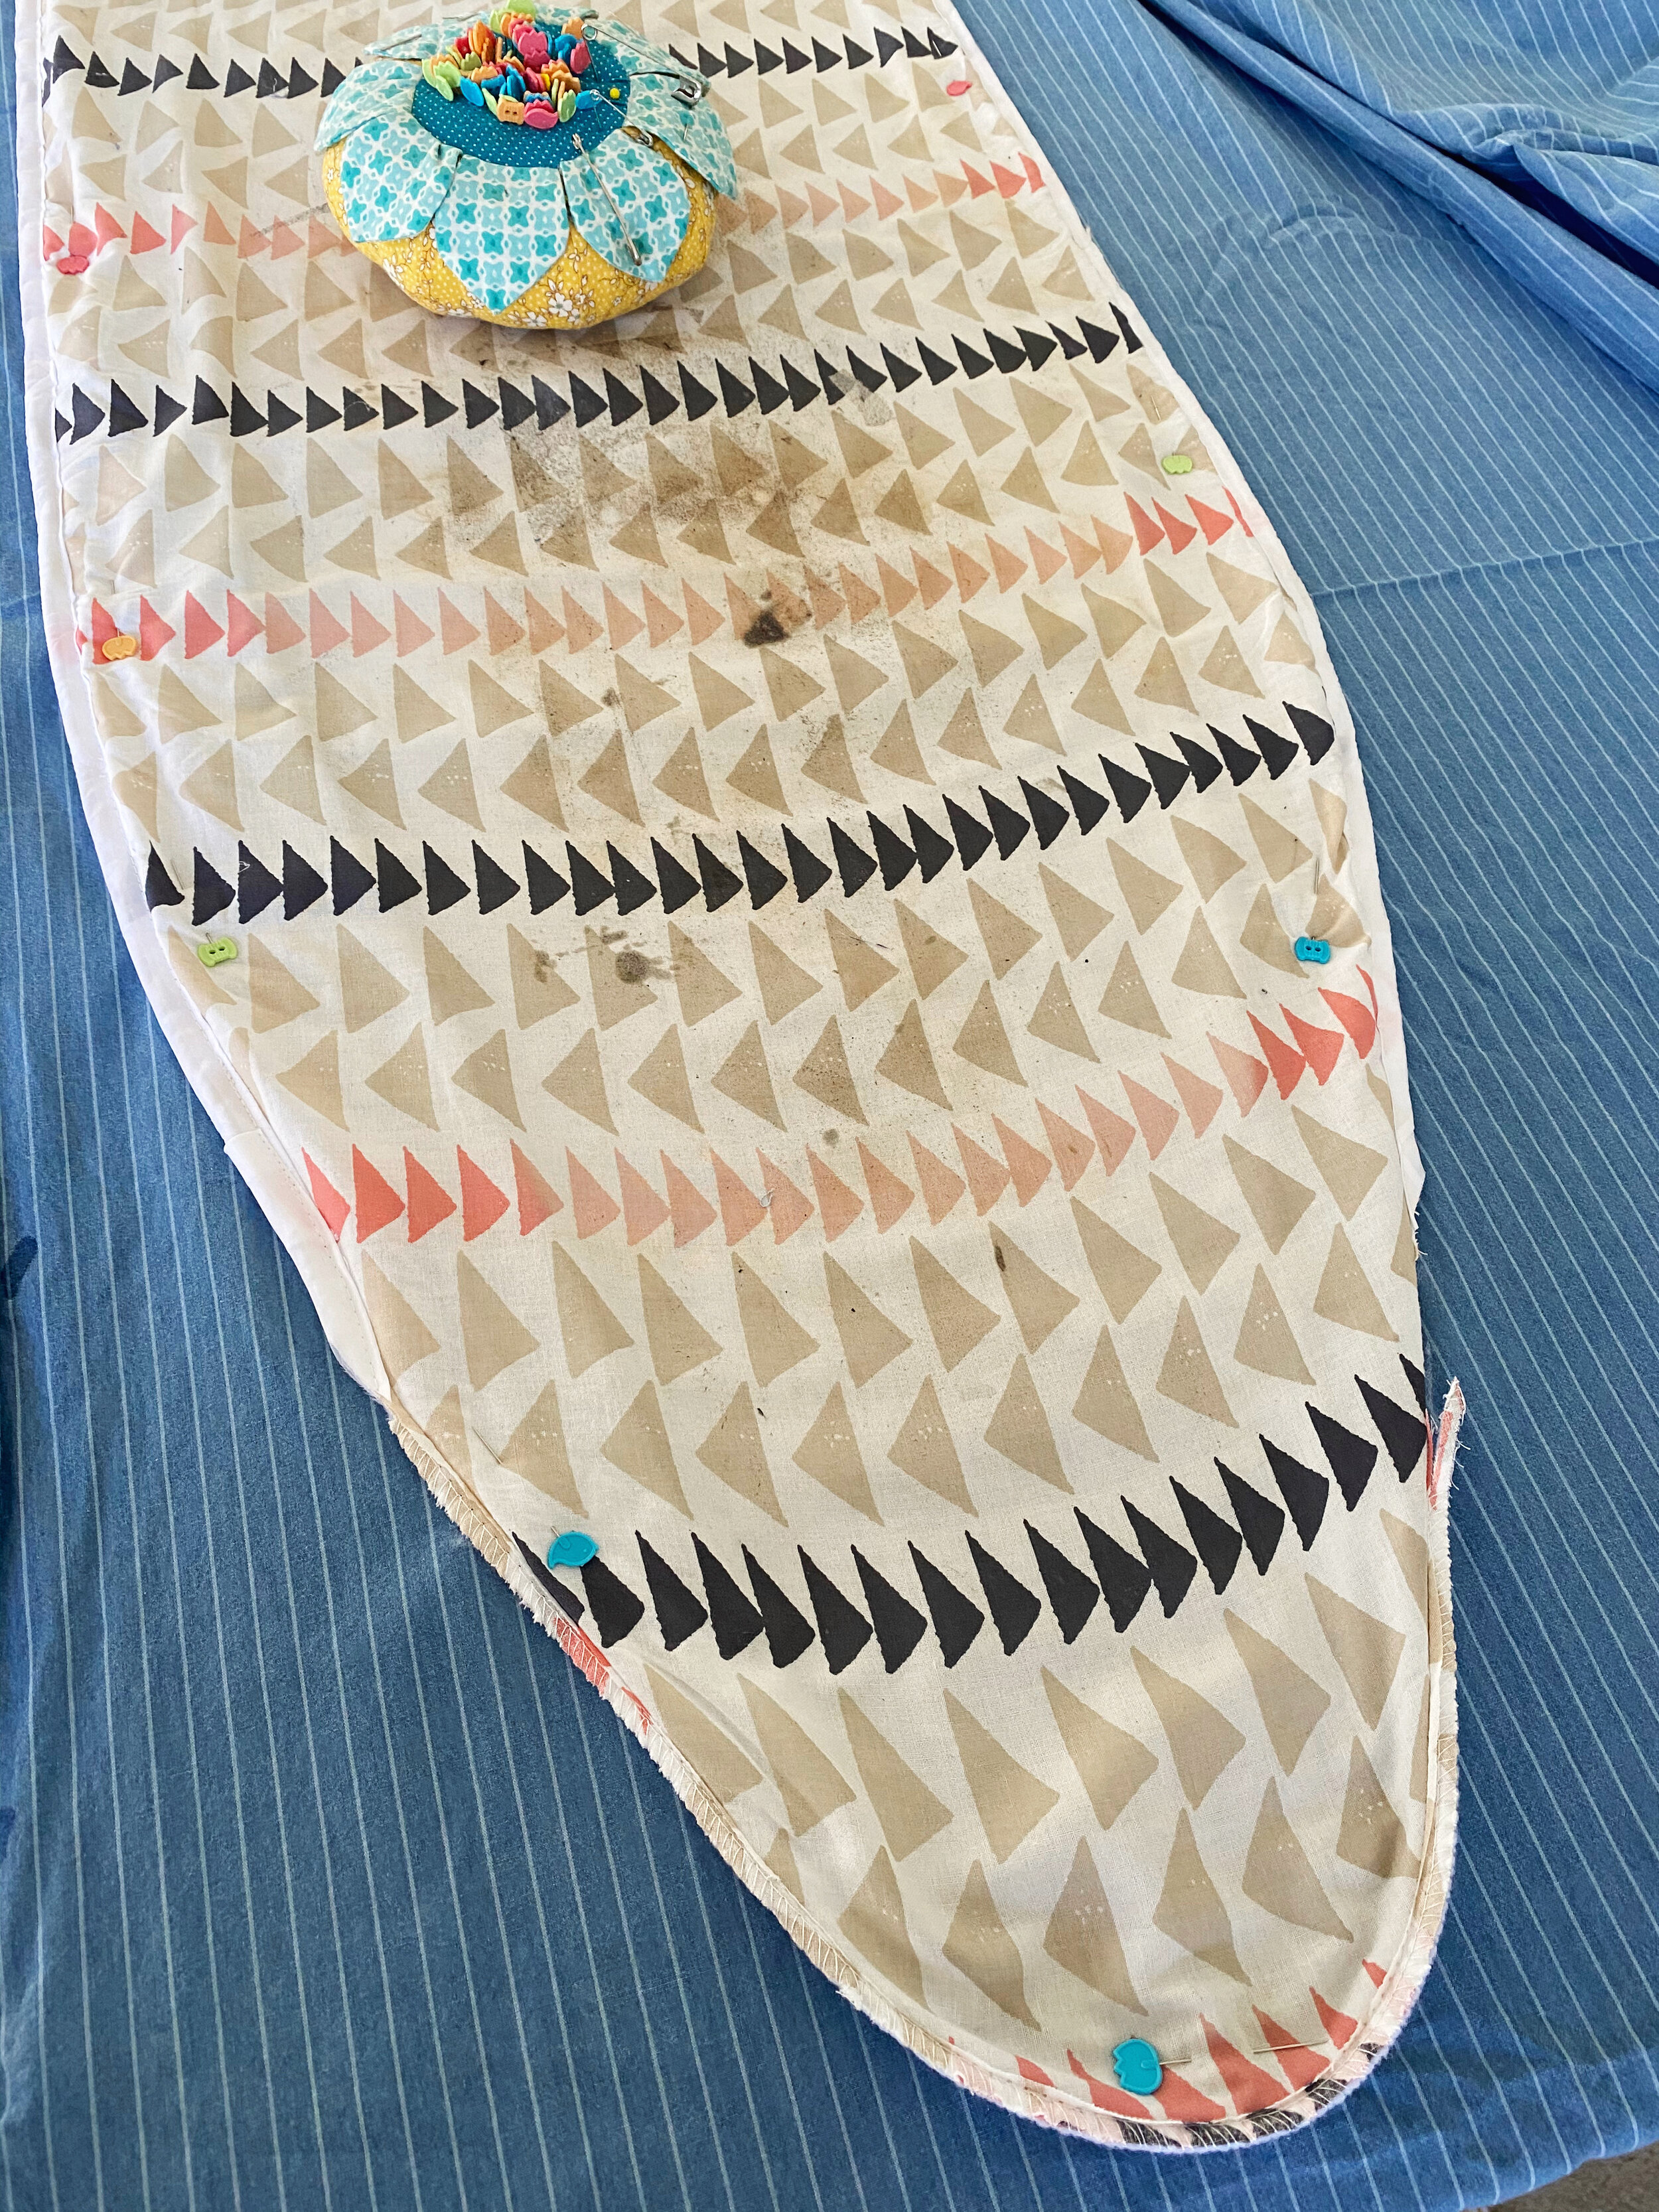
This is the part that I like about my old cover. It has a gusset of sorts on the pointy end that fits on over the end of the board. This gusset really helps my cover stay put, so I wanted to copy it. I cut that piece off and traced it, adding a seam allowance, but you can easily draft a similar piece by looking at the photo below as a guide. Trace the tip of the large cover piece you just cut and draft an arc at the bottom of it.

Next, cut out two pieces of cotton batting (just one layer is fine if you’re using Insul-brite) using your already cut out cover as a pattern. Place your gusset piece on top of the end, right sides together, and pin the whole thing together, all the way around. So now you have a sandwich with two pieces of batting on bottom, then your top piece, then your gusset on the end, right side down (my fabric didn’t have a right side).
Baste all of this together, or rather than basting, zig zagging the edge can help it all be flatter when you apply the bias tape in the next step.

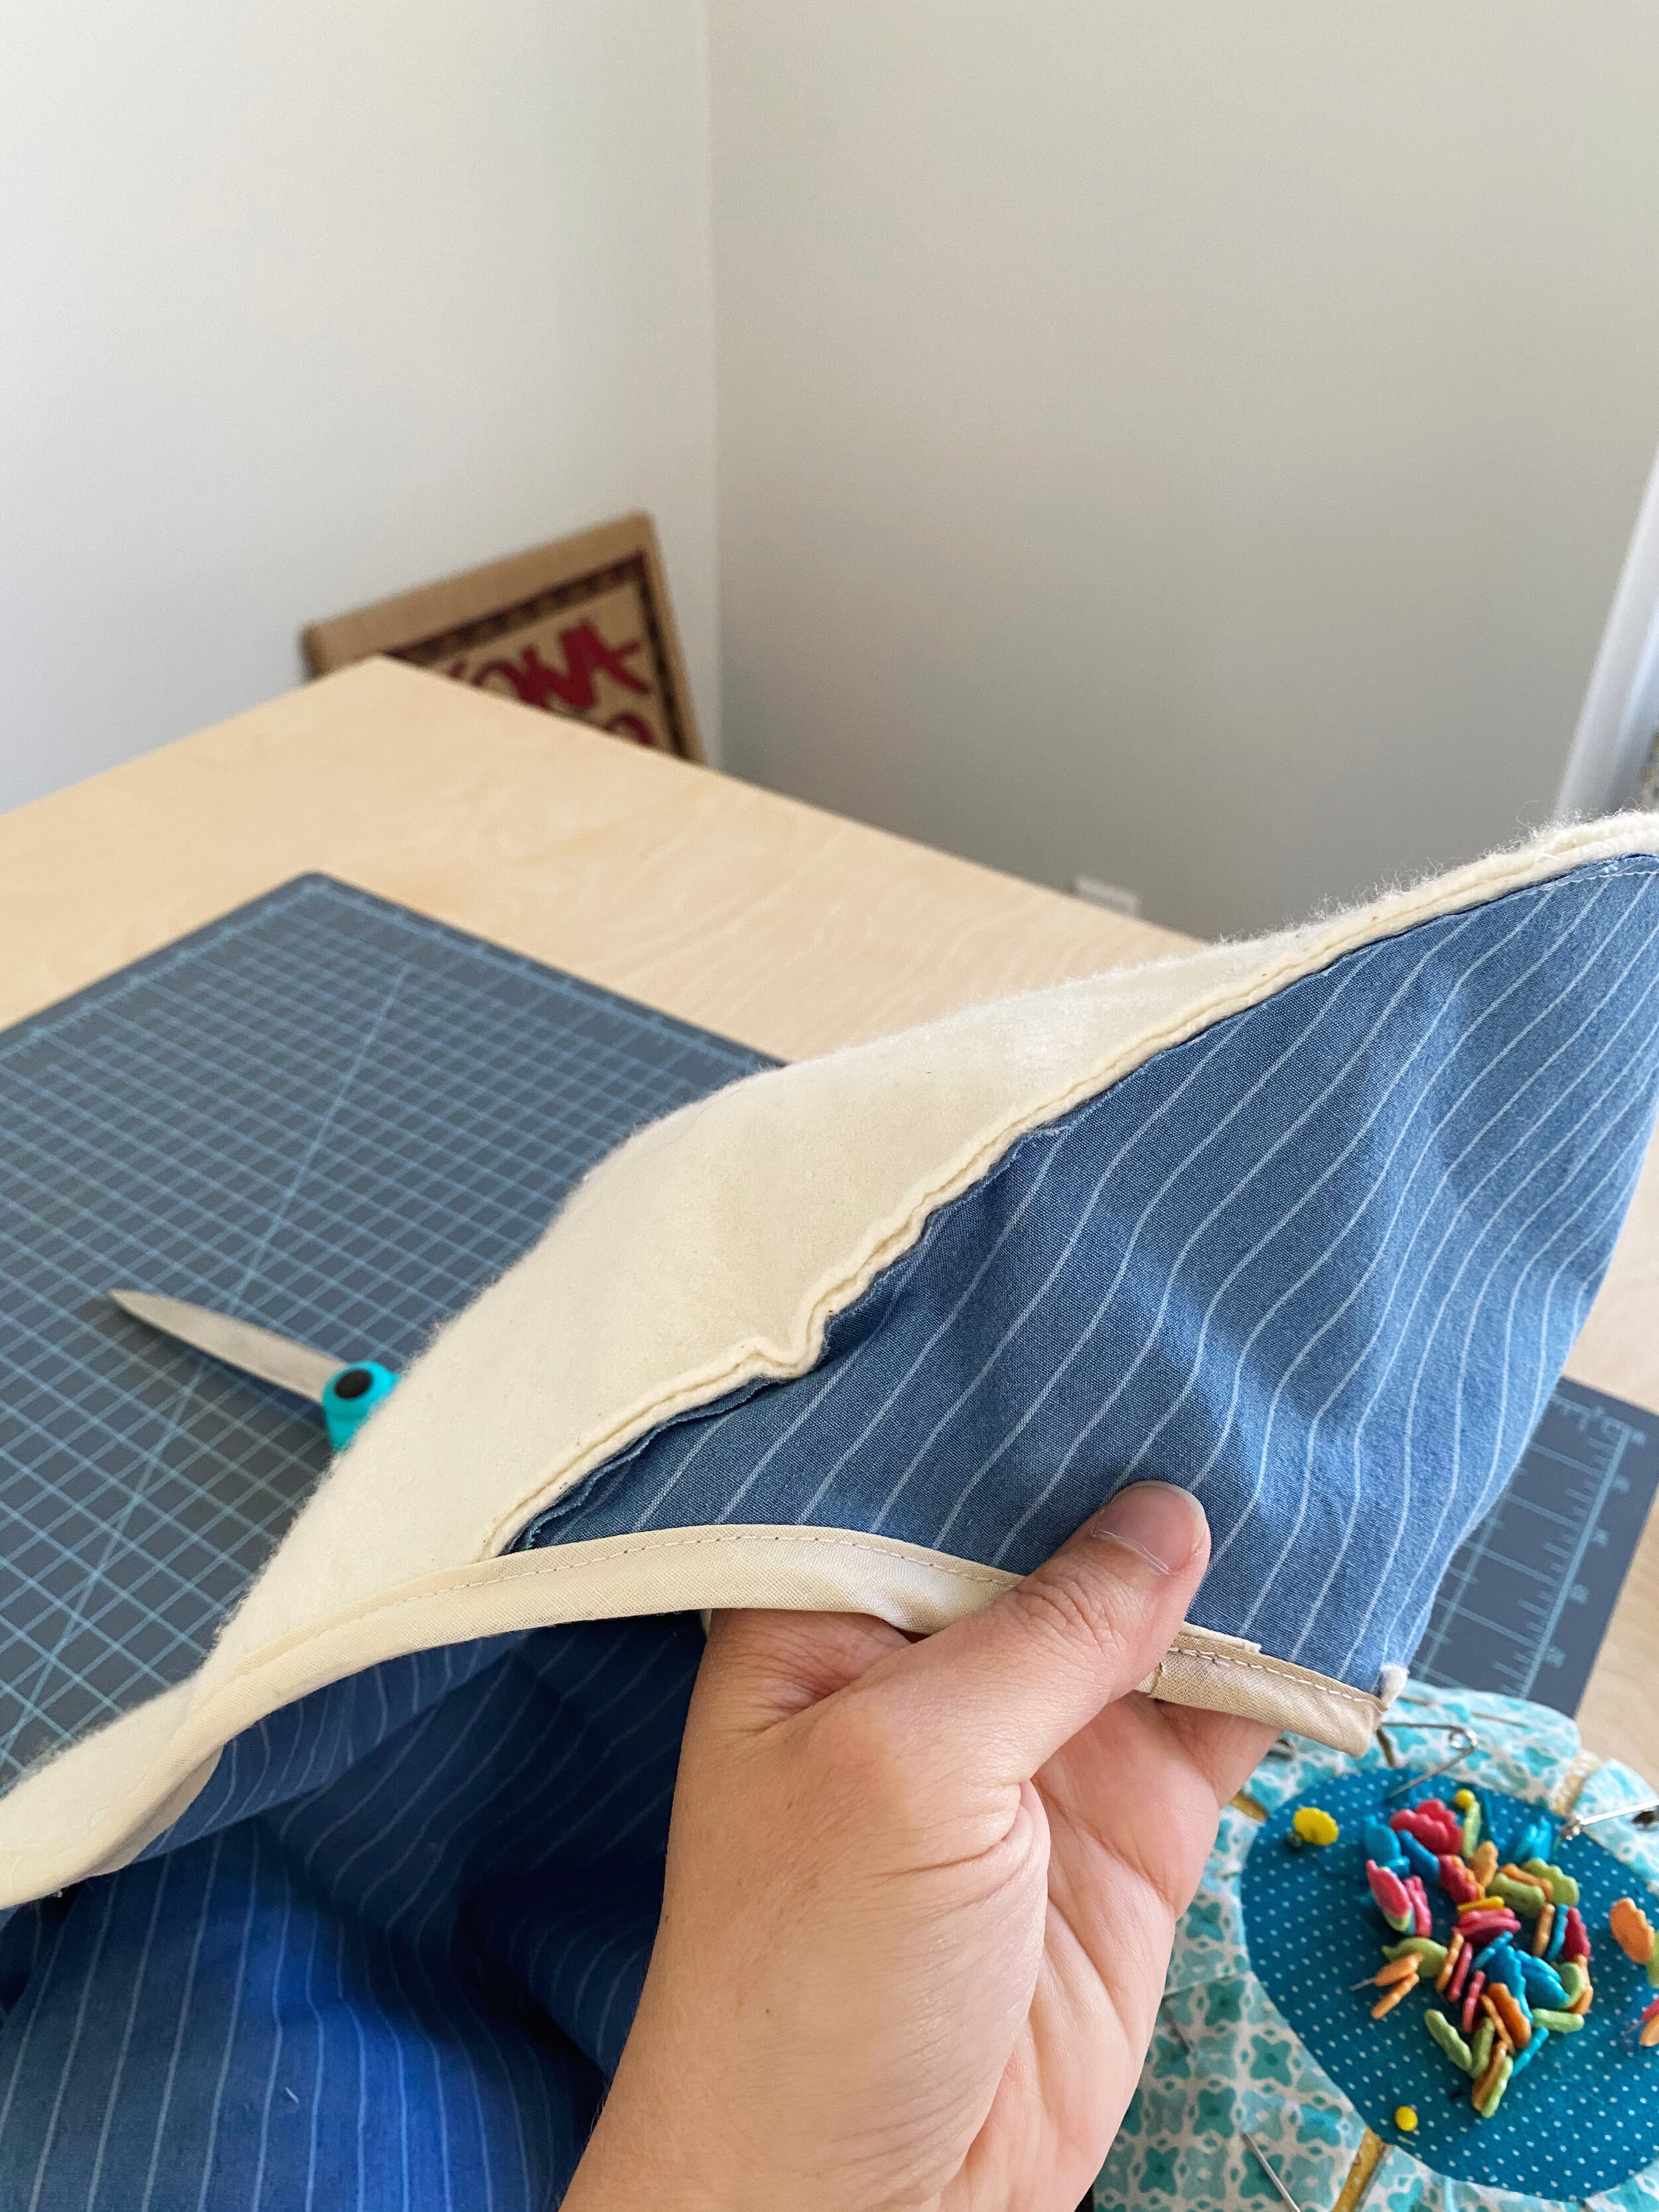
You’re going to sew the bias tape around the cover and the arced edge of the gusset (see the next photo). So, the bias tape does not go on the pointy end of the cover, because that will be turned to the inside. I hope that makes sense! Encase the raw edge inside the bias tape and stitch on the edge of the bias tape all the way around, making sure you’re catching the edge of it on the other side too. This can take some practice if you’re new to it. Rather than lapping the ends of the bias tape when you get all the way around, just butt them up against each other so that you have an opening for your elastic. Once you have the bias tape on, you can turn your gusset end right side out.

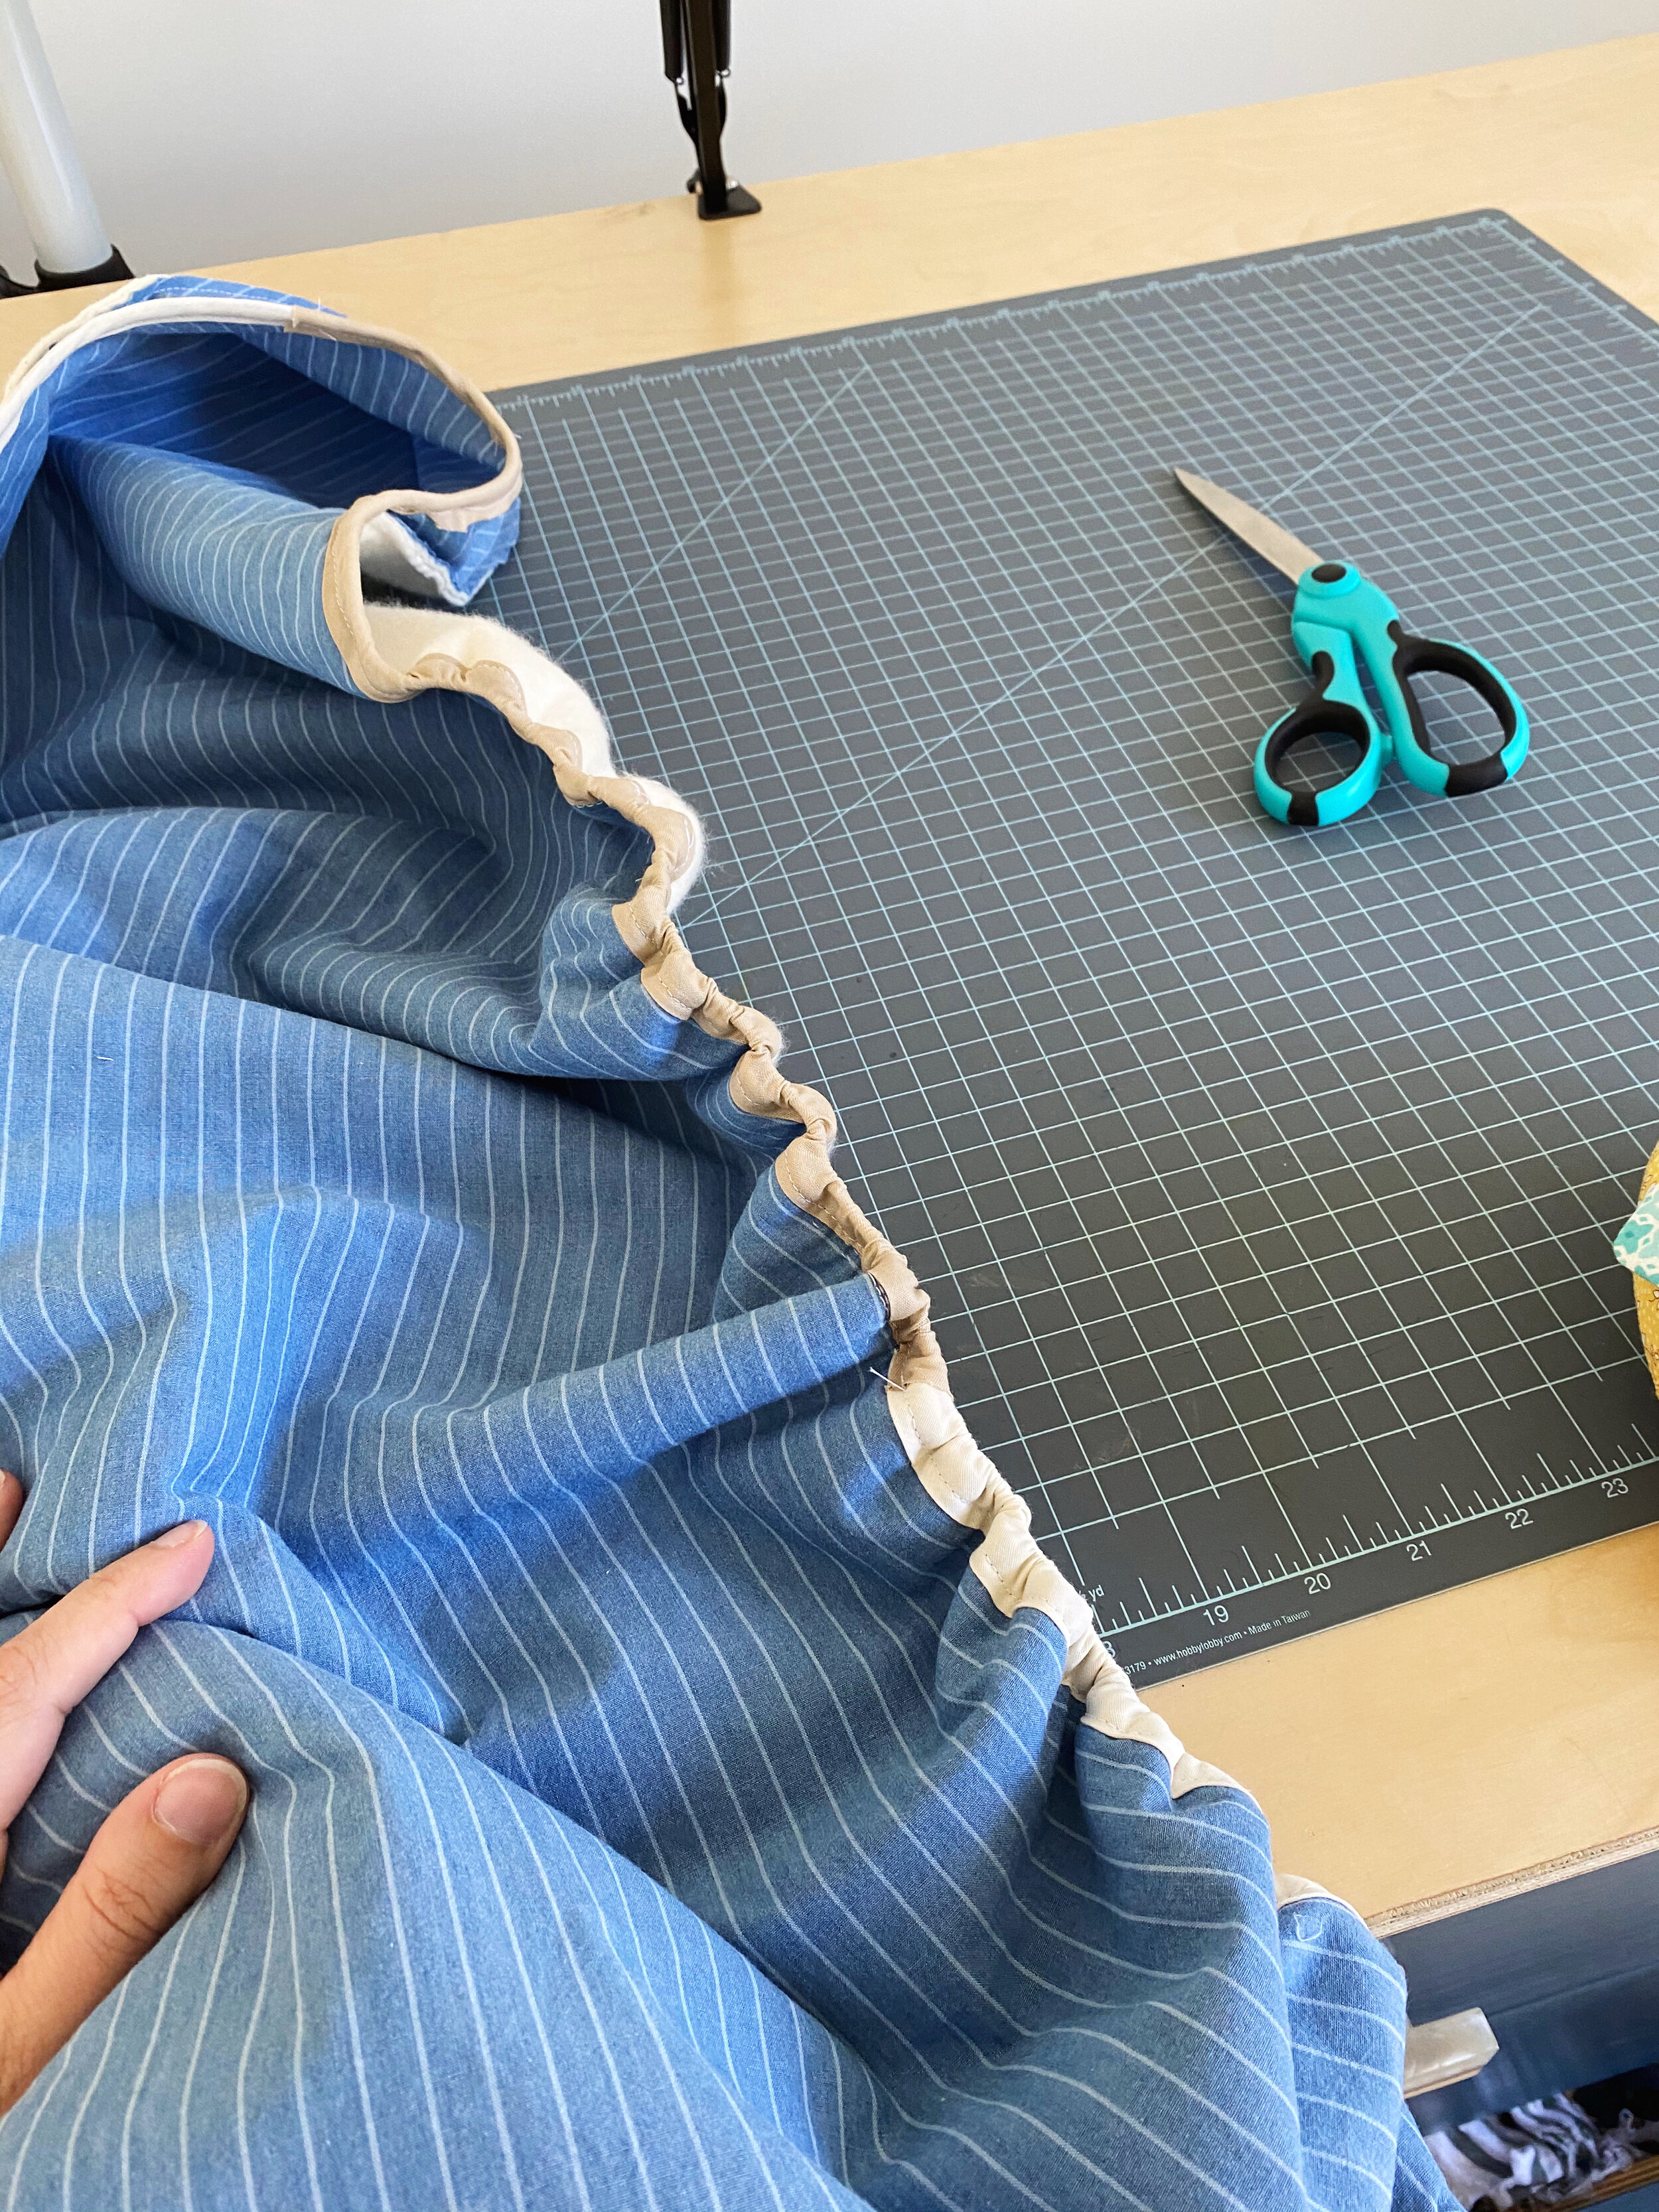
Lastly, thread the elastic through the bias tape. If you’re reusing elastic from an old cover, you wont need to adjust it to fit. But if you’re not, you’ll want to try the cover on your ironing board and adjust the elastic to fit before tying it off or stitching the ends together.
That’s it! put the new cover on your ironing board, gusset end first. I’m so glad I finally made time to recover my ironing board! It looks so much better. My old one looked so bad that if I needed to photograph an ironing step for a blog post, I would cover it with a solid piece of fabric, haha! Glad I won’t have to do that anymore.
Cheers!
Nikki


Sew a “plop” for your Kindle or phone with this easy tutorial (so great for gifts too).