Amazon Prom Dress Refashion
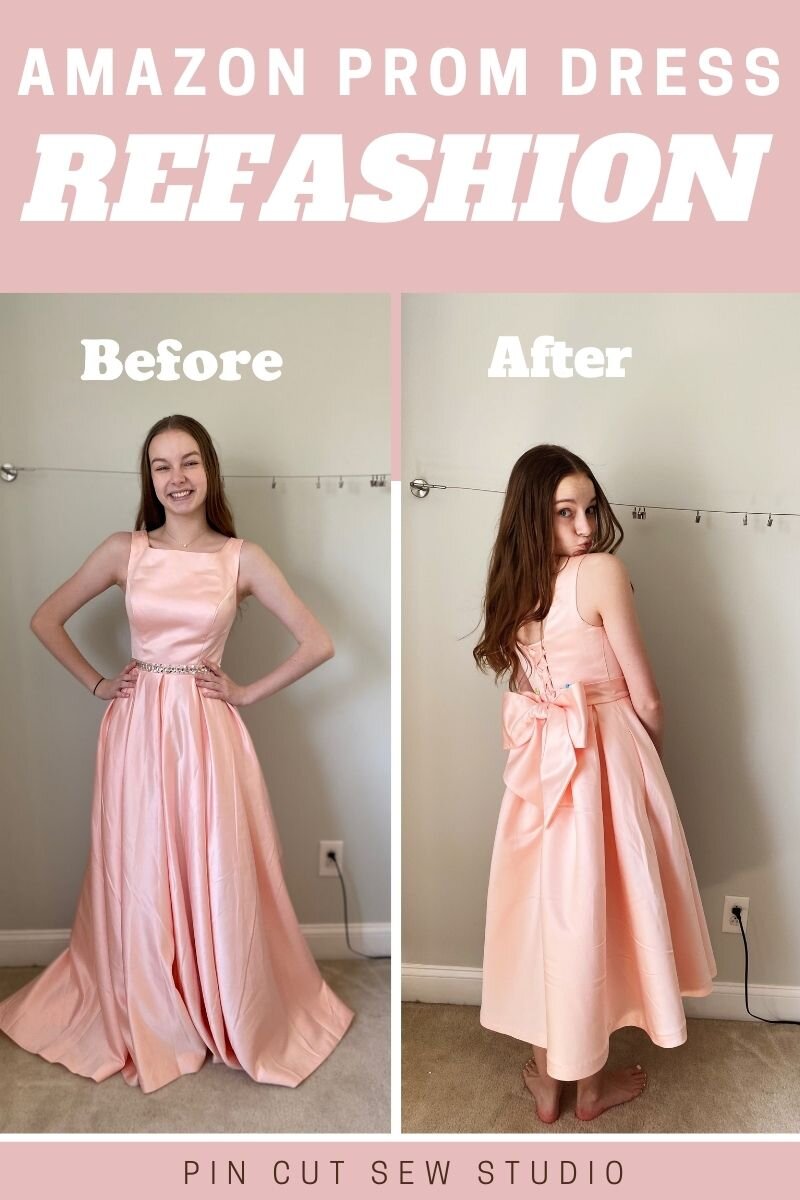
Boy, do I have a good before and after for you today! If you follow me on Instagram, you’ve already seen this, but I’m so proud of it so obviously I have to share it here too.
My 16-year-old daughter Natalie got to go to homeschool prom! She was so excited for the opportunity, since she’s such a social butterfly and a total life-of-the-party type. A group of teens from church all went together and had the BEST time.
But, we had trouble finding a dress. We don’t live in a very upscale town and our shopping options are limited. Natalie recently got a job, is in driving school, and dances ballet 8 hours a week, so time to drive into Charlotte to shop was not presenting itself. We decided to go ahead and order a couple things from Amazon as a just-in-case backup plan. It turns out we didn’t need to go shopping because one of them fit her perfectly!
While we initially did not intend to completely refashion the dress, one thing led to another (typical for us, haha!) and once we started brainstorming, the vision struck and there was no turning back!
I’ll share all the details, but let me just get to it real quick and show you the before and after!
This post may contain affiliate links, which means that while I am not paid to promote certain items, I will earn a small commission should you purchase items through these links. For more info, see my disclosure policy.
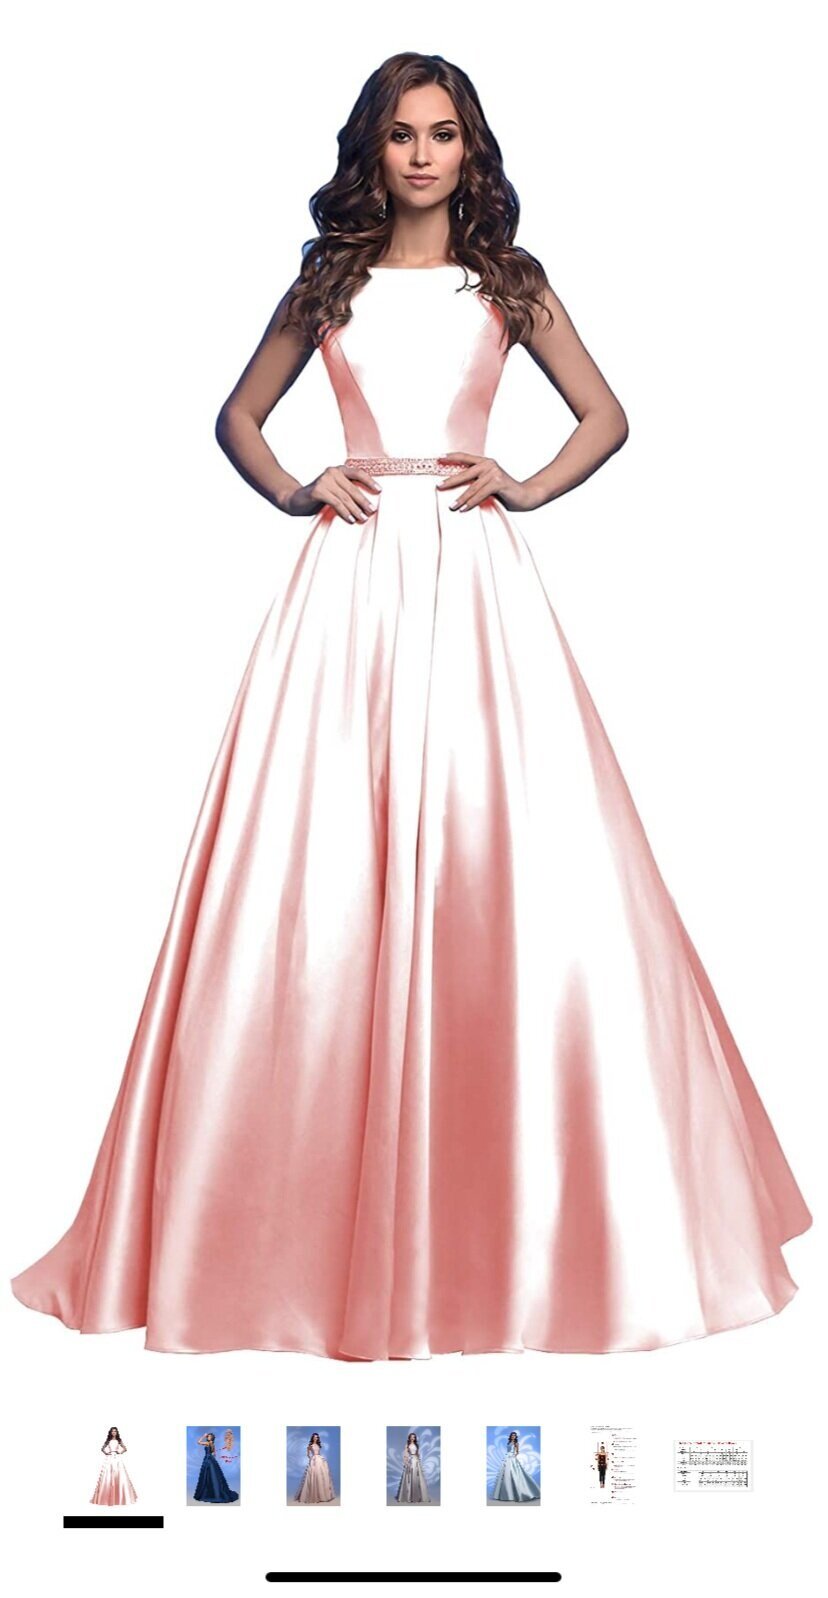
First of all, this is the exact prom dress we ordered. It was actually really pretty and very well made for a great price! It also has pockets, and everyone loves pockets! You can see that the dress came much more pink than it looks in the photo, but that suited Natalie anyway. She loves a good bubble gum pink.
We knew right away we’d want to cut the train off. She really didn’t want to be tripping over a dress while dancing, so that was a no brainer. But she asked if we could pin it up to see what it would look like as either a high/low hem, or just straight tea length. We played around with it for a bit and ultimately decided to take the plunge and make it into a tea length dress.
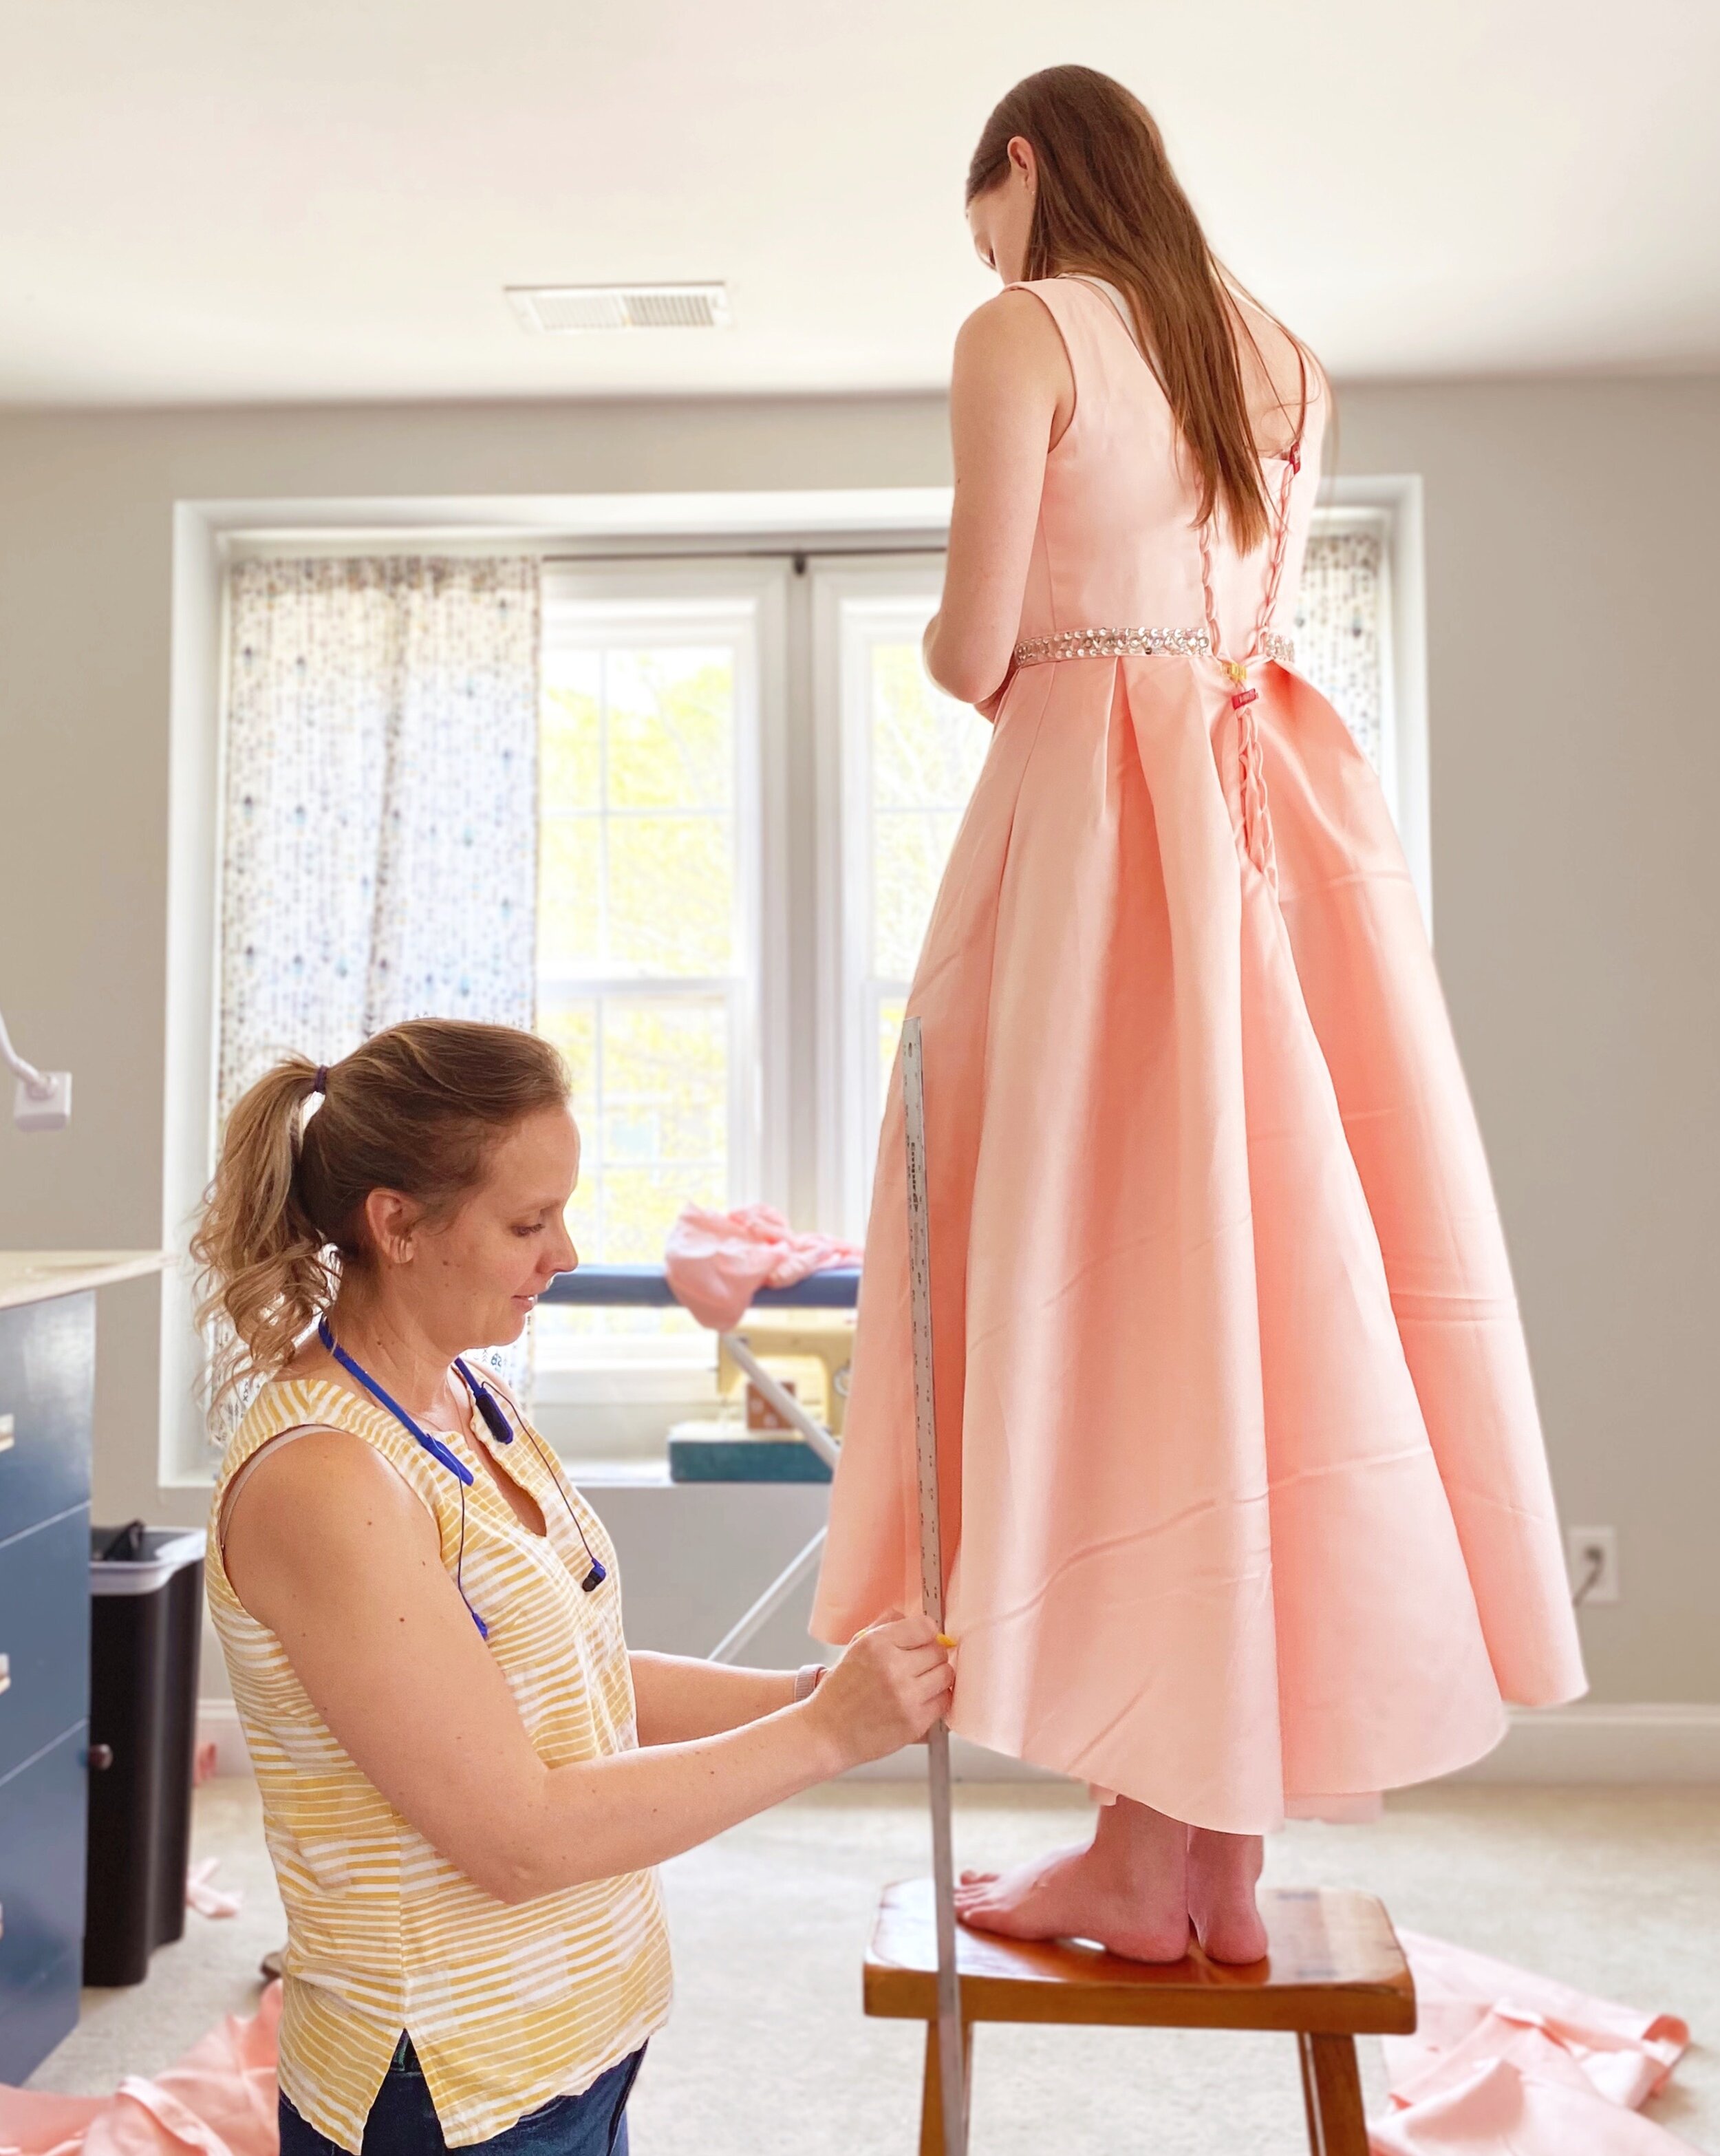
I will admit I was very nervous! What if it just looked silly!? But, I found some photos of tea length formal dresses with big, full skirts and trusted that it would be okay. As soon as I cut the length off, I knew we’d made the right decision. It looked soooooo cute on her already. I made sure to cut it off well below where we wanted it so that we could get the length exactly right all the way around. I don’t have a dress form (although this Dritz dress form is currently on my wish list!), so I used a yard stick and had her stand on a stool while I measured and marked from the floor up, all the way around. It was a lot of fabric. I toyed with the idea of hand sewing the hem, but decided to go ahead and use the blind hem stitch on my machine and it turned out beautifully. You can read my tutorial on how sew an invisible hem on your sewing machine if you’re curious about that. It’s a huge time saver!
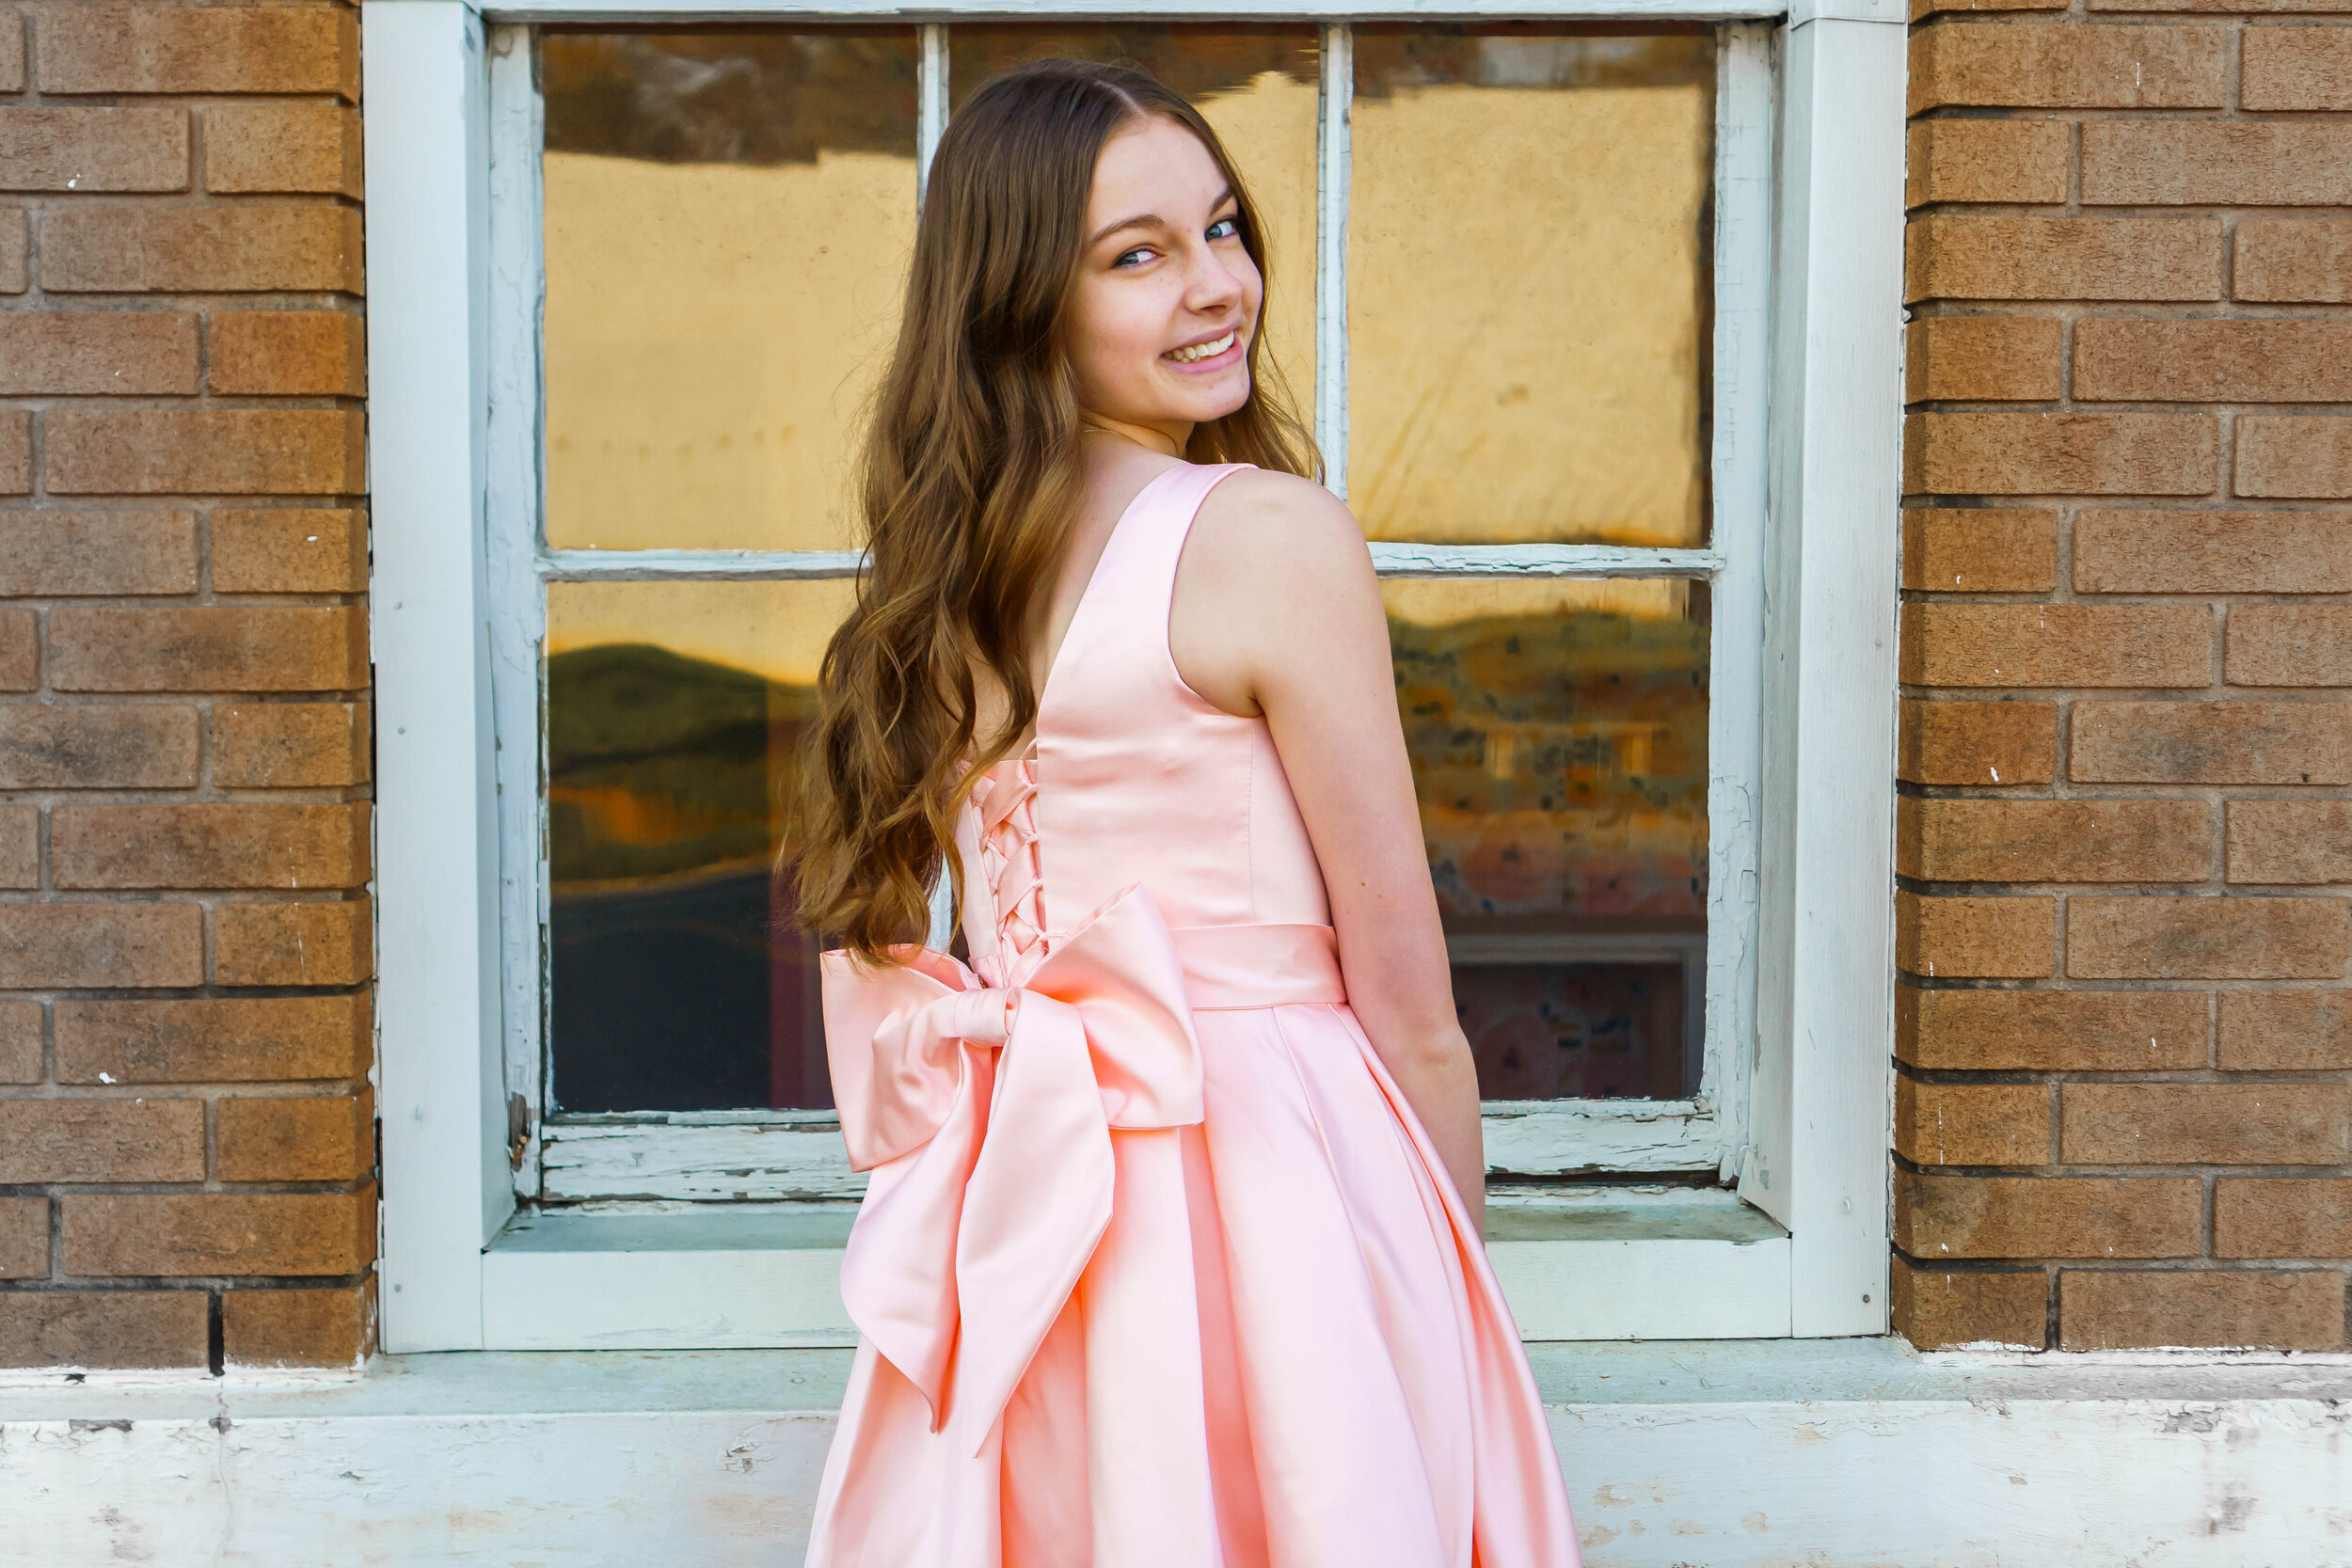
Natalie also immediately knew she wanted to replace the belt. Initially we thought we’d go shop for a a different trim, maybe something with pearls. It was easy to remove the silver jewels from the original belt. Once we’d cut the dress off, though, inspiration struck! It was suddenly very clear that this dress would be 50’s-inspired perfection if we used the fabric we’d cut off the bottom to create a wider sash belt and a big, fun bow in the back.
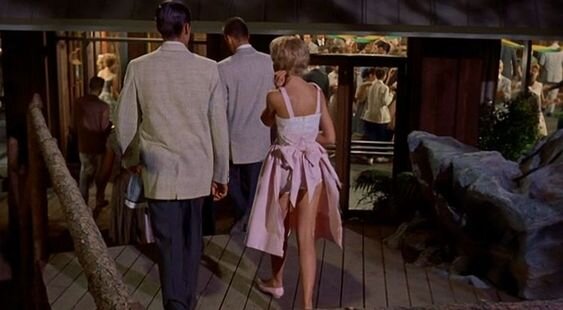
She wanted the bow to look like Sharon’s in The Parent Trap, haha!
I went ahead and removed the belt and cut a sash on the bias of the cut-off fabric. Sashes are best cut on the bias to allow the wearer to sit down without the belt feeling very tight. Natalie asked for a 2” sash and I made it the same length as the belt I’d just removed from the dress. We wanted a professional looking sash and bow, so I made them separately, rather than making one long sash to be tied around her waist in a messy bow. Stay tuned for a giant bow tutorial!! It’s really very easy, but a bit counterintuitive, since it’s made in two pieces and not actually “tied” at all. I’m planning to get that posted in the next week or two.
Here is the bow pinned in place. The belt was hand stitched in place before I made the bow.
to attach the bow to the belt, I hand stitched it into place on one side, then attached the other side with a hook and bar. This worked beautifully. It stayed perfectly in place the entire night.
I couldn’t resist a photo shoot, of course. This is one of those creative projects that I just had so much fun with, from start to finish. If you know Natalie, you know how much this dress just suits her style so perfectly. She was thrilled with how tit turned out and said after the prom, that the shorter length was definitely the right choice.
An added perk of the refashion was knowing no one else would show up in the same dress! It was from Amazon, after all, and in fact, she said one of person was wearing the dress, but in a different color, haha.
Did I mention the dress has pockets? :)
Thank you for reading!
Cheers :)
Nikki








My best tips for teaching someone to sew.