How to Hem Pants with an Invisible Hem Stitch
I bought a pair of dress pants at my local Goodwill a few weeks ago. They’re originally from J.Crew, so they’re really nice pants and they fit me perfectly! However, I decided I wanted to take a couple inches off the length for a cropped look and since using a blind hem stitch is one of the things I noticed people mentioning in a Facebook group recently as something they’re afraid to tackle, I thought I’d write up a tutorial here for how to hem your pants with that invisible hem (AKA a “blind hem”) that you find in ready-to-wear dress pants. And, good news, you can hem dress pants professionally with or without a sewing machine! If all you have is a needle and thread, you can do this 100% by hand, and if you want to learn to hem pants the fast way, I’ll teach you what stitch to use on your sewing machine and how to get that perfect invisible hem.
Let me start by saying that this is not hard! Not at all. Once you know how to do it, you’ll wish you’d done it earlier, especially if you’ve been taking your pants to a tailor for hemming. I can do this in about 15 minutes and I’ve been doing it since I was a preteen when my mom taught me, so if teenage me could do it, you can do it!
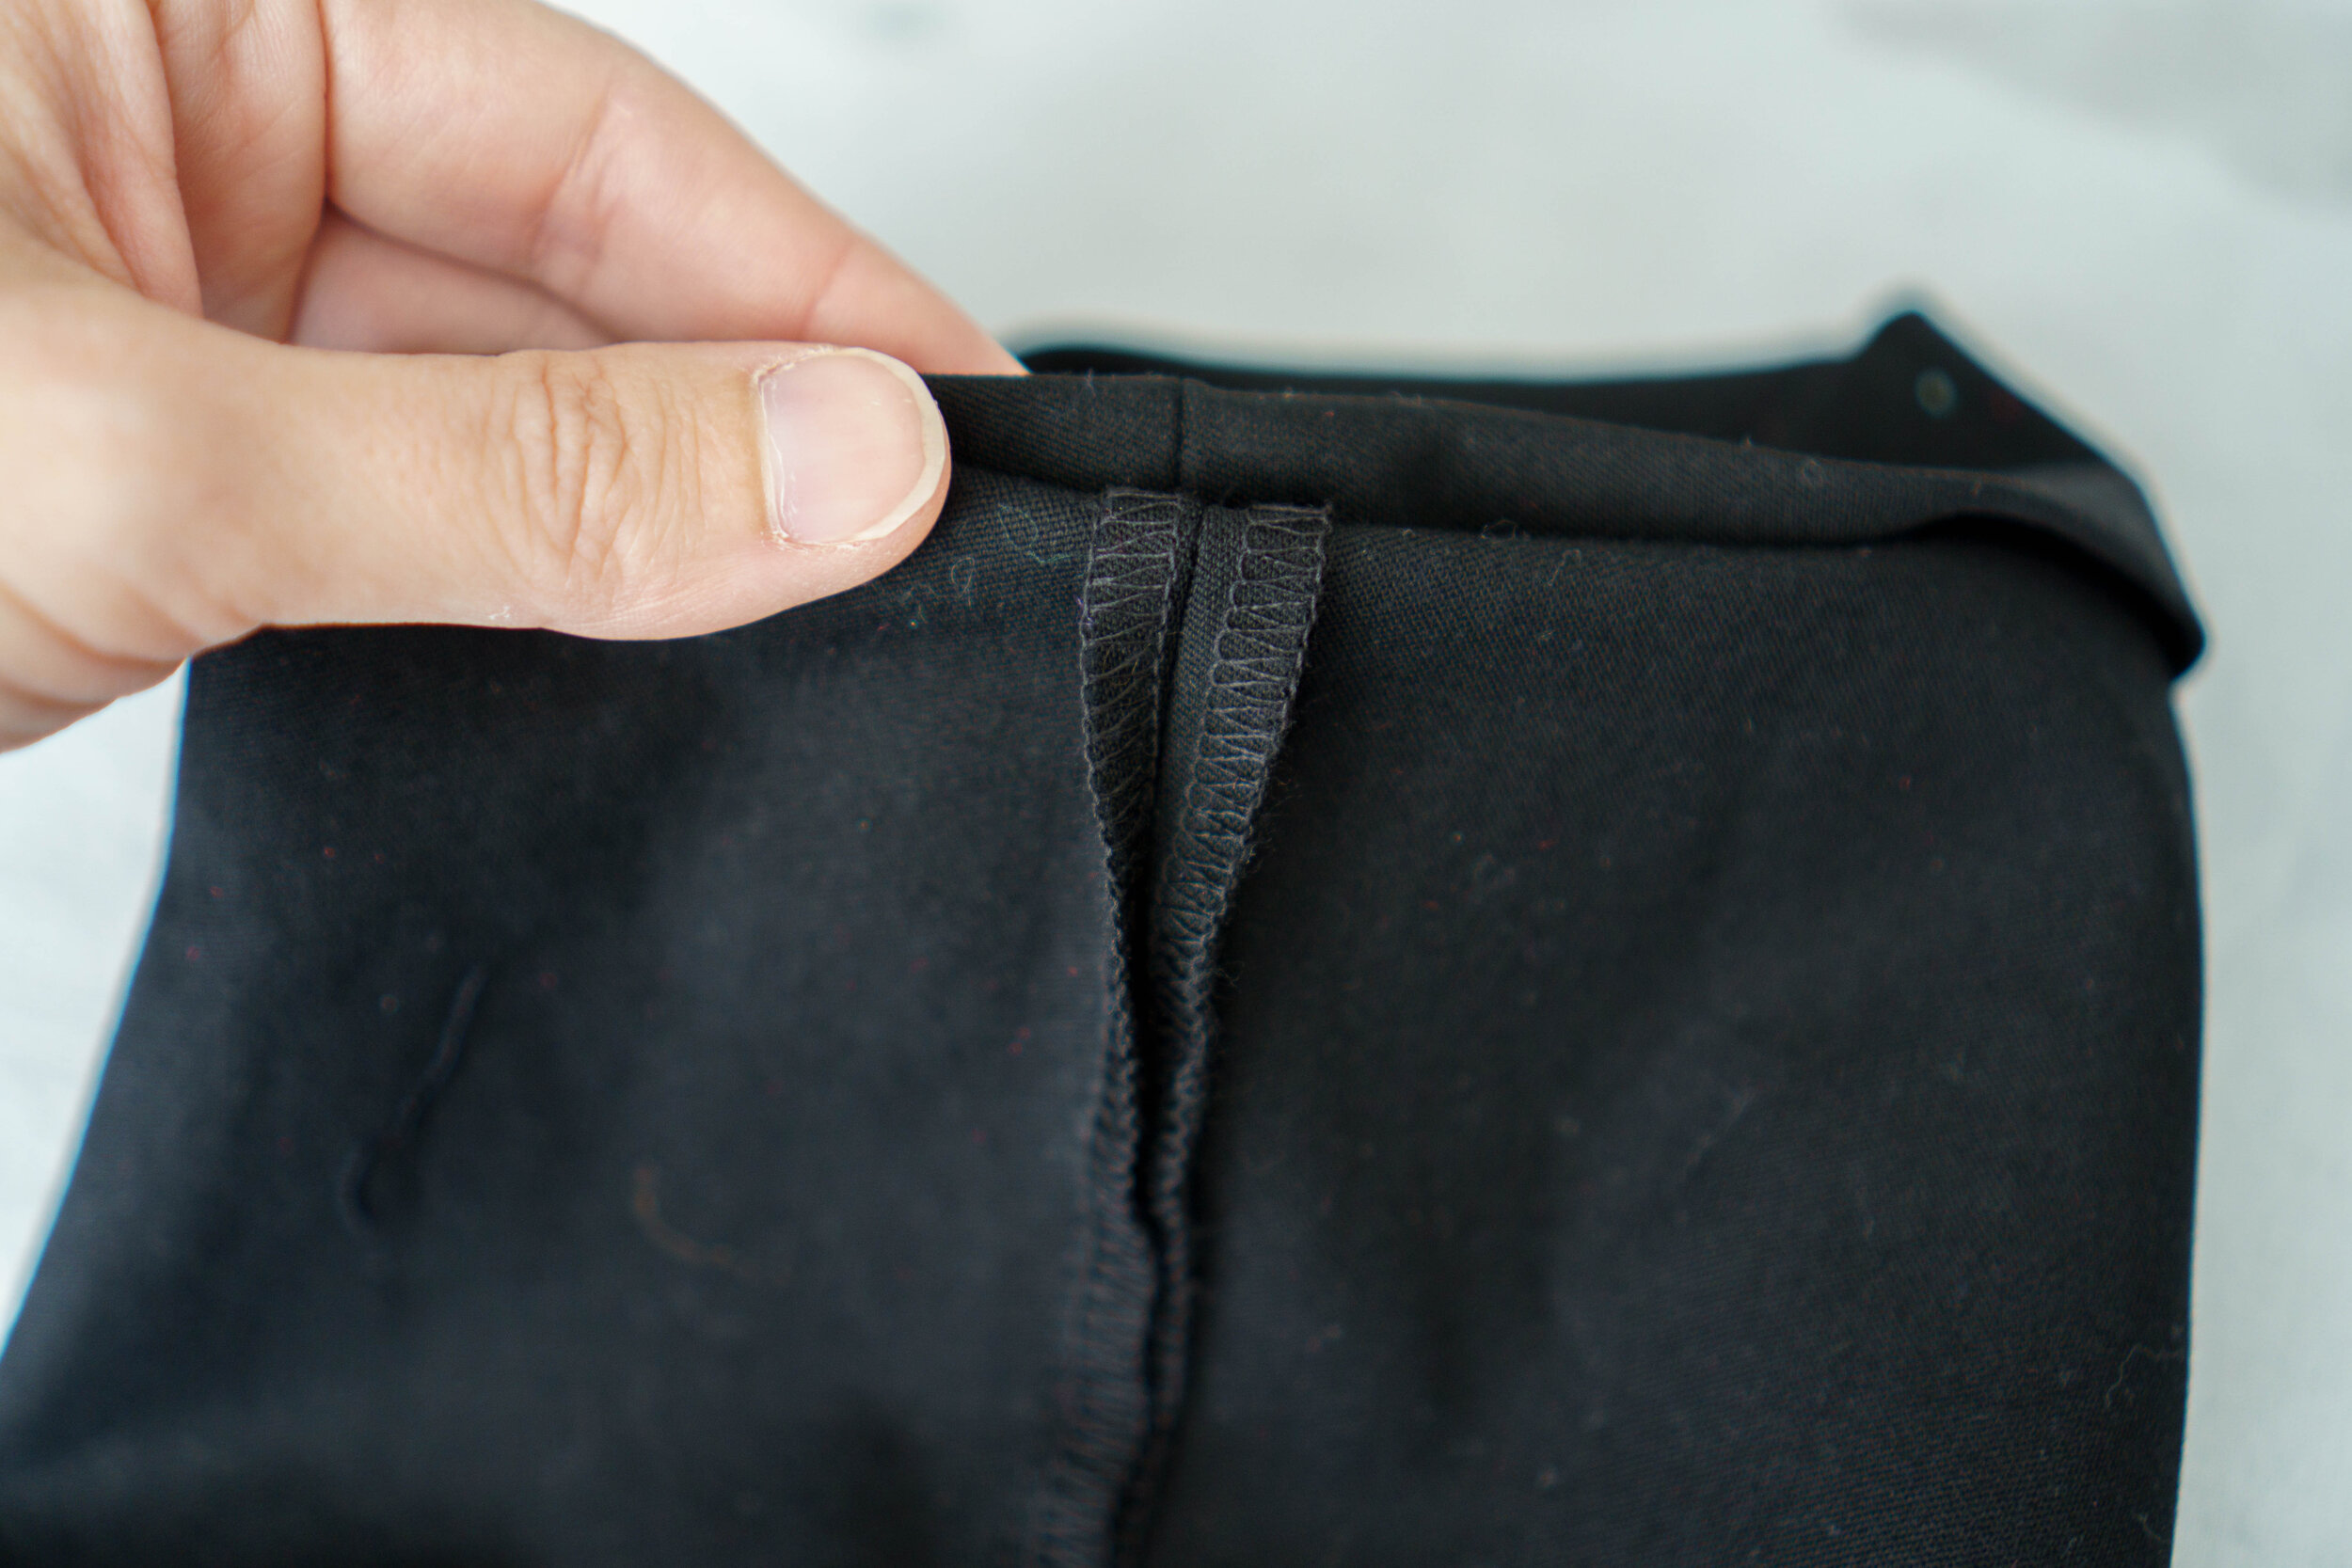
Please note: I brightened these photos so that you can see the stitches and creases better, and these pants do attract fuzz and dog hair, which the brightness only highlights, so don’t judge me too harshly, haha!
This post may contain affiliate links, which means that while I am not paid to promote certain items, I will earn a small commission should you purchase items through these links. For more info, see my disclosure policy.
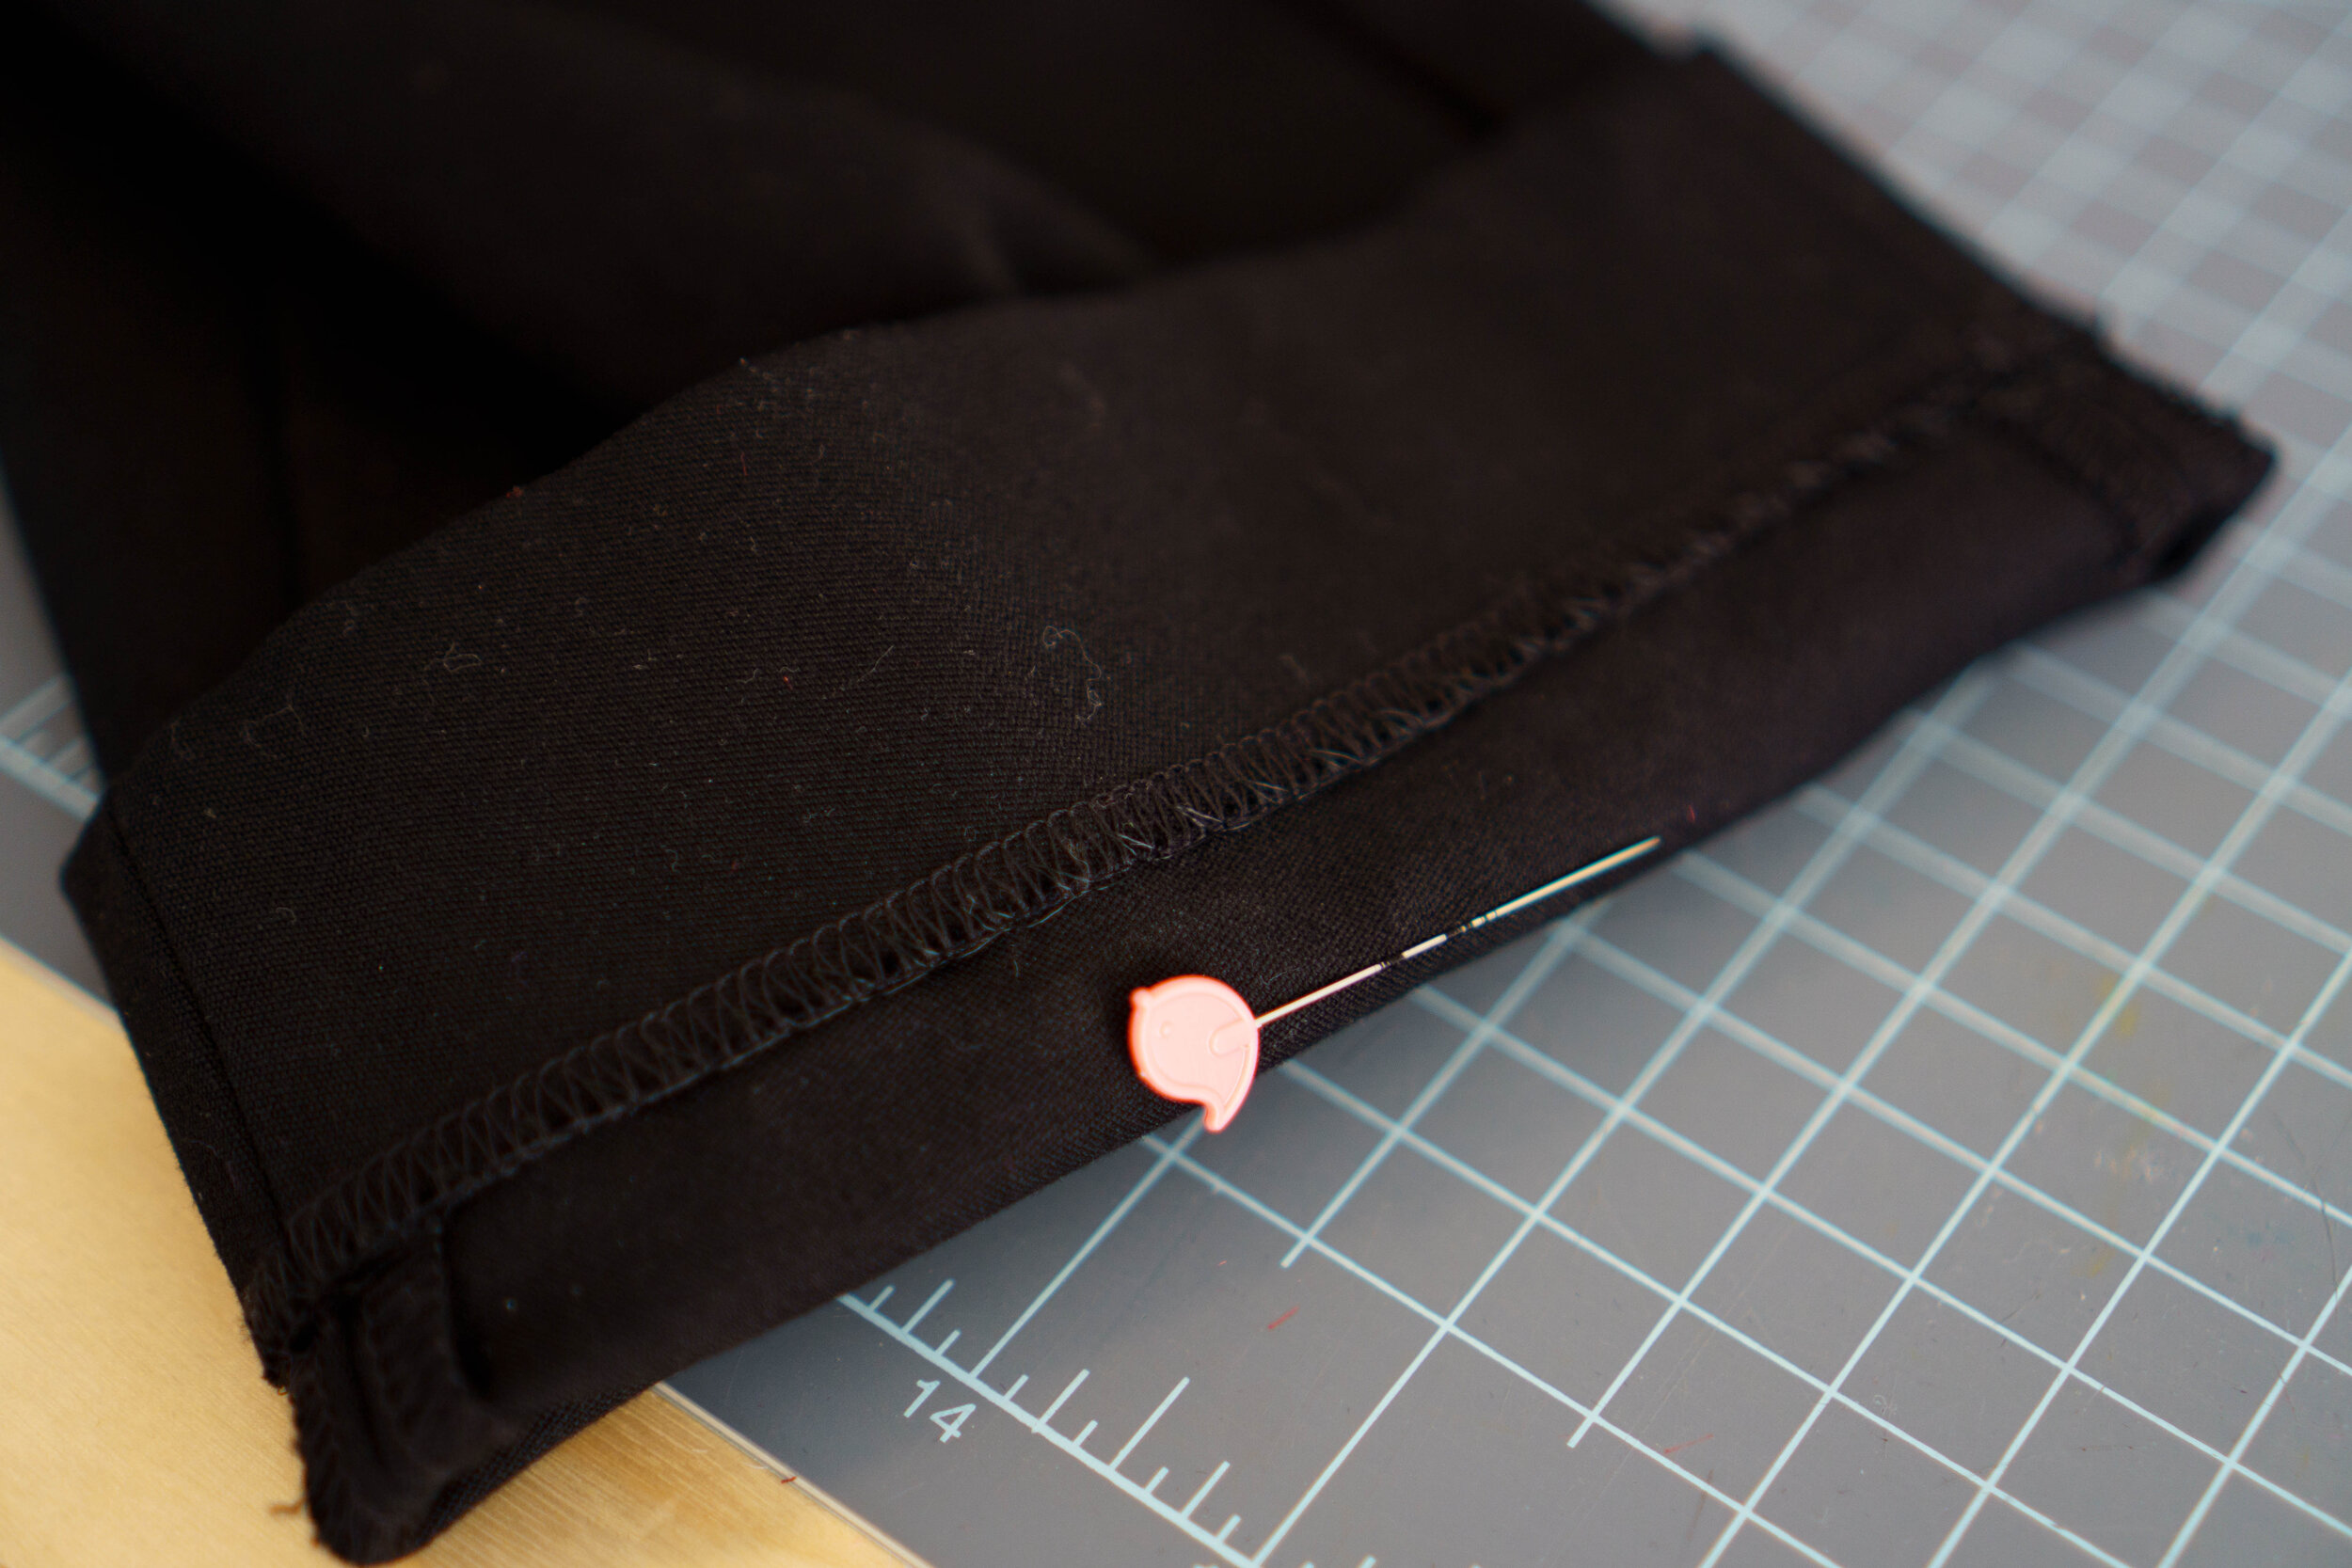
First, of course, you’ll need to try the pants on to see how long you want them. I was cropping mine, but if you’re wanting full length pants, be sure and try them on with the shoes you’ll mostly be wearing with them. Don’t use another pair of pants to judge the length! Differences in inseams and rises will affect the length, so save yourself some trouble and just try on the pants. I put a pin where I had them folded up. Where the pin is will be the new hemline of my pants.
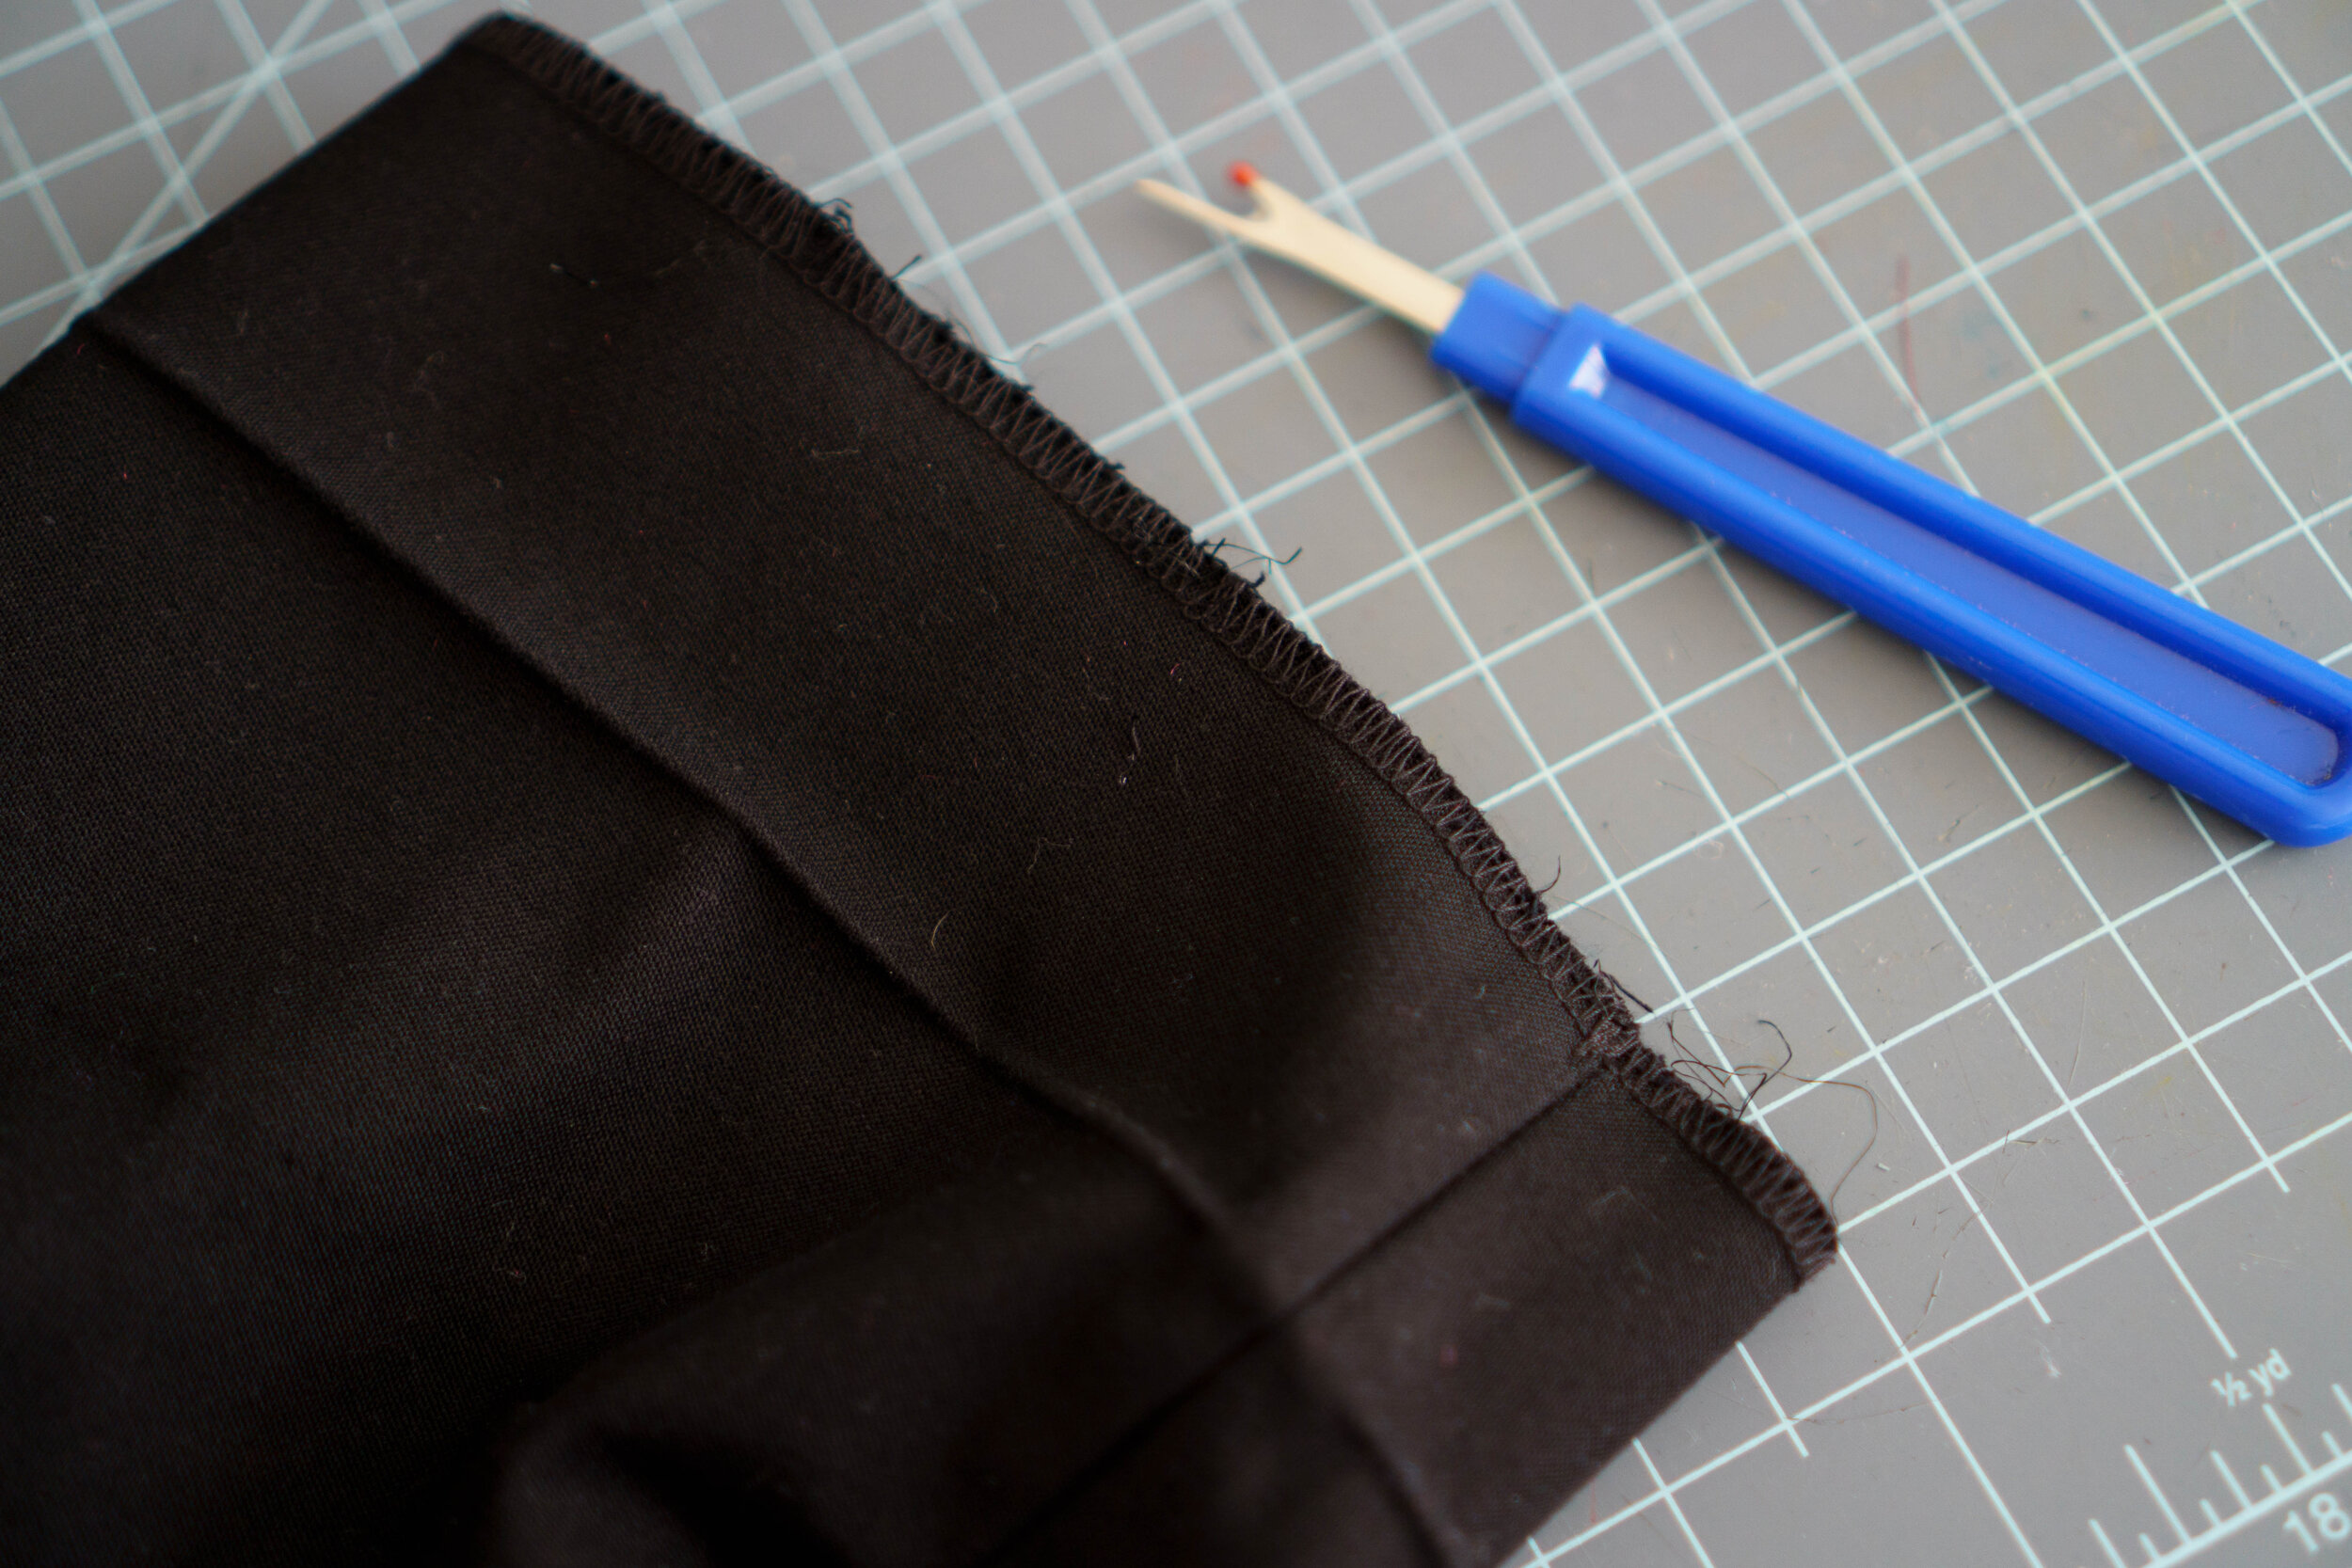
Next, unpick the existing hem with your seam ripper …
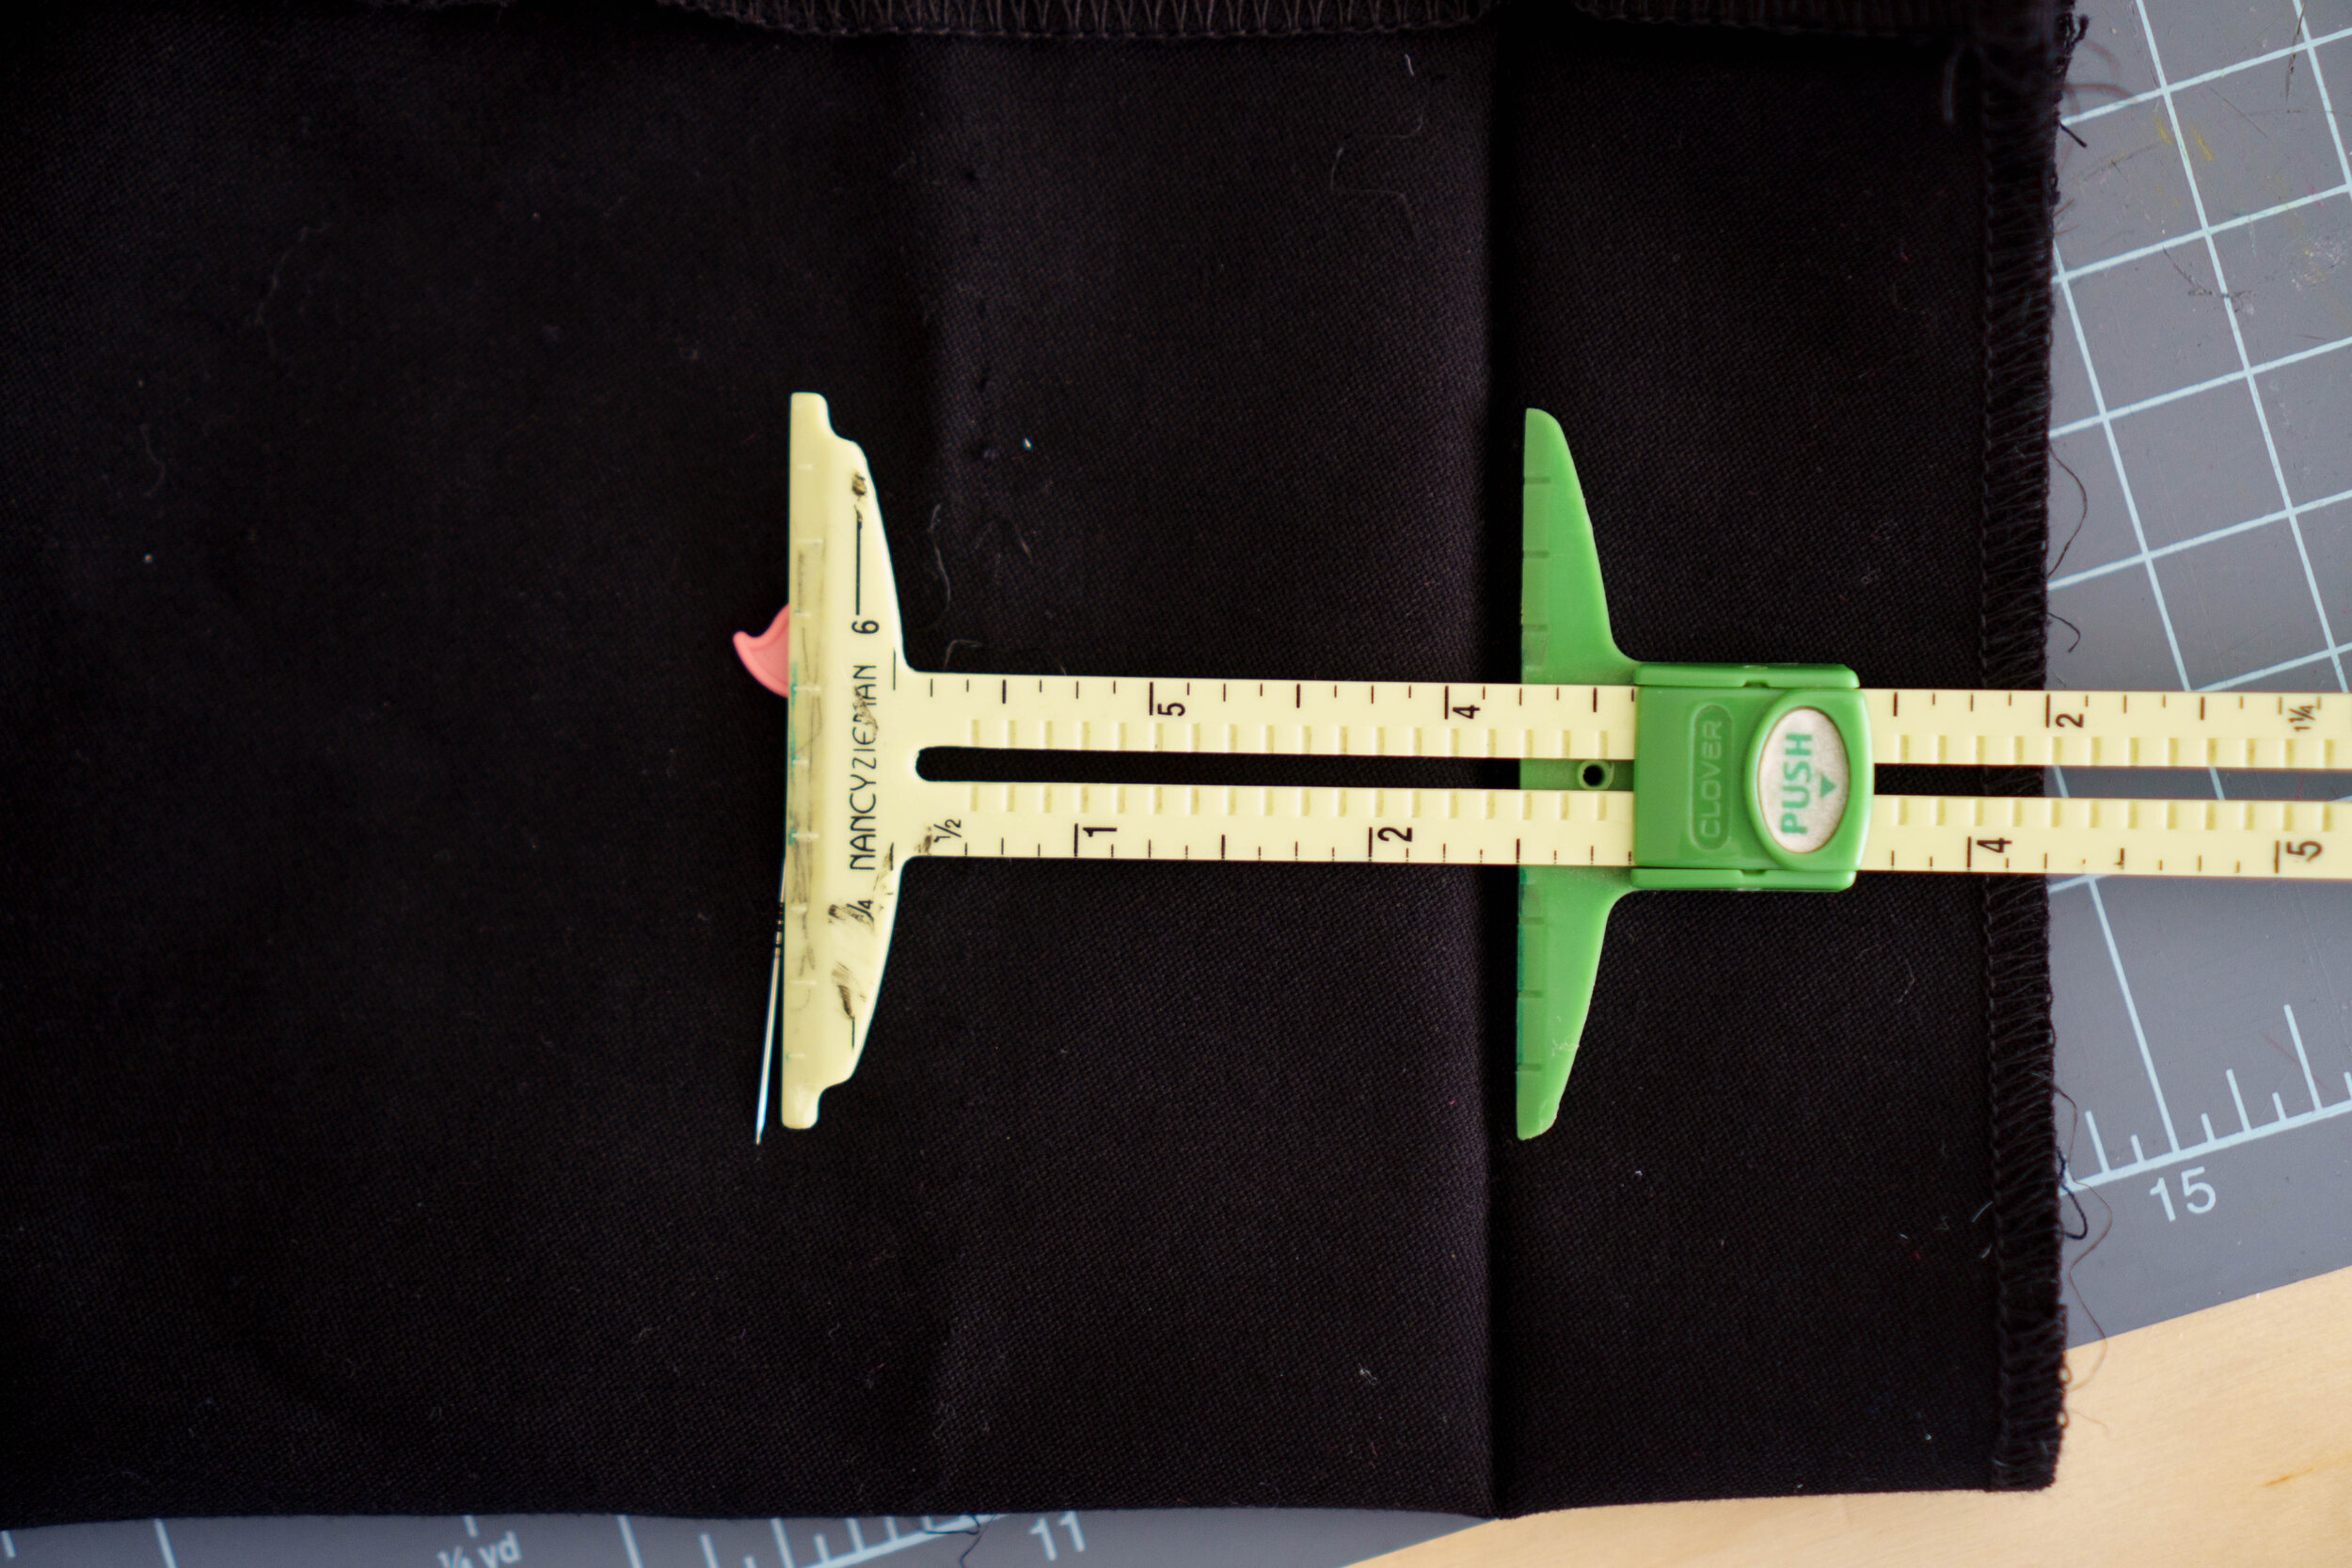
Measure and mark 2.5 inches from your pin mark and cut off the excess. This allows for the deep hem you find in most dress pants. However, if your pants are very tapered, you may need to do a smaller hem to make it work if you’re unfamiliar with patterns and don’t know how to match the pants shape to the hem shape … maybe that’s a topic for a different blog post! For now, since most dress pants are pretty straight, lets go with the 2.5”
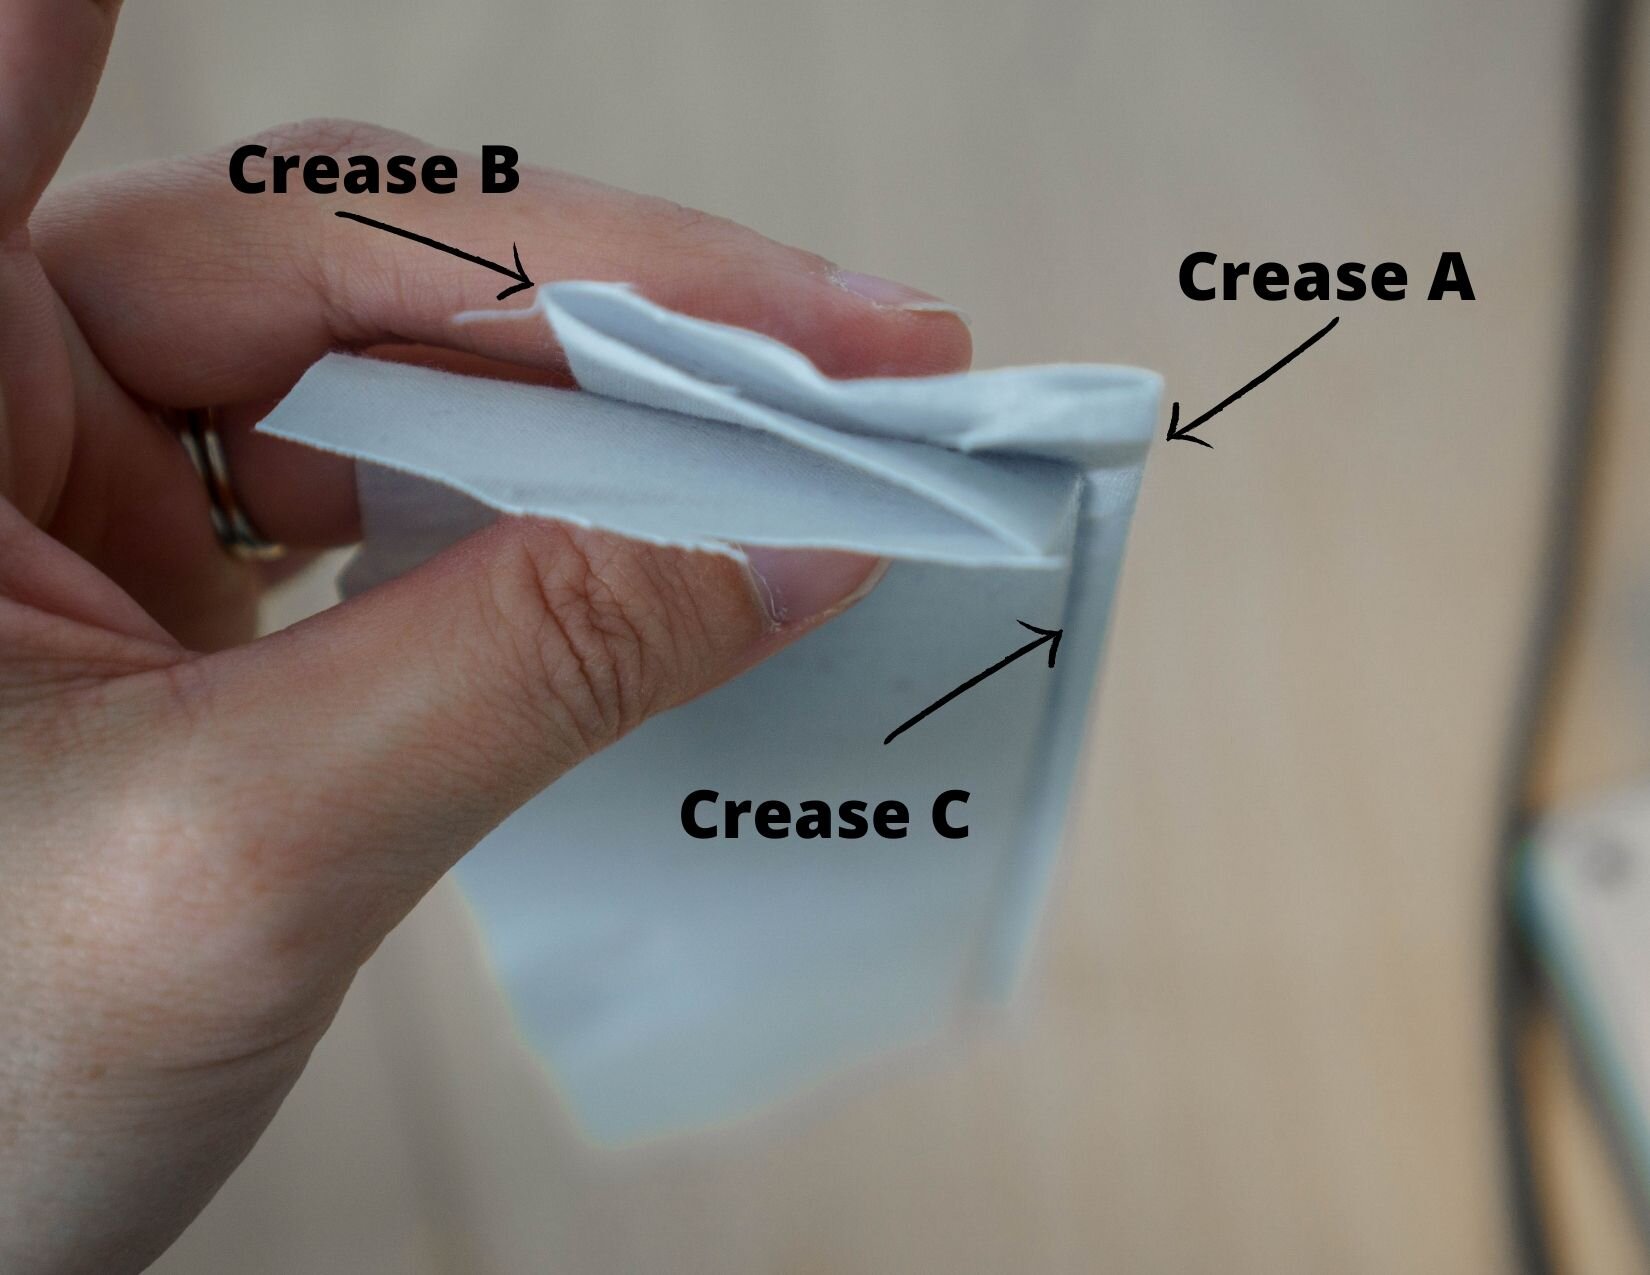
Next, take your pants over to your iron, turn them inside out and press the raw edge under 5/8”. We’ll call this Crease A. (Be sure and use the correct heat seating. Too high and you’ll leave marks on your fabric.) Were working from the wrong side of the fabric for this entire process.
Then, press under again 1 and 7/8”. We’ll call this Crease B. Crease B is the new hemline of the pants.
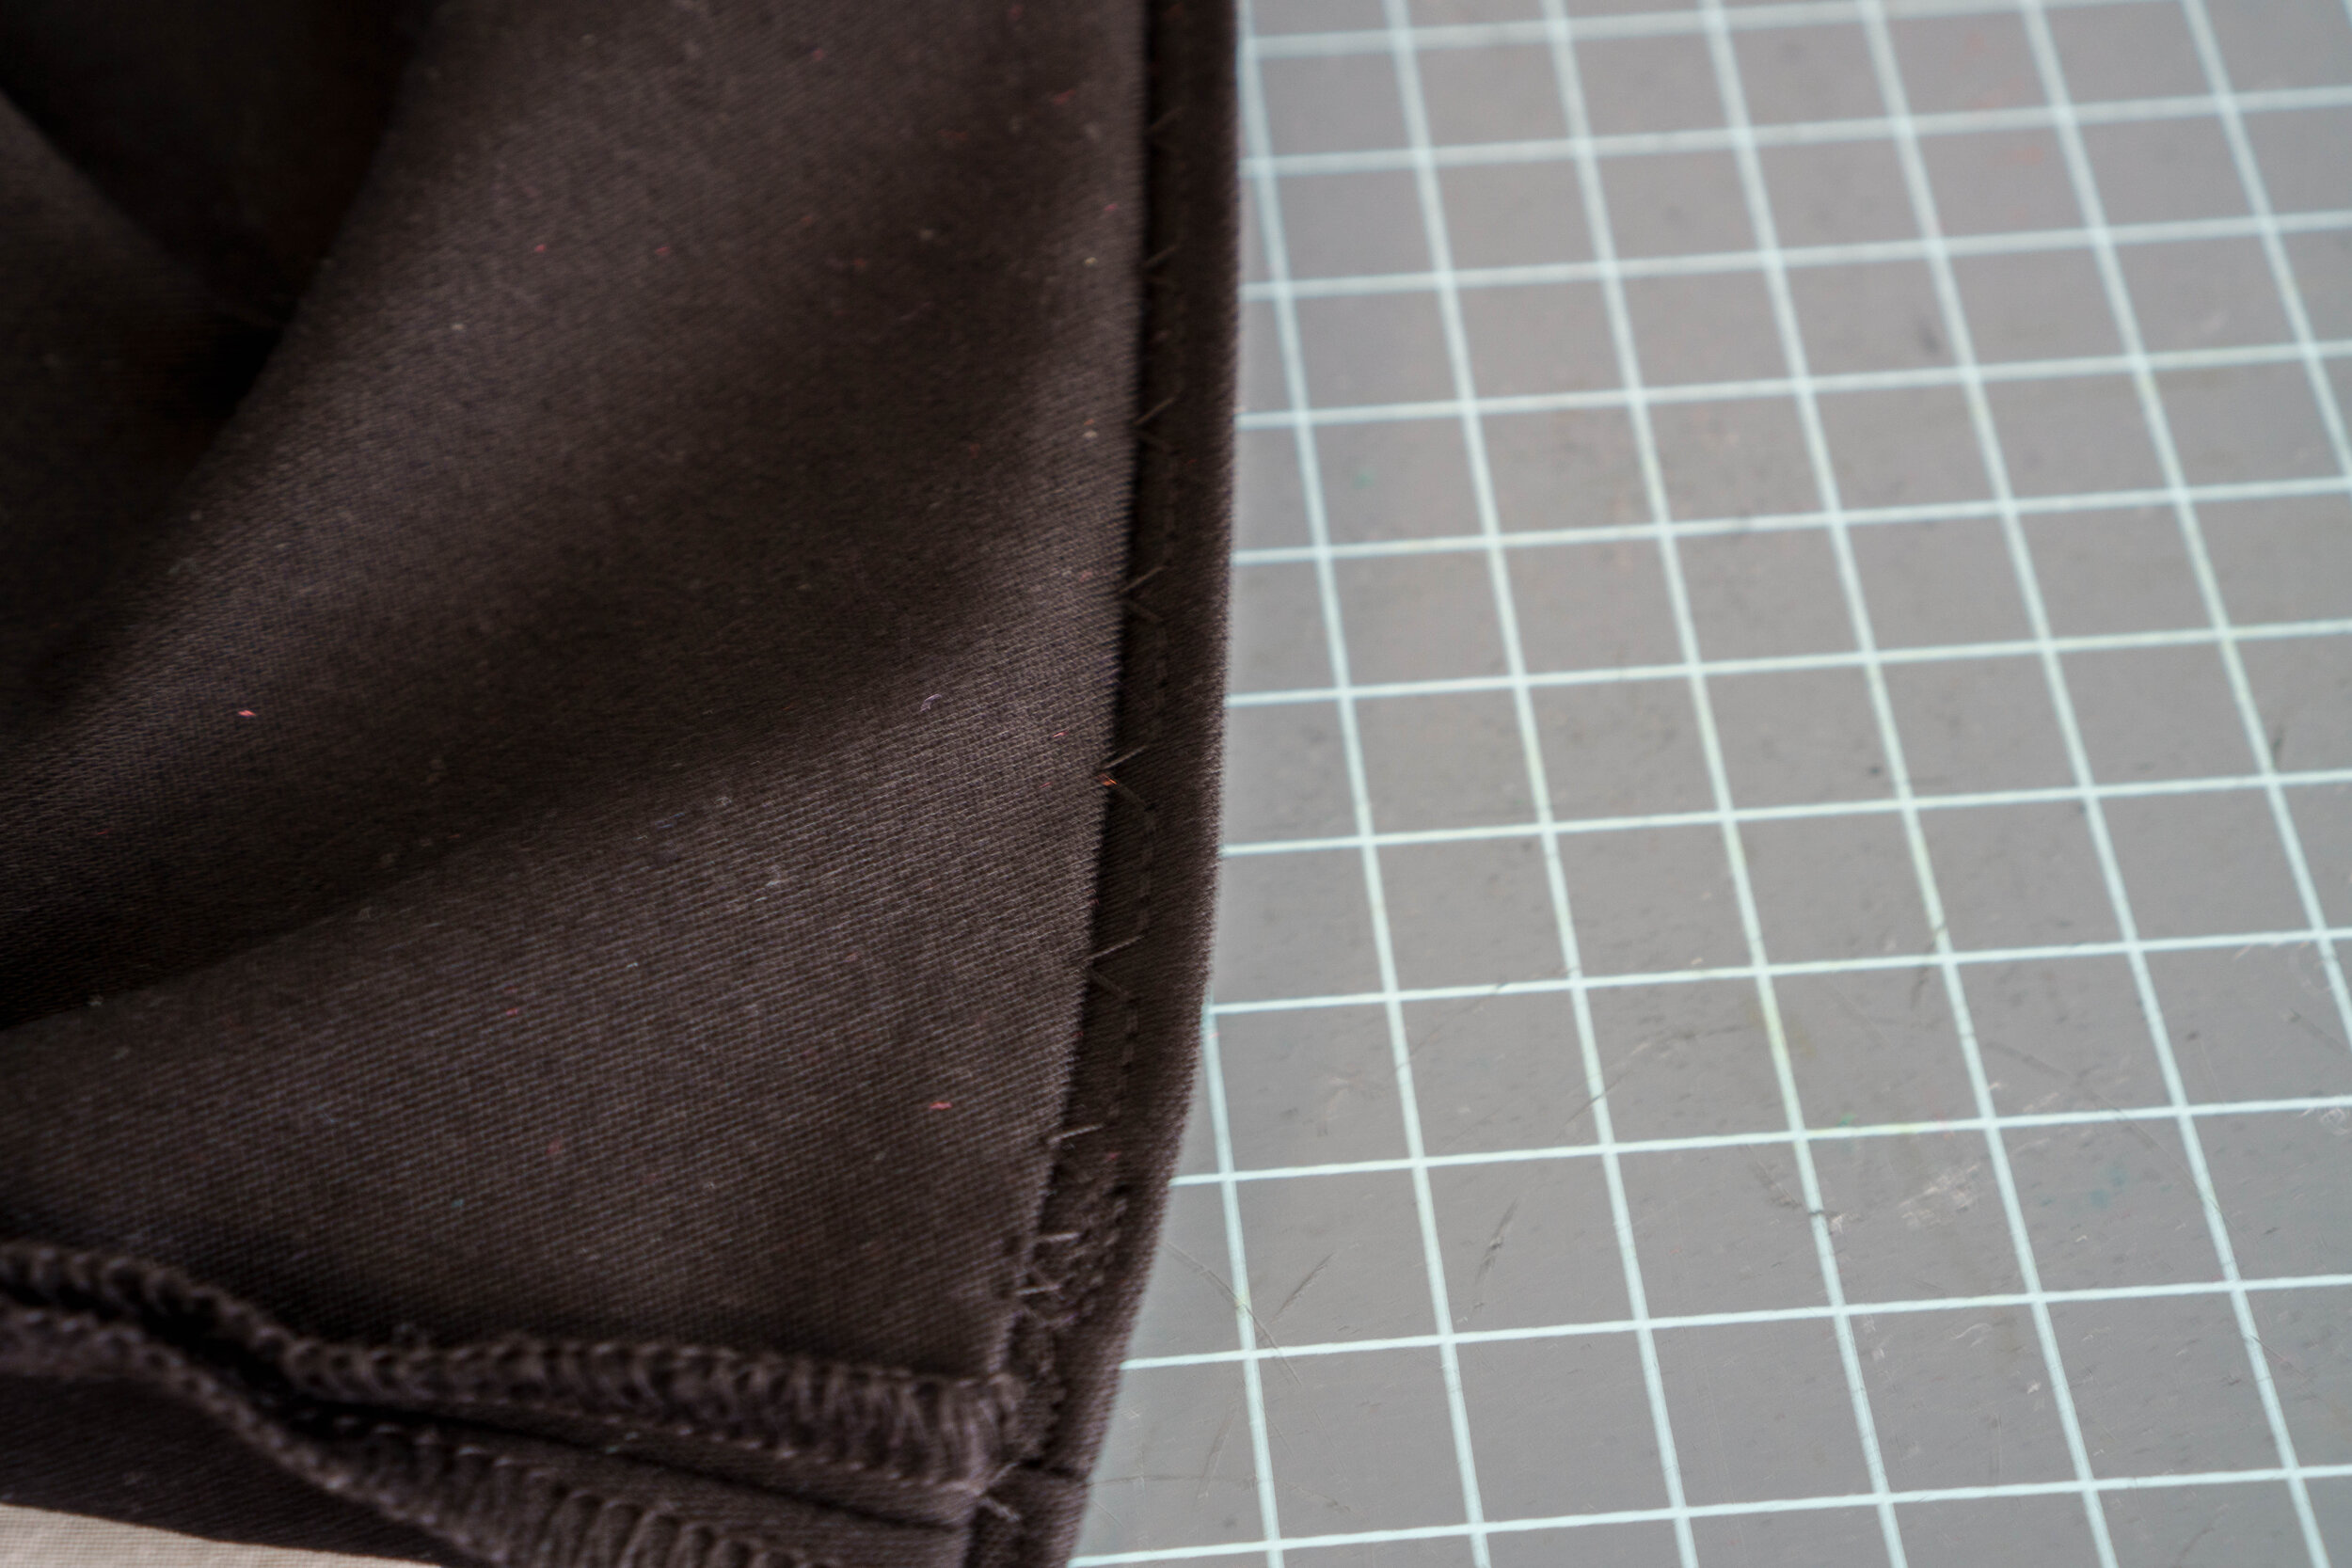
Now, stay with me — fold the hem to the inside so that Crease B is inside the pant leg and Crease A is sticking up, with the pants leg about 3/8” below Crease A. See the following photos and this should make sense.
Press this lightly and we’ll call it Crease C. Place pins all the way around the leg.
I’m actually going to show this to you on a light colored scrap with dark colored thread so that you can more easily see how this goes.
Here’s my scrap folded like my hem is folded:
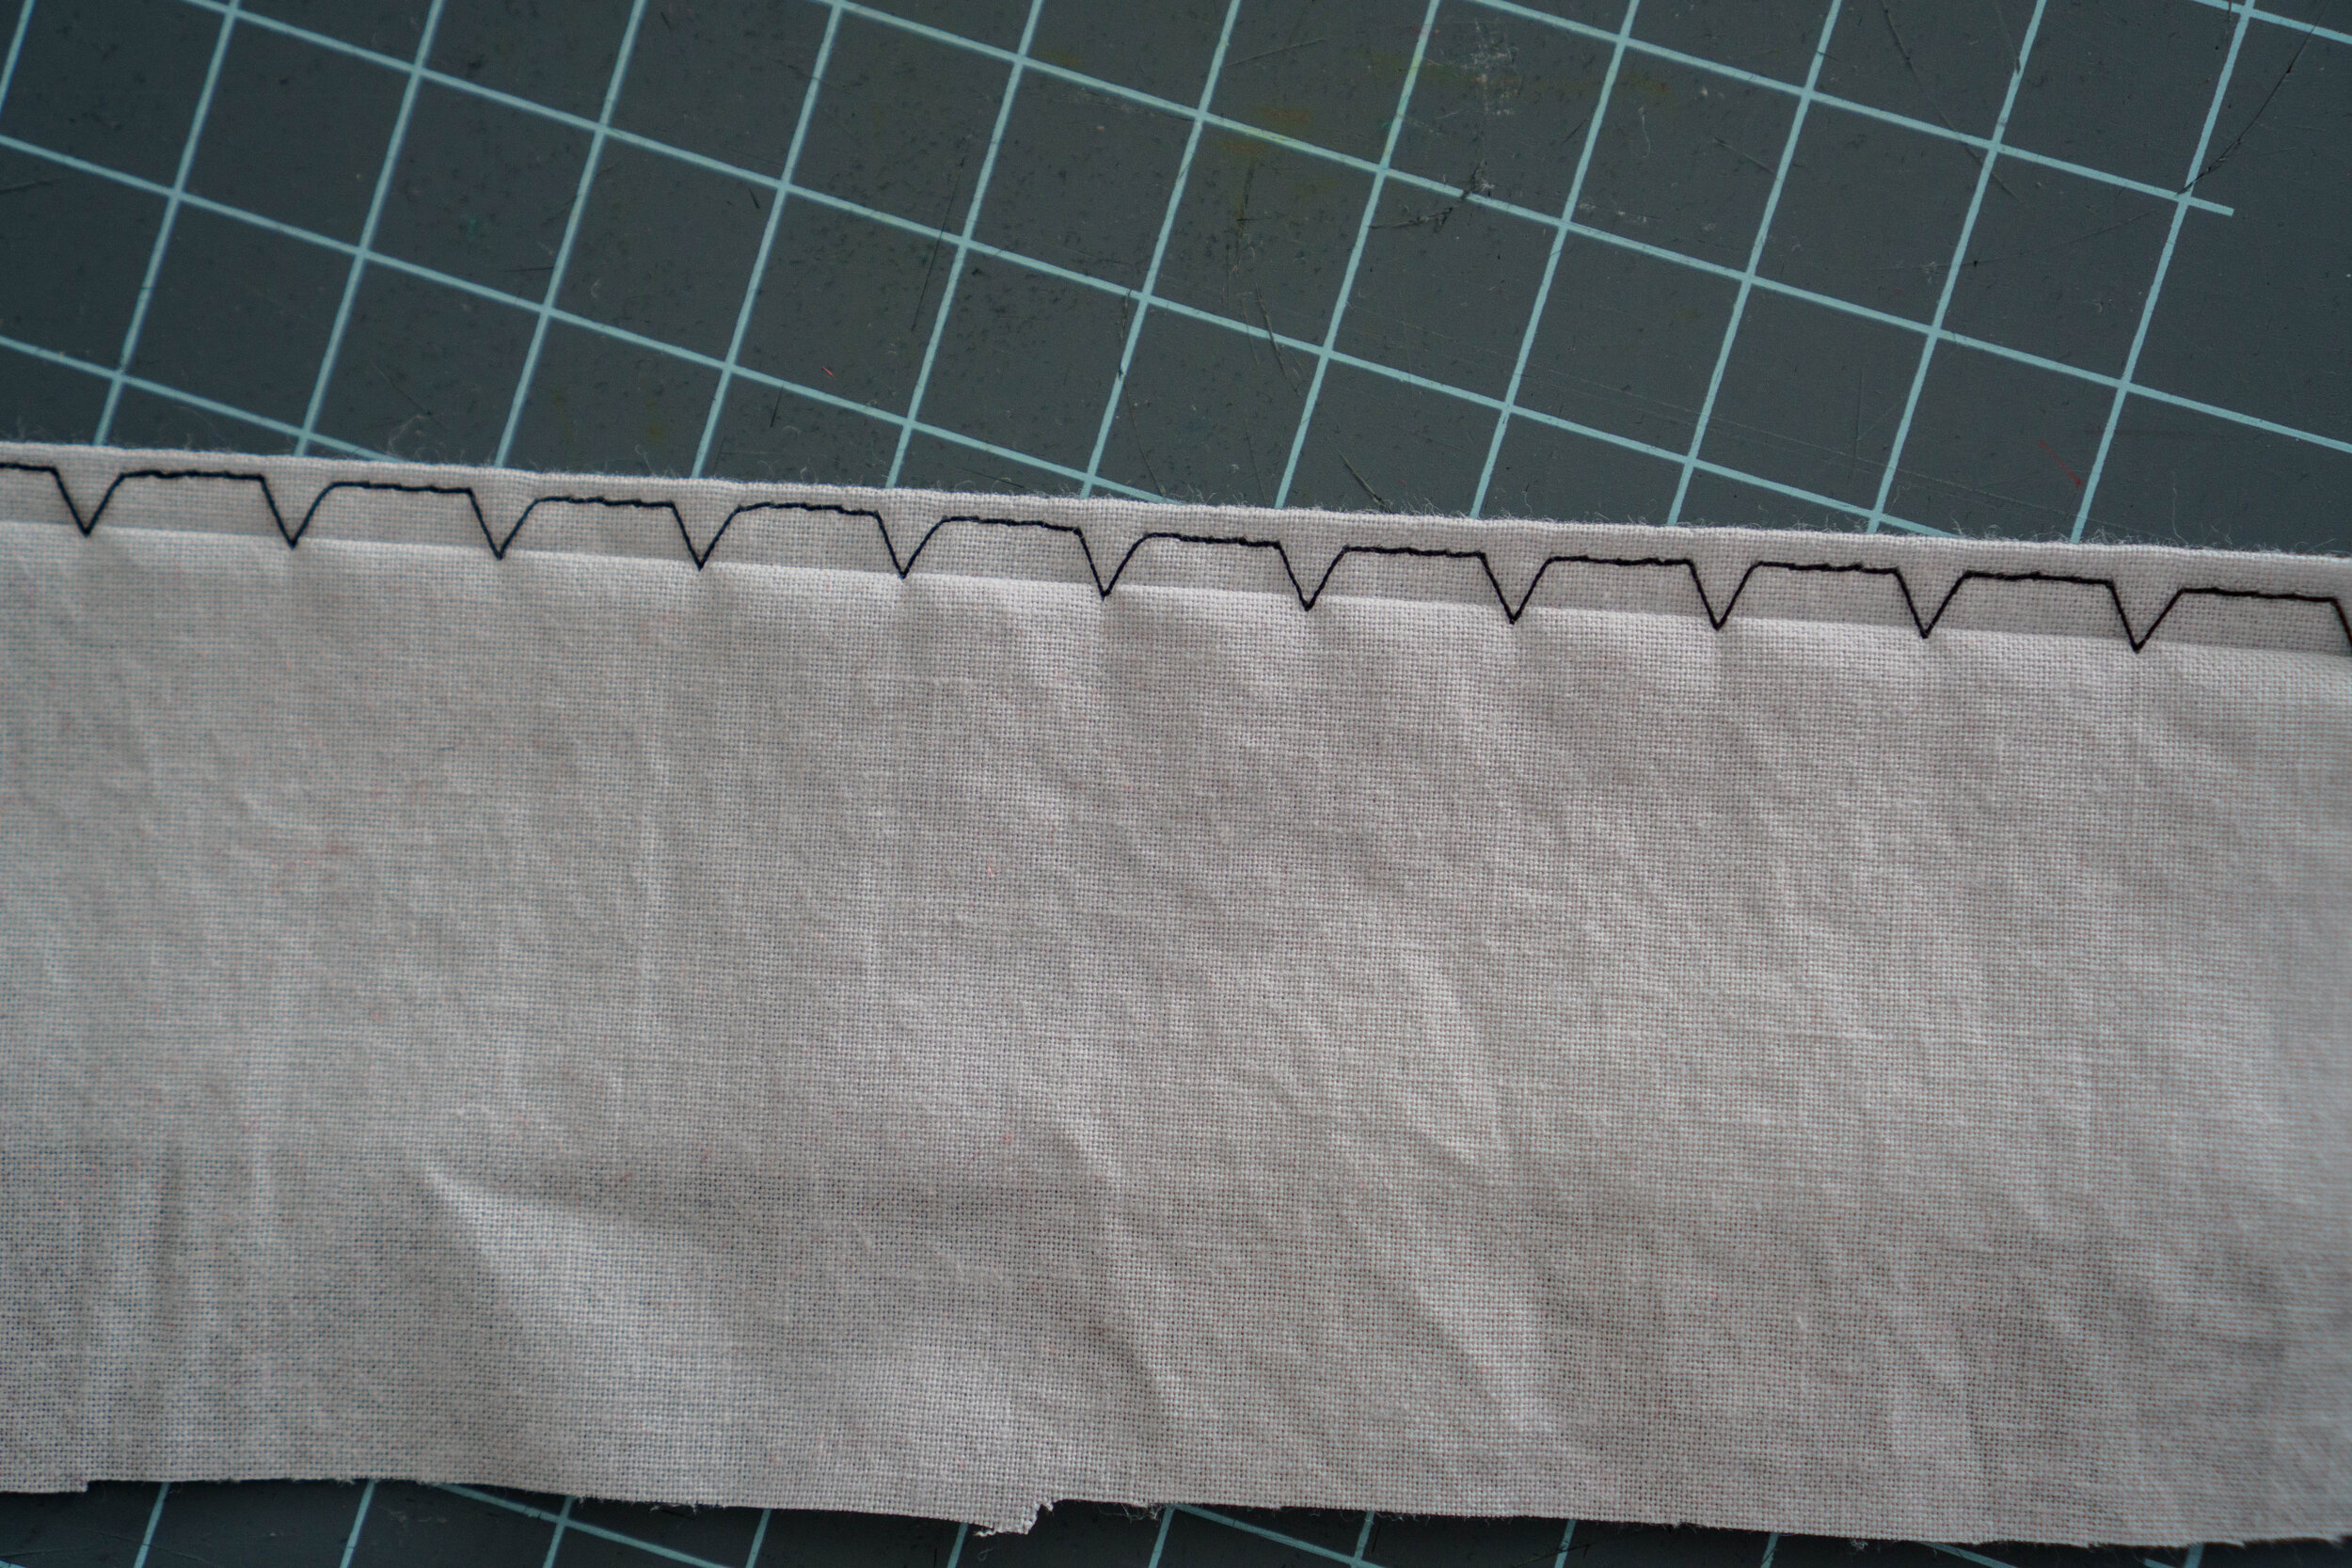
Over to the machine! Most machines have an invisible hem stitch. Even my oldest one, that only has a few stitches, has this one. It’s four straight stitches, then one zig zag, etc … It looks like this:
My machine sets the width and length for me, but if yours doesn’t, you want a stitch length of 2.5 and a stitch width of 4.
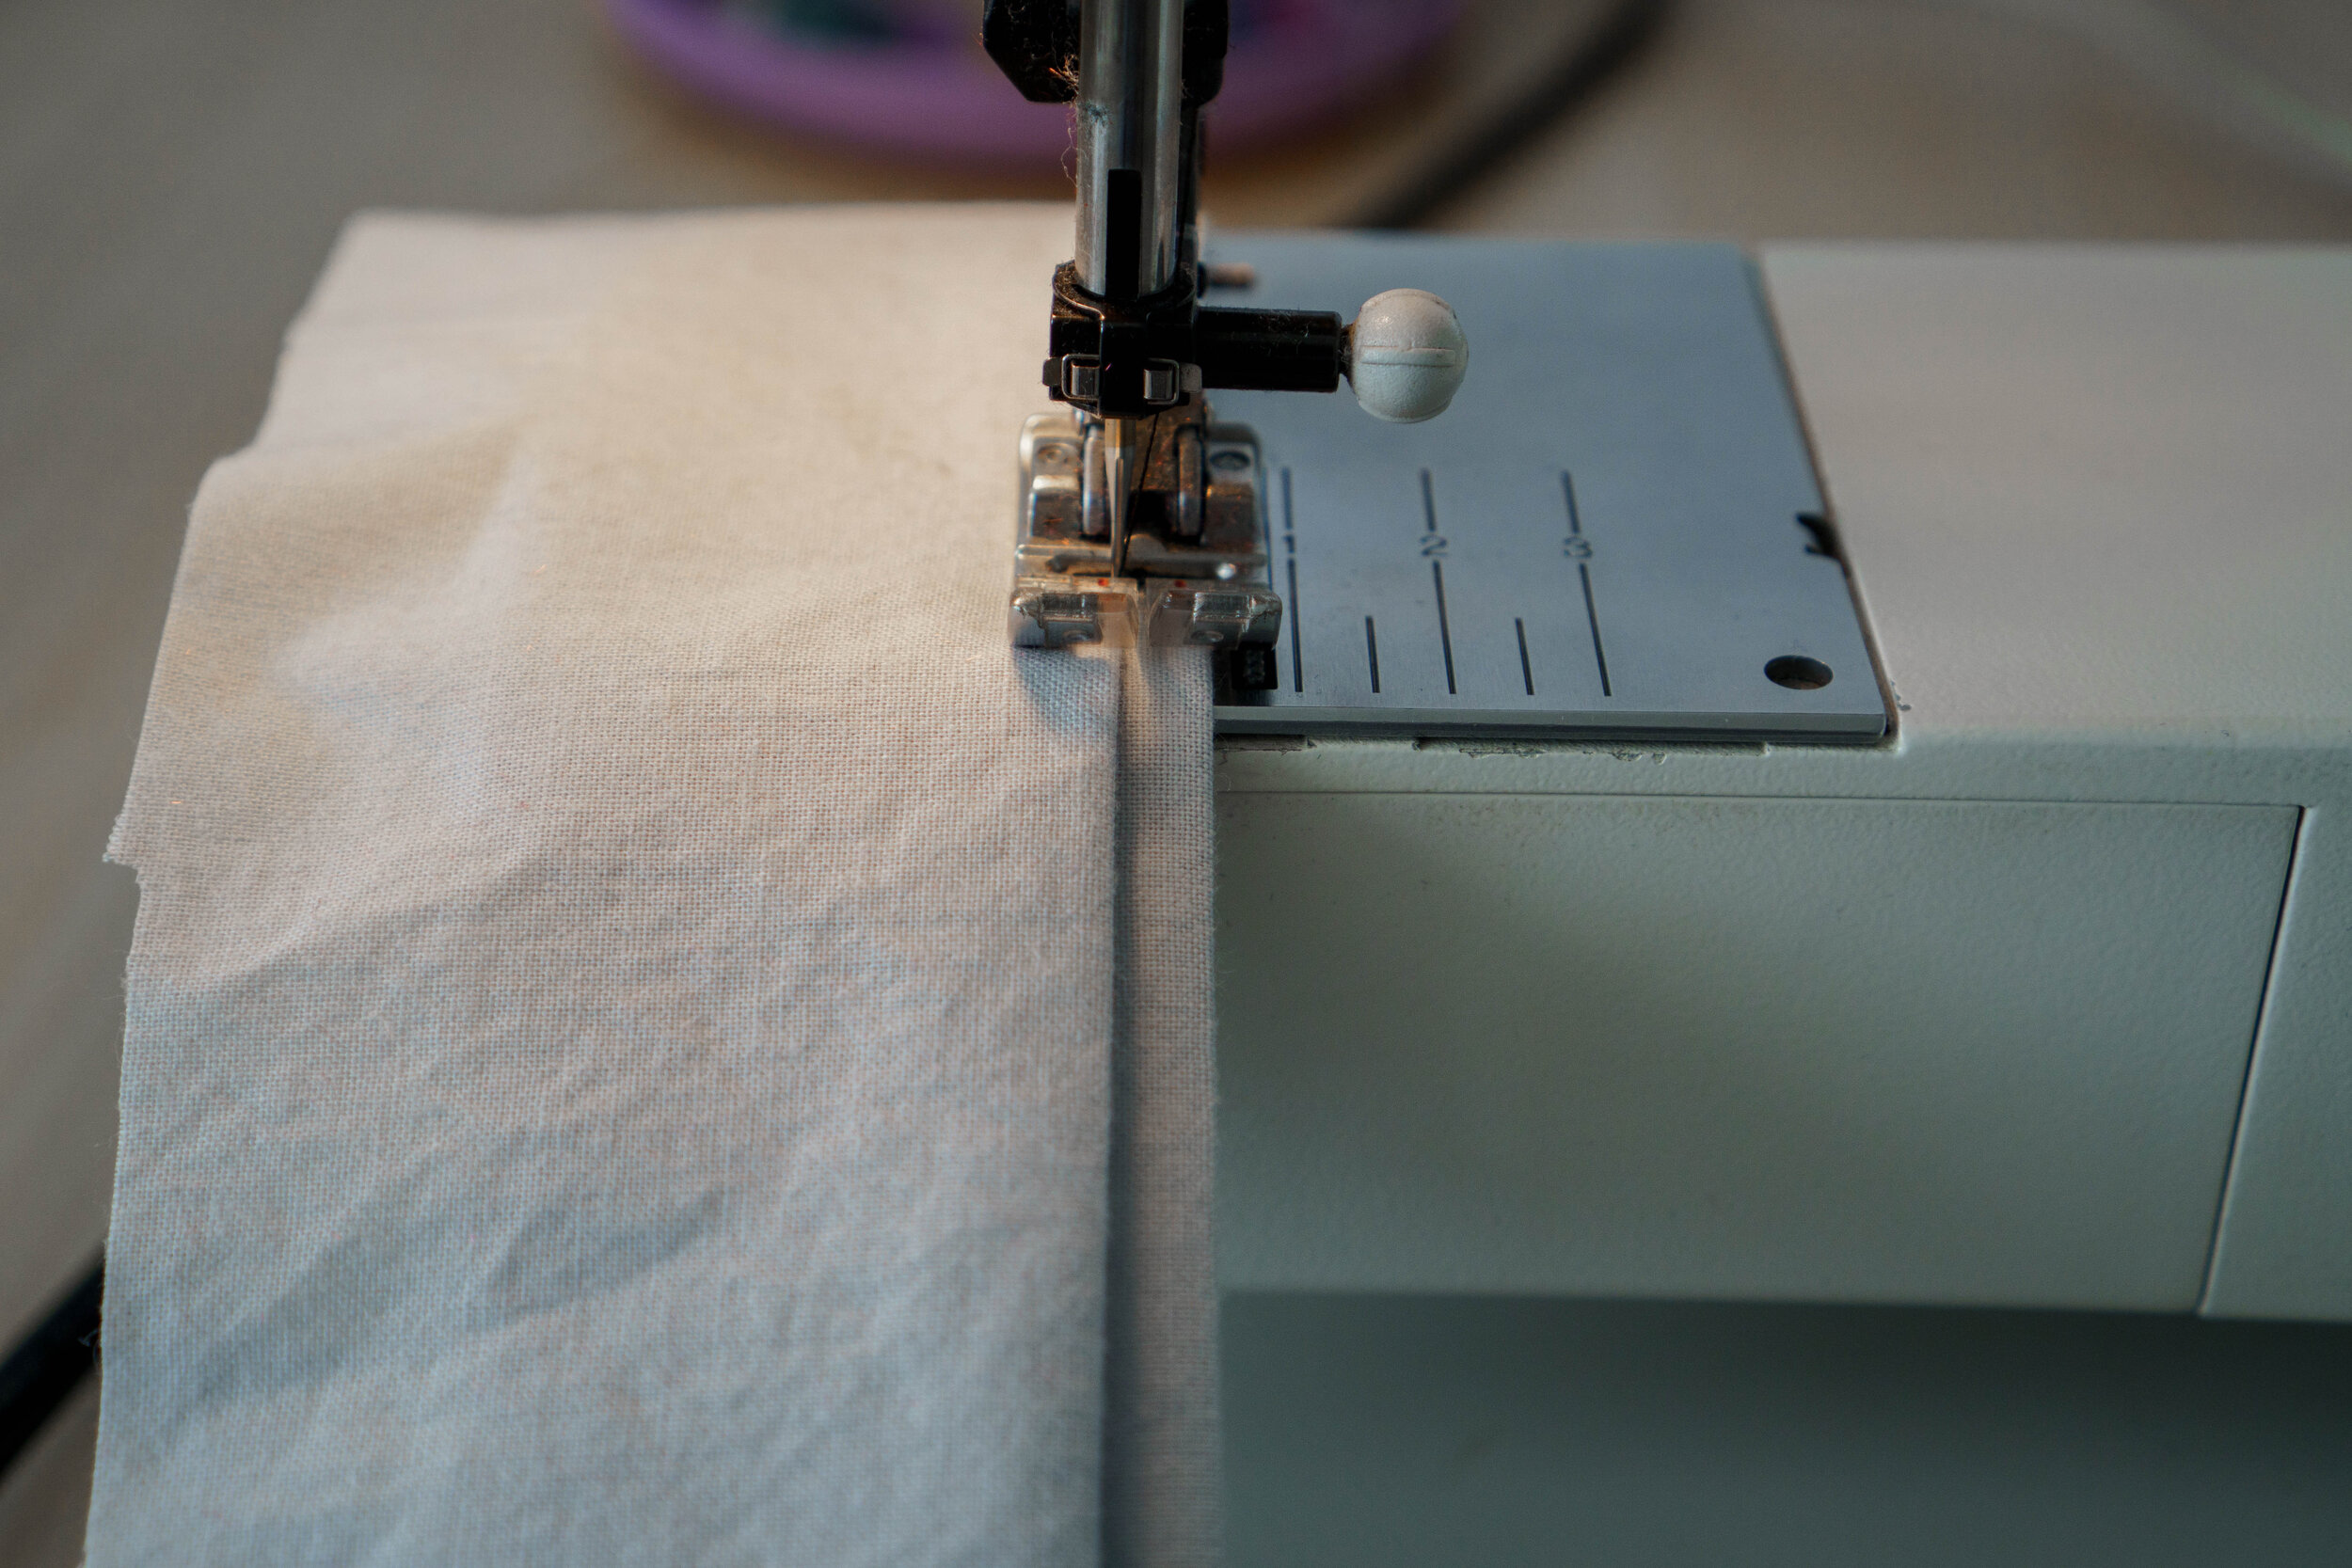
I always start with a scrap real quick, so that I can get the placement right. Put the fabric under the machine with Crease A to the right and Crease C facing up, and so that the straight stitches are to the right of crease C, but the point of the zig zag hits just on the edge of Crease C.
I used black thread so you can see what it will look like. Notice how the points barely catch the folded edge of the fabric. It can take some practice not to get it too far in.
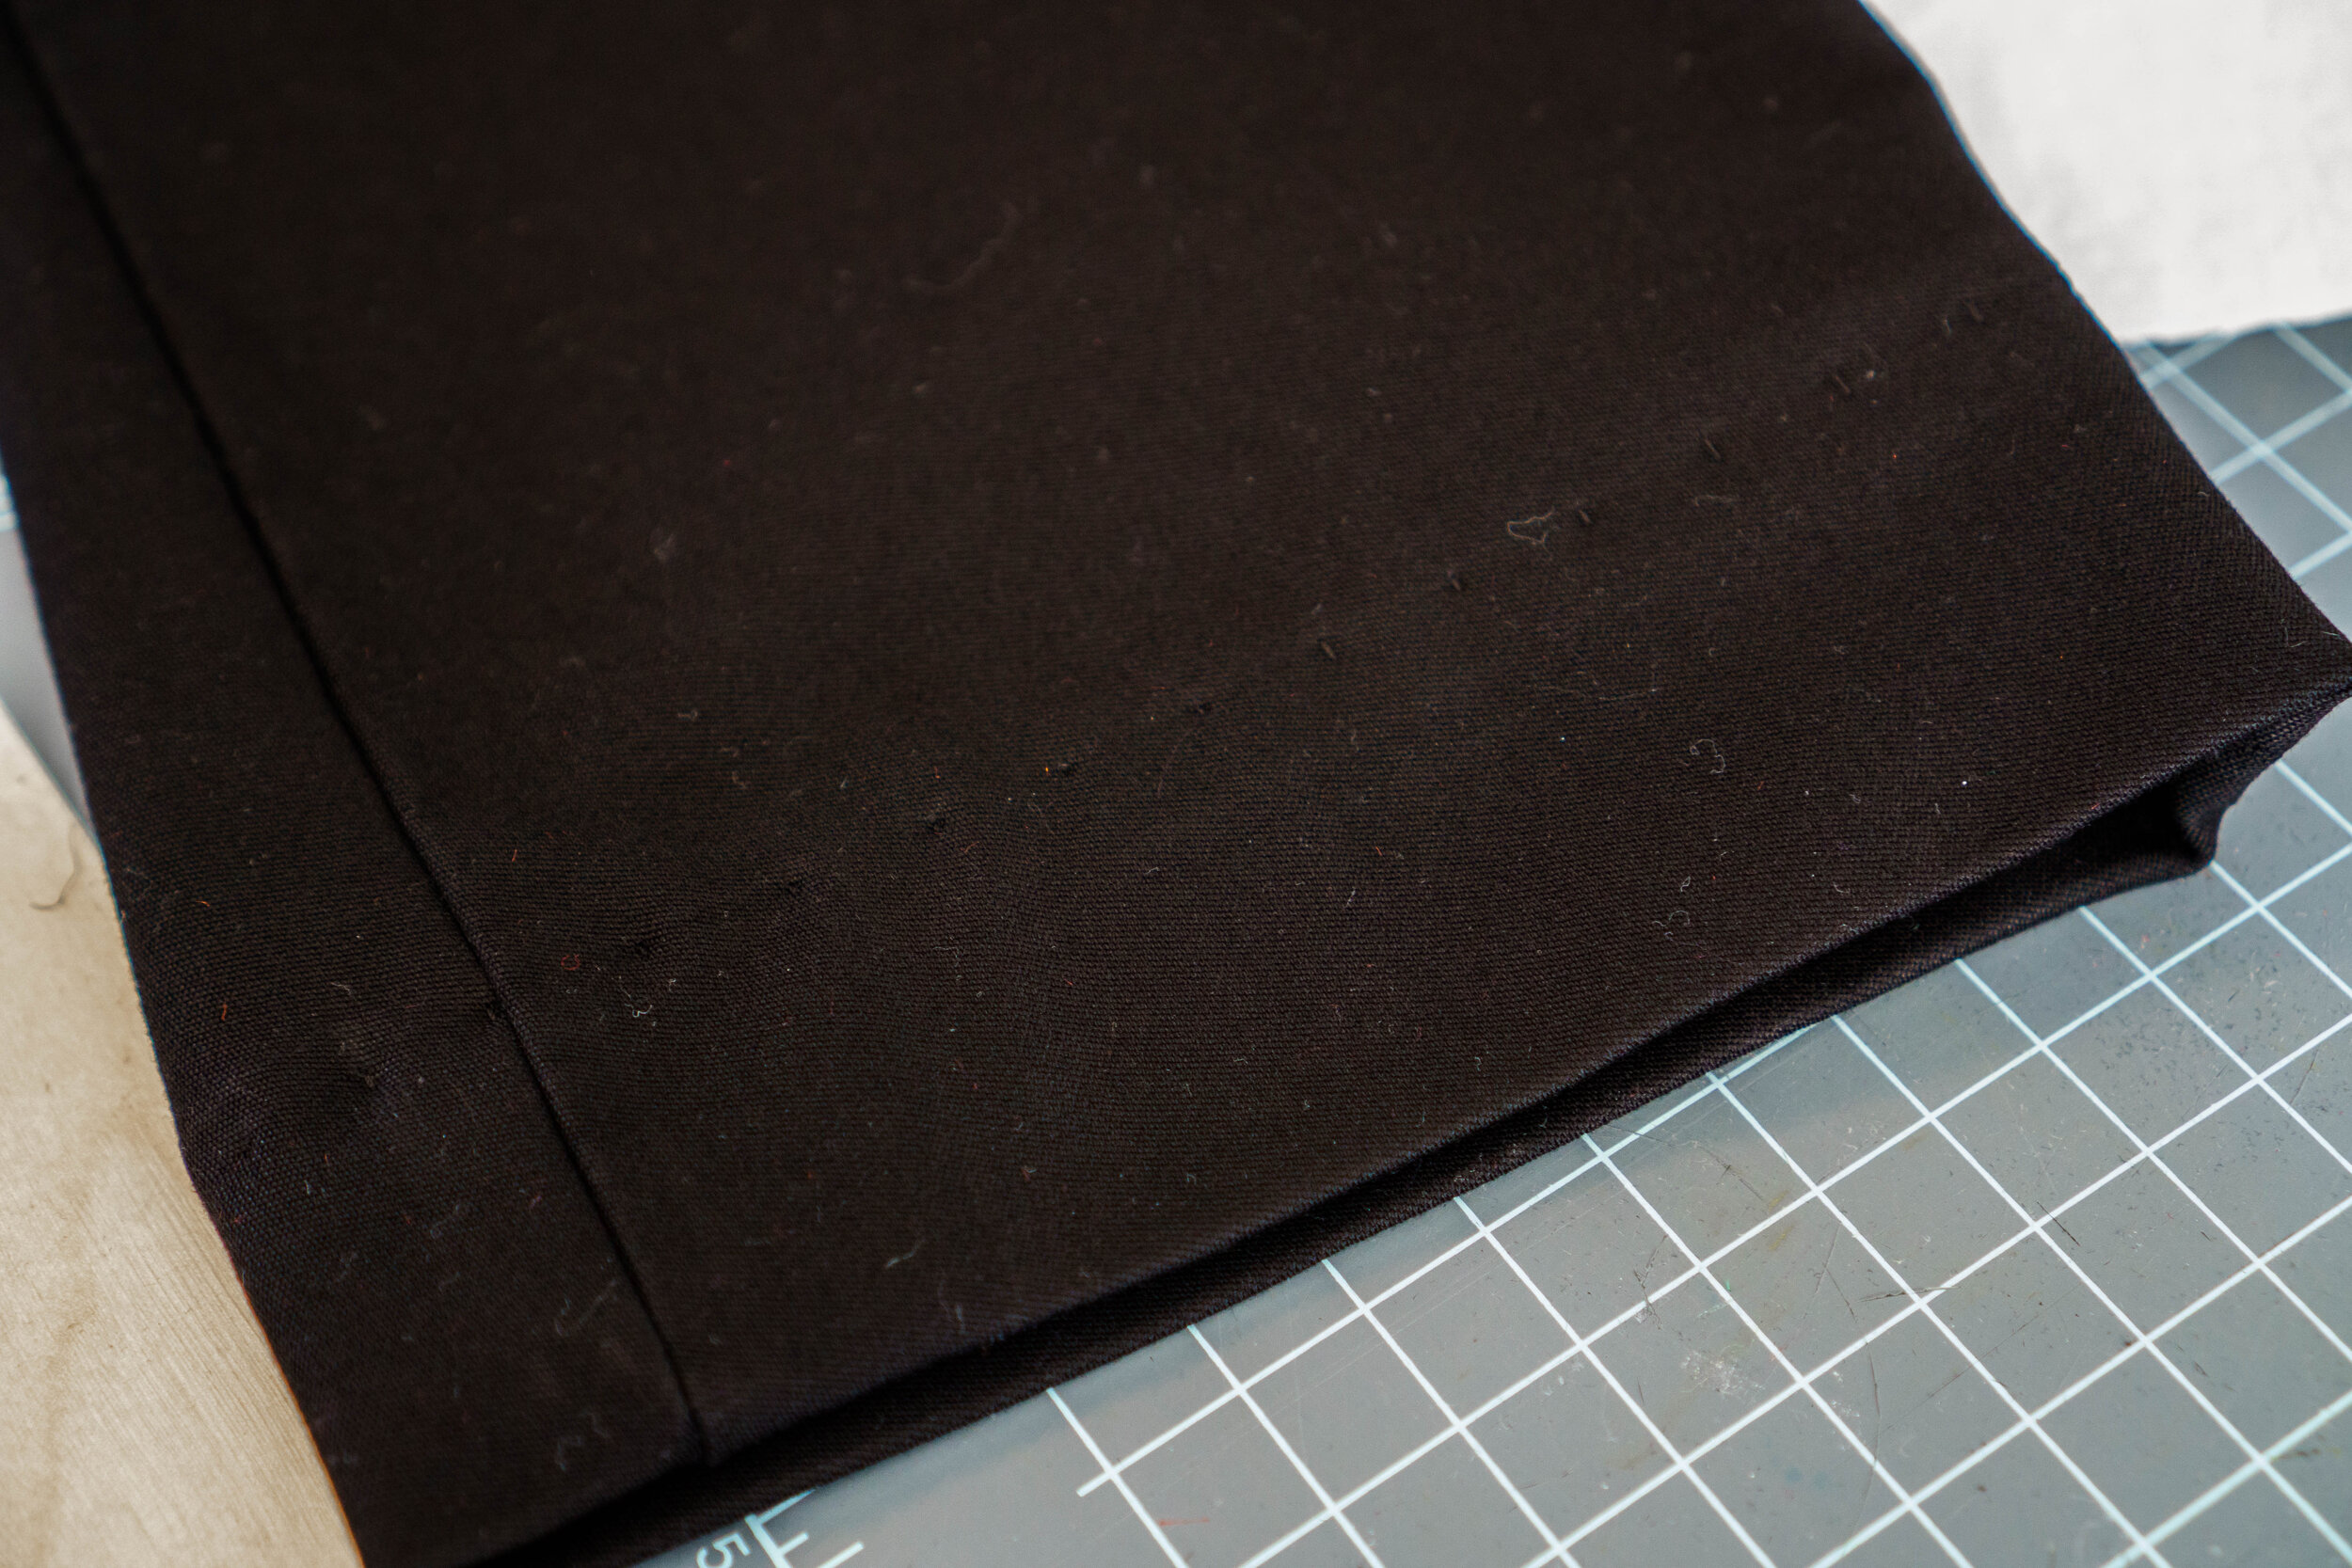
Now, when you turn down the hem and view it from the right side, after giving it a good press, those little zig zag stitches will be hardly visible (with matching thread, of course).
Back to the real thing! I did the same thing with my pants hem, trying to catch just a few fibers of crease C with that zig zag stitch.
My pants look pretty darn good! I’ve already worn them twice during my daughter’s Nutcracker weekend, so I found the perfect pair of black dress pants just in time.
I you don’t have a machine with the blind hem stitch, or if you’re here because you’re short, don’t have a sewing machine and are tired of begging your sewing friends to hem your pants (ha!), here is how you can hand stitch the hem into place.
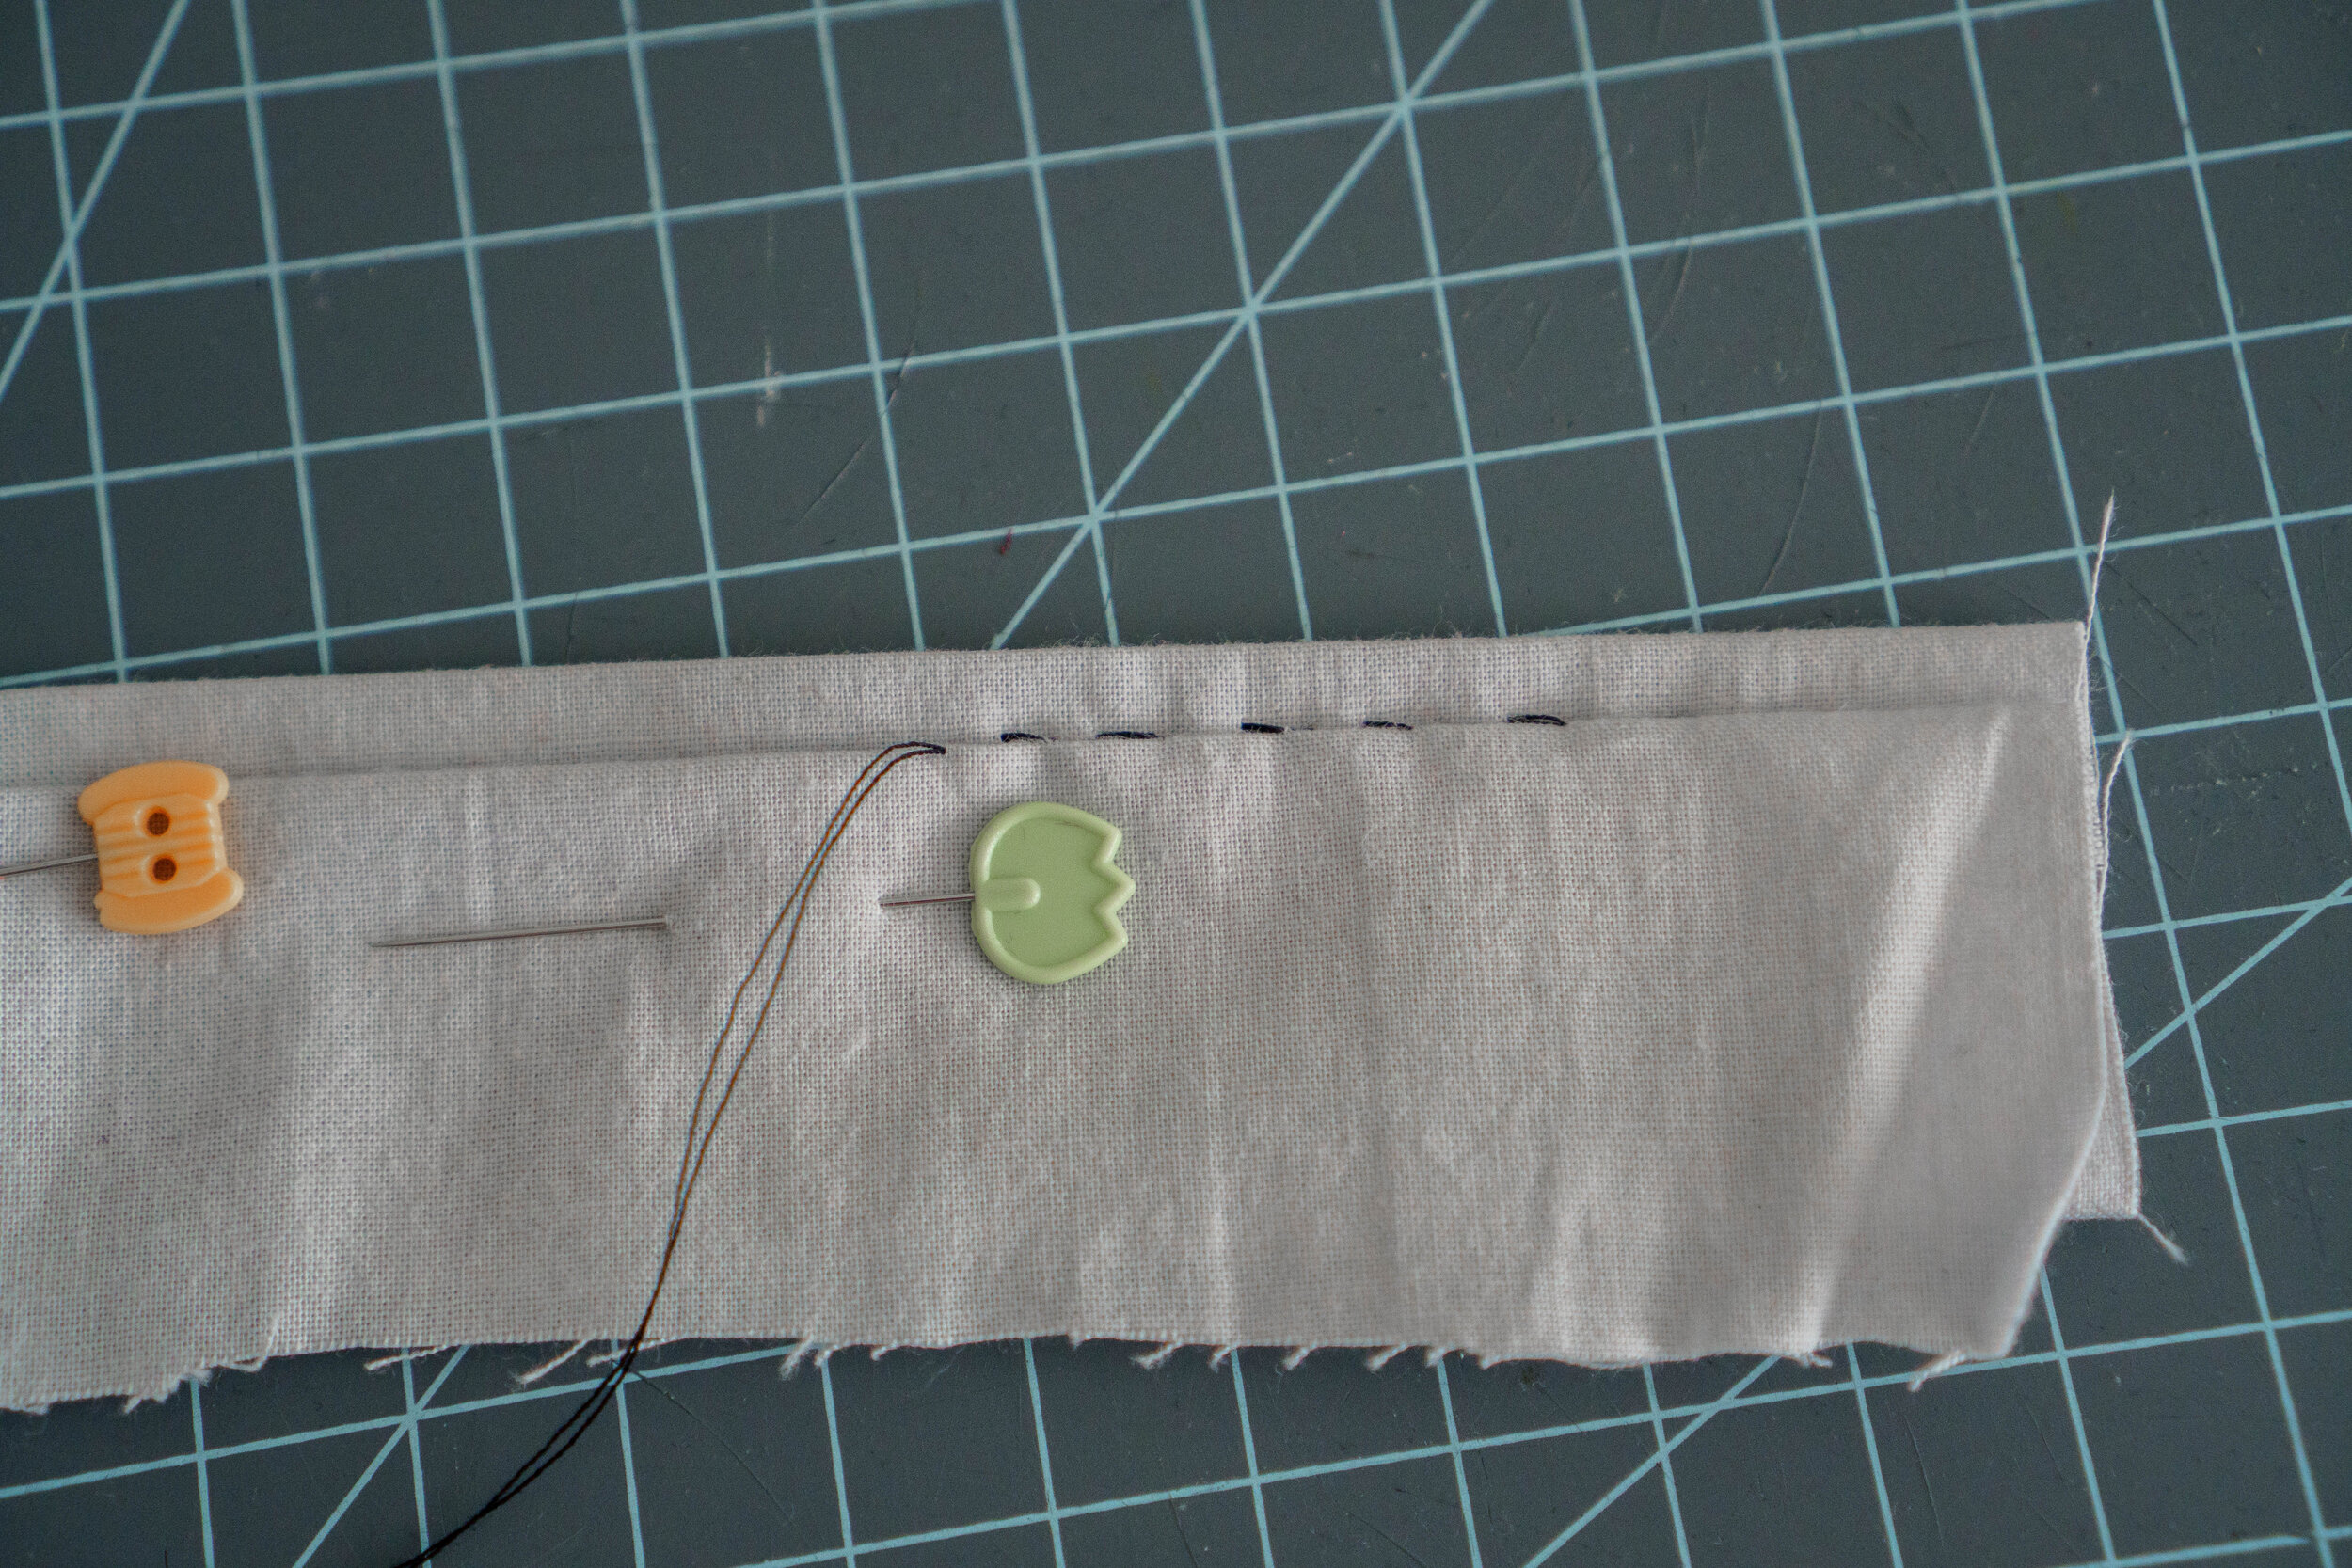
It may take some practice, but your stitch with look like this, trying to catch just a few fibers with your needle:
I actually feel like I can hand sew a better blind hem because it’s easier to catch just the two or three fibers of Crease C with your needle and really disappears from the right side.
I hope this was helpful for some of you! Let me know if you have trouble or would like to see a video of this technique!
Cheers :)
Nikki










Sew up the cutest frog dolls! New to the shop :)