
How to Sew a Knit Neckband || My No-Fail Method
This is one of those sewing skills that took some real trial and error before I felt confident enough that I’d get it right every time. I did conquer the knit neckband, though, and I have a tried and true method that now works perfectly, so I’m here to share it with you today!
If you never quite know how to finish necklines and armholes of knits (that just means stretchy fabrics), this is a great solution for almost any knit fabric. There are of course other methods and I have a favorite way to “bind” the neckline of certain knit garments, but most of the time, especially for more casual clothes, I prefer a neck “band”.
Keep reading for the tutorial for fail-proof neckbands, but you can also see this technique in action in this t-shirt video tutorial on my YouTube channel!
Most of the time, the problem people have with this method is that their neckband turns out loose and floppy and won’t stay flat, but I can teach you how to avoid that. There are some secrets and just a little bit of math (don’t worry, it’s calculator friendly) that will help you sew a perfect t-shirt-style neckband every time. So let’s get to it!
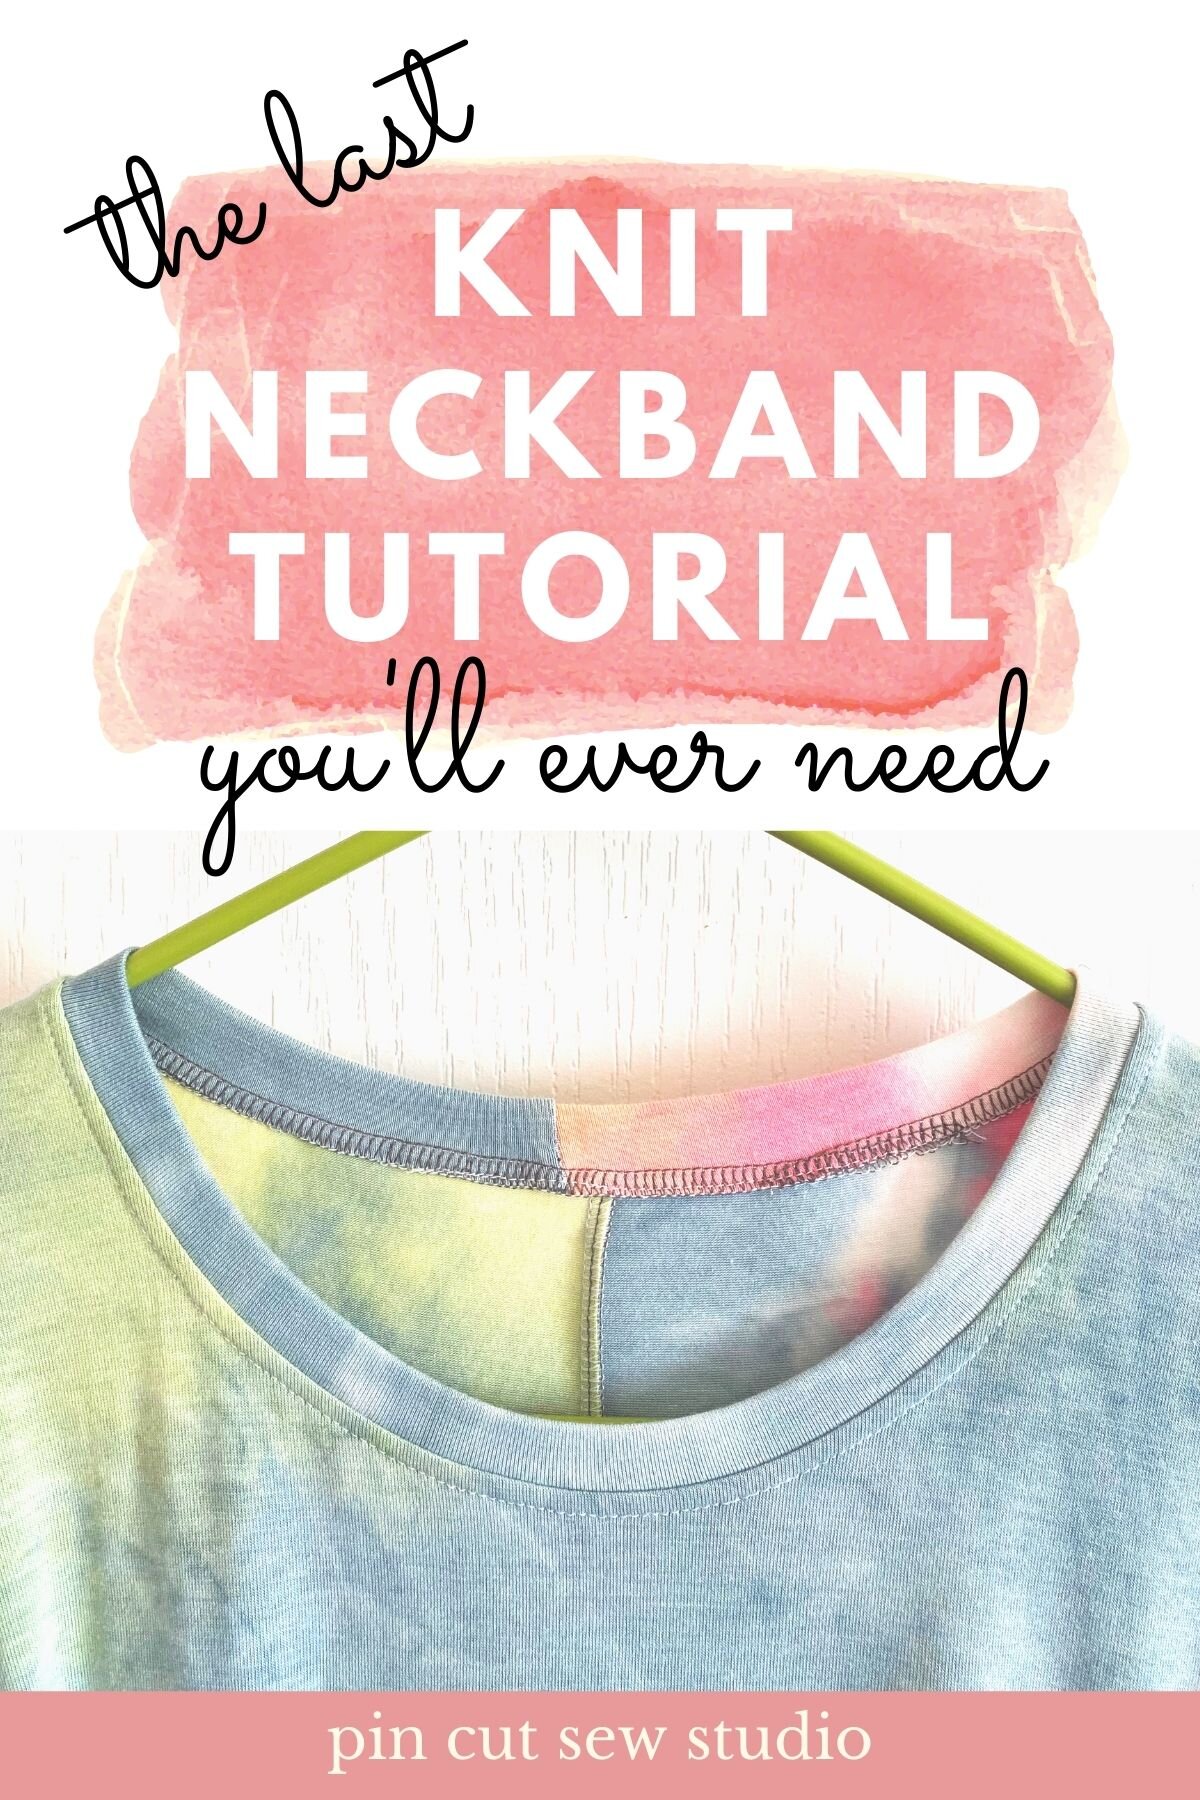
First of all, here is what I mean by neck “band”. And you can’t see them here, but on this dress, I used the same method for armhole bands:

The key to perfectly flat lying neckbands is to get the measurements just right so that there is just enough stretch, but not so much that it pulls the fabric. It can be tricky! But the rule of thumb is to cut your band to measure 85% of the neck measurement.
So first, I measure my neck opening by lining up the edges and measuring the length the best I can since it’s already sewn together. Like so:

You can see that it measures 11.5”, which I’ll double because it’s folded in half, which is 23” total. Now I’m going to use my calculator to find 85% of that by calculating 23 x .85 = 19.55. So that’s the length of my neckband! Actually, I’ll cut it 20” for a seam allowance. For this neckband, I wanted about 1/2” of band to be showing, so I cut the width to 2” and used a 1/2” seam allowance. If you want a wider band, here’s the math. Decide how wide you want it, double that, then add 1” for seam allowance. So if you want a 3/4” band for example, you’ll cut it to be 2.5”.
If your fabric is a two way stretch, cut the neckband with the length running in the direction of the stretch. If you’re using a two way stretch, you can decide how to cut it. Usually with the extra stretchy fabric, I’ll cut it in the direction of less stretch, but only if it’s still pretty stretchy.

BUT WAIT. Here’s where you sort of have to make a judgement call. If you’re using a very stretchy knit, cut your neckband a little shorter. Maybe an inch to start (you can always take it down more later, which I’ll get to). Conversely, if you’re using a not very stretchy knit, you’ll need to make it an inch or two longer. But for most knits, the 85% rule … well, it rules (haha). This is the reason why pattern pieces of knit neckbands that come with paper sewing pattern aren’t usually very trustworthy. Every knit is different and you sort of have to get the feel of how they behave and the kind of stretch you’re working with. Once you know, though, you can ditch those pattern pieces and just use your favorite method! I’ll talk more of “getting the feel” of it in just a minute.
So once I have it cut, I sew the short ends together (I use a serger, but if you don’t have one, just use the stretch stitch on your machine. It looks like a lightening bolt.) Then ironing your neckband so the raw edges meet. Here is what my prepare neckband looks like in relation to the neck opening of my dress:

Now it’s time to pin it on. You need to find and mark both your neckband in your neck opening in fourths. First, for the neck opening, bring the shoulder seams together to find the front and back centers and mark those by placing a pin in each. Then, bring those pins together to find the other quarters and mark those with pins. (counterintuitively, the shoulder seams are not the fourths). Find and mark the quarters of the neckband too, with the back seam as your starting place. (The above photo shows my pins marking my quarters).
Pin your neckband to your garment, right sides together, matching the center backs and the other quarter markings.
Now, before you sew it on, you can assess whether or not you need to adjust it. This is what I meant by “getting a feel” for this. If you’re having to stretch the neckband so much that the edges are curling to get the quarter markings to match up, you probably need to cut a bit longer of a neckband. It should not be stretched to its max, in other words. Likewise, if it’s barely stretching from marking to marking, you need to cut an inch off the length and see how that fits.

Ok, It’s time to sew it on! Like I said, I use a serger, but you don’t have to have one. Just use the lightening bolt stitch on your machine, OR sew a double seam with a straight stitch, one on the seamline and another 1/8” inside it. Then trim. This is how I sewed knits for many years before I had a machine with a stretch stitch or a serger and I never had any issues.
A couple tips for sewing knits on your regular sewing machine: use a stretch needle (or ballpoint, or jersey, they’re called various things). And use a walking foot if you have one. And if you don’t have one, I suggest getting one, they’re inexpensive and can make a huge difference!
Back to the neckband. I used to sew mine on with the neckband on top facing up, but I read a few months ago that it works better with the neckband on the bottom and I do find that gives me more perfect results, so now I always do it that way. Of course, if you’re not super confident about your neckband length yet, you can baste it on and scope it out first. If it’s floppy after you press it and won’t lay flat, it needs shortened. If it’s causing puckering in your neckline even after pressing, it needs to be longer!
I just serge in on there, stretching it to fit and removing pins as I go.


Once it’s attached, it’s going to need a good press, with steam if your fabric content can handle it! I always give mine a topstitch too because I prefer that look and it keeps it in place, but some people prefer not to, so you can decide. To topstitch, I use a straight stitch, a slightly longer stitch length of 3, and stretch it slightly as I sew.

I hope this has helped clear up any fear or confusion over how to get a darn knit neckband to lay flat! I know this is a skill I’m glad to have mastered so it really is worth the practice. I feel like it gives my handmade garments a professional, ready-to-wear look, and I often use it even when my pattern calls for a different method.
I love this tie-dye dress and can’t wait to get a lot of wear out of it this Summer!

The pattern for this dress is New Look 6618 and it’s a very easy pattern to sew! Great for beginners. The neckline finish the pattern calls for, though, is awful, so don’t do that and use this tutorial instead, haha.
My tie-dye jersey came from Hobby Lobby! If you don’t have one near you, below are some fabrics that would be beautiful for this pattern. I also made this dress out of a black rayon jersey and it’s been a go-to favorite garment ever since I made it.
Cheers!
Nikki


My best tips for teaching someone to sew.