
Masks for Men and Children: How to alter the mask pattern for any size face
Well, I never expected to have a viral blog post, but I must have hit on something with that mask pattern because the traffic is still going crazy and so, so many of you have purchased the miracle elastic. I must not have been the only one desperate for a better mask!
One question I’ve received several times now is how to adjust the pattern for men and children. I actually did use the same pattern and altered it to make masks for my husband and then for my father-in-law, and it was really easy to expand it, so I’m going to explain how to adjust the pattern, not just for men, but for anyone with a smaller or larger face.
You’ll of course need to hop over to the original post for the free printable mask pattern and the instructions, then come back over here to see how easy it is to alter it to fit any face to perfection.
This post may contain affiliate links, which means that while I am not paid to promote certain items, I will earn a small commission should you purchase items through these links. For more info, see my disclosure policy.

You can use the slash and spread method to alter the origami mask pattern to fit any size face.
First, for adults …
My husband is in the Army and they need solid black masks to wear to work (boring! haha). The issue he was having with other masks was that when he talks, his chin pulls the mask down and then it just moves up and down with his jaw like a muppet, ha! In order for this origami mask to fit him properly, he needed more width from top to bottom. The lengthwise width was just fine for his face.
So I slashed my pattern in half hotdog style (lengthwise) and simply inserted a 3/4” strip in order to widen it.

Follow the same directions for the mask as n the original post, but you may need to cut the elastic slightly longer. I cut his to 12” instead of 11 and that worked perfectly.
I made these two masks for my in laws and you can see the man’s mask is just slightly larger than the one for my mother-in-law.


Now let’s talk about how to alter the pattern for other faces. My husband has a somewhat narrow face, but if yours has a wider face, you can also add width in the other direction. By slashing the pattern in fourths, it’s super easy to just adjust it in whatever way you need. For any adult, the other measurements in the instructions should be able to remain the same, so just follow the tutorial as normal.
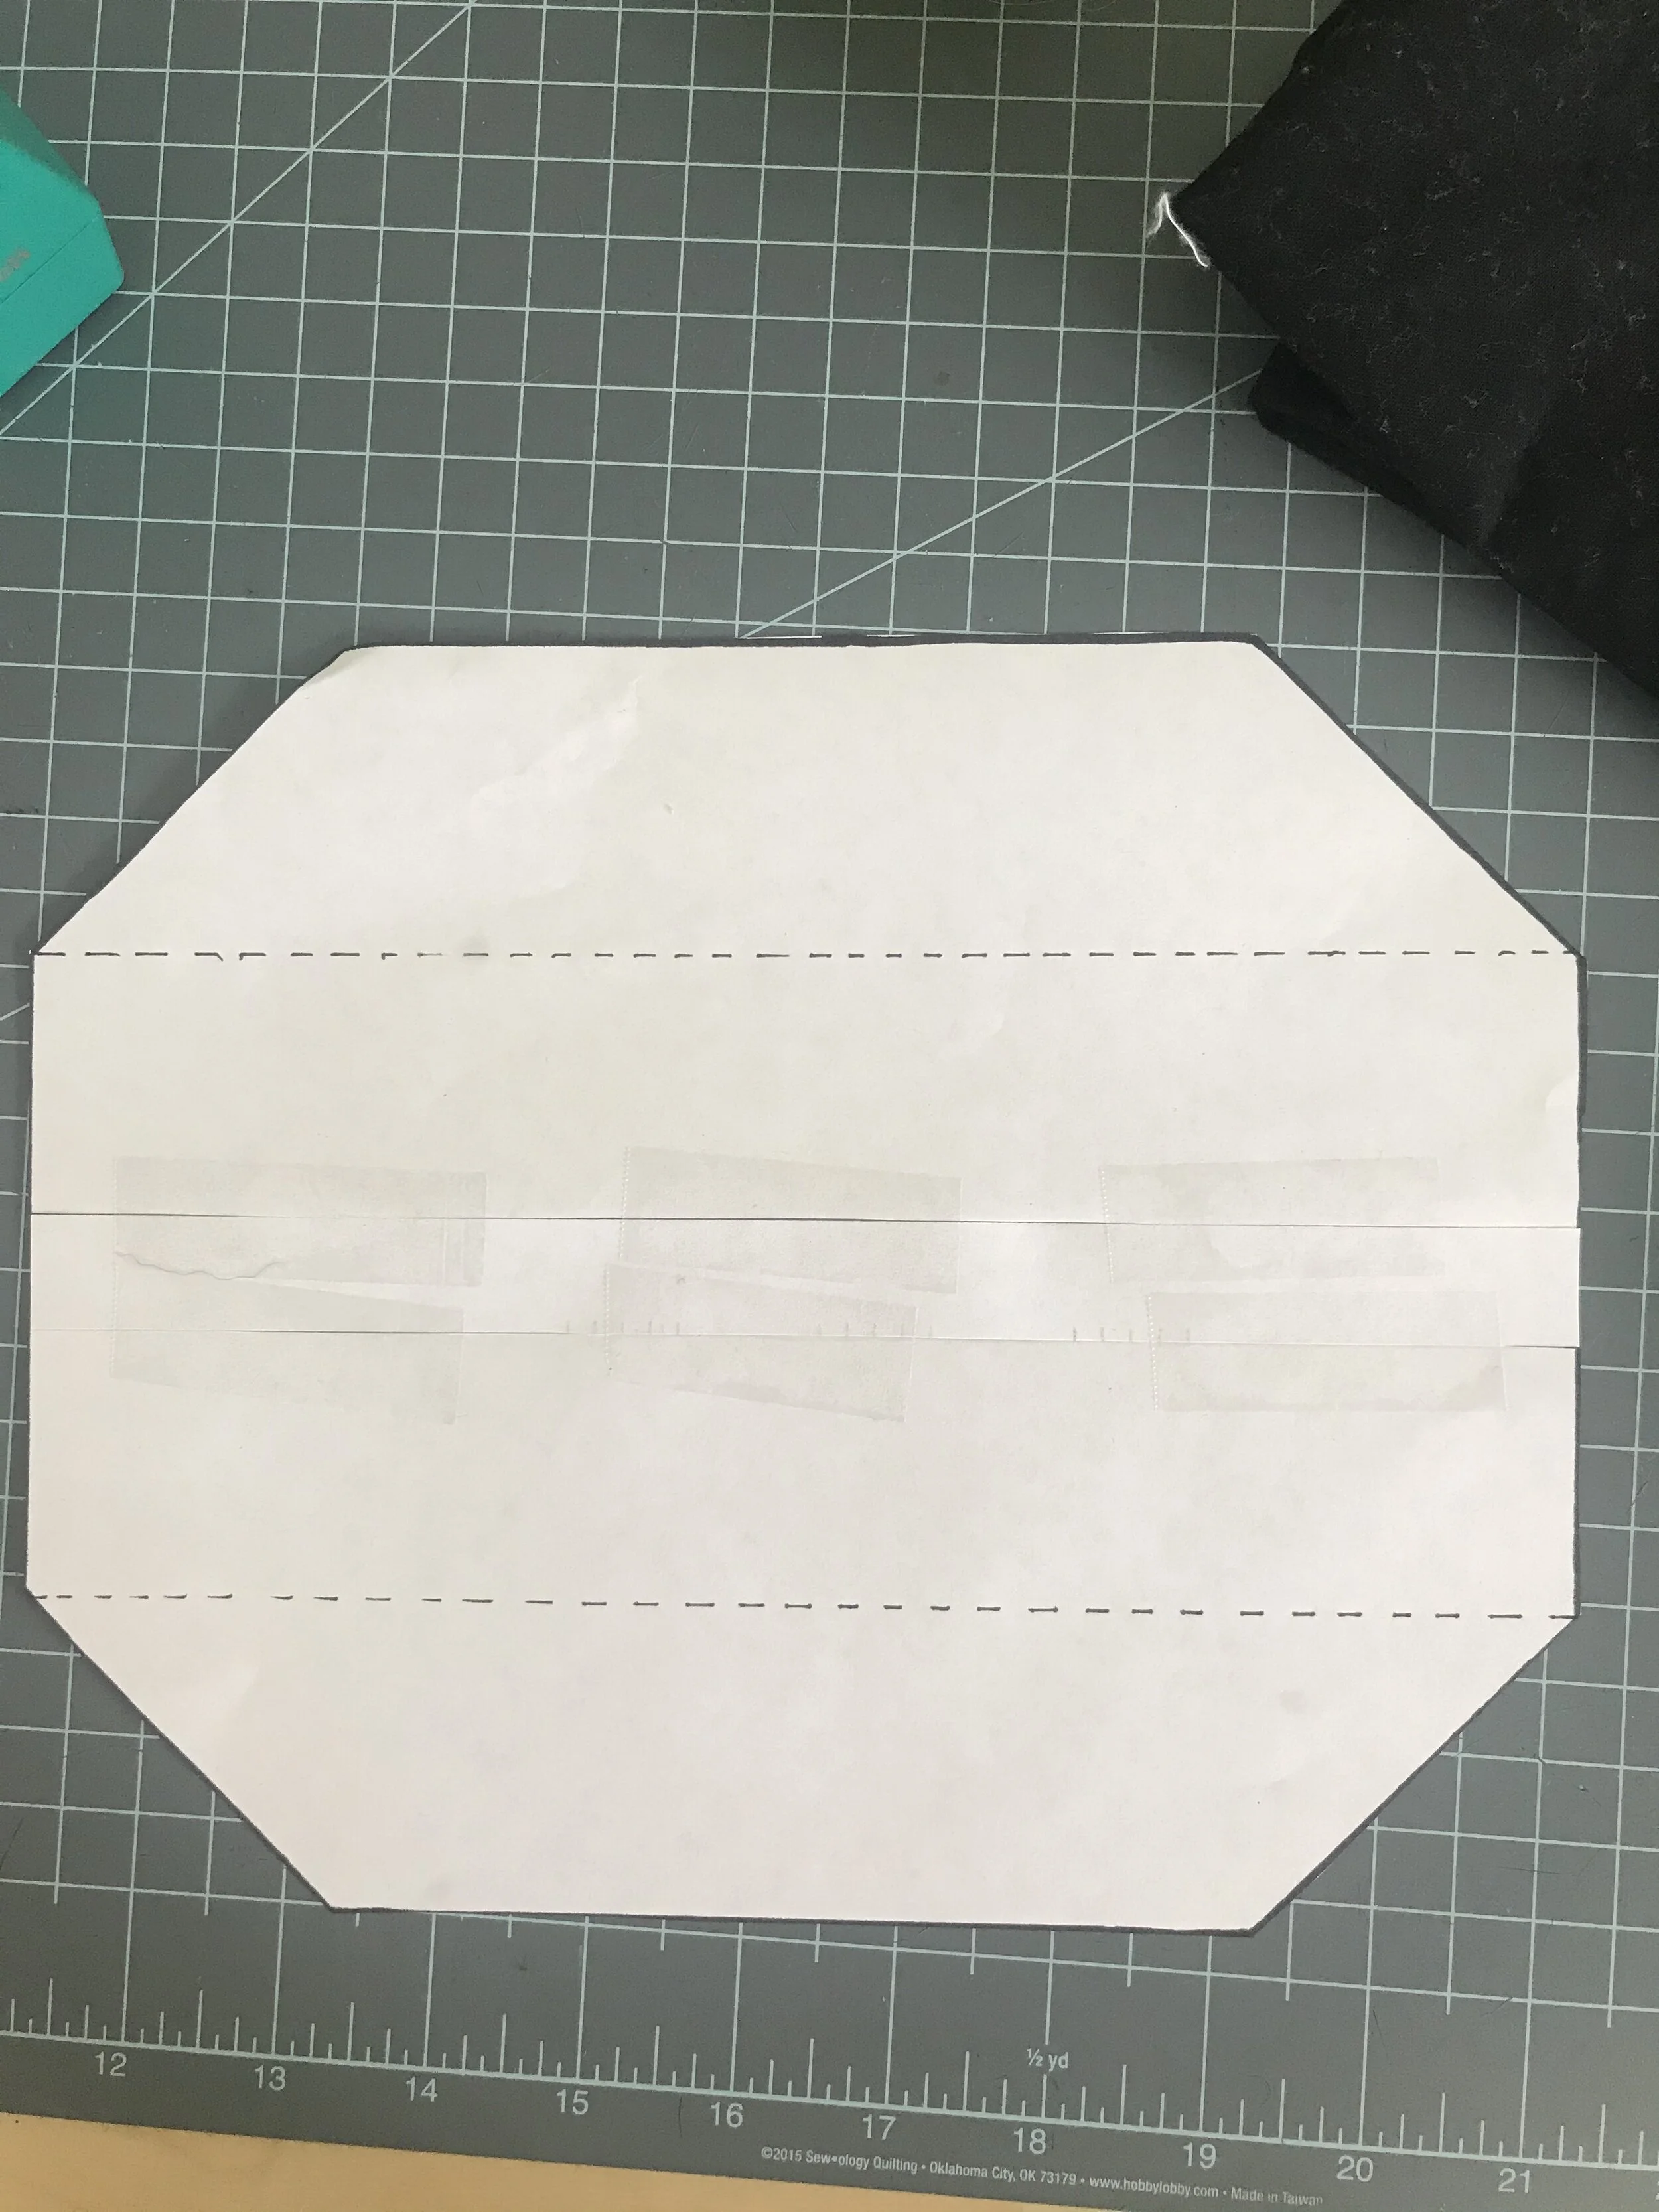
in this photo, I’ve spread the pattern for a larger face in both directions. I would simply tape strips in there to fill in the gaps.

And in this photo, I’ve slashed and overlapped the pieces for a smaller face. Of course, if you only need more room in one direction or the other, just slash in one direction. For either expanding or shrinking, I recommend starting with 1/2” to 3/4”. Small increments usually make a big enough difference in the fit.

Now, for children …
Obviously children vary in size so much, that you may have to play around with the pattern to get the right fit. My kids are tweens and teens, so the original pattern fits them fine. But, I’d imagine a smaller child would need the nose and chin flaps to be slightly smaller as well. So i would start by taking a larger seam allowance, like 5/8” around the entire mask (trim it down before turning), and then adjusting the instructions as needed. So when you fold the long edge inward, rather than 2”, that measurement would be just under 1 1/2” instead. This change might be enough to make the mask perfect for a child.
You can also use the slash and overlapping method for even smaller children, in conjunction with taking the larger seam allowance.
It may take some trial and error, but I hope this answers some of those questions about altering the basic origami mask pattern for men and children! Every face is different, so iI couldn’t give a one-size-fits-all answer, but hopefully this helped get everyone on the road to altering the pattern to make it perfect for you and your family members :)
Cheers!
Nikki


8 great sewing ideas for baby gifts, with video tutorials and pdf patterns for every one!