The Easiest Quilt Binding Tutorial
A few years ago, I created a tutorial for how to sew an oversized hot pad and it’s one of my most popular videos to date — mostly because of my fuss free method of quilt binding!
That tutorial teaches the quilt binding method that I’ve always used, so I really didn’t know how many people were struggling with other, more fussy methods of binding their quilts. After receiving sooooo many comments about this genius of this method, I knew I had to share a separate tutorial just for my brilliant binding method!
The genius of this method is the way you handle the mitered corners and how you join the ends. Most quilt binding methods have you do some mental gymnastics when you get to this point and whenever I’ve tried them, I found them too abstract and complicated and ended up having to do damage control. I’m sure those methods are also great once you get the hang of them, but I quickly went back to my original way of binding quilts. It’s been working for me for decades, so why fix what isn’t broken?
I hope you enjoy this video tutorial for how to sew quilt binding! My example quilt in this tutorial is for a baby quilt and I am hand stitching the final step, but I include instructions for sewing the binding completely by machine too. Finishing the quilt by hand sewing the final binding step is the traditional method and I find it relaxing and satisfying, but there are times when the machine method is a better choice for me, so do whatever suits your fancy!
The Fuss Free Quilt Binding Tutorial
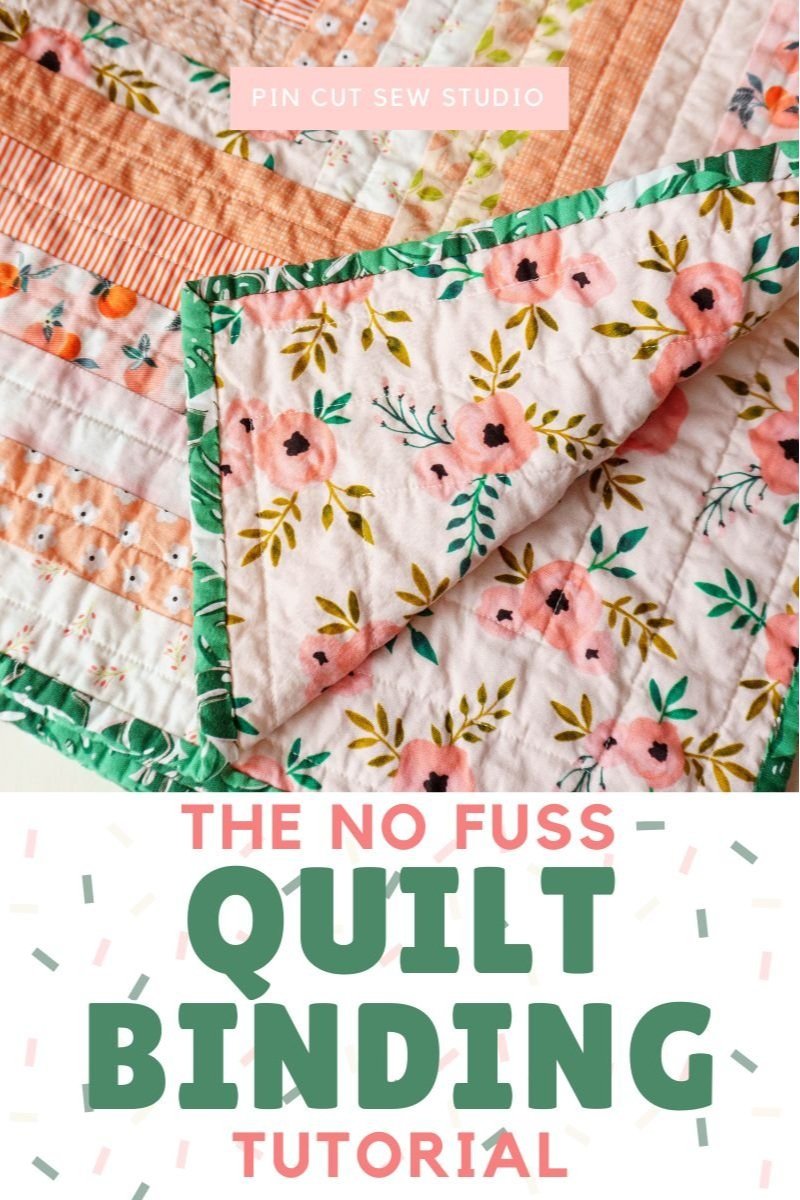
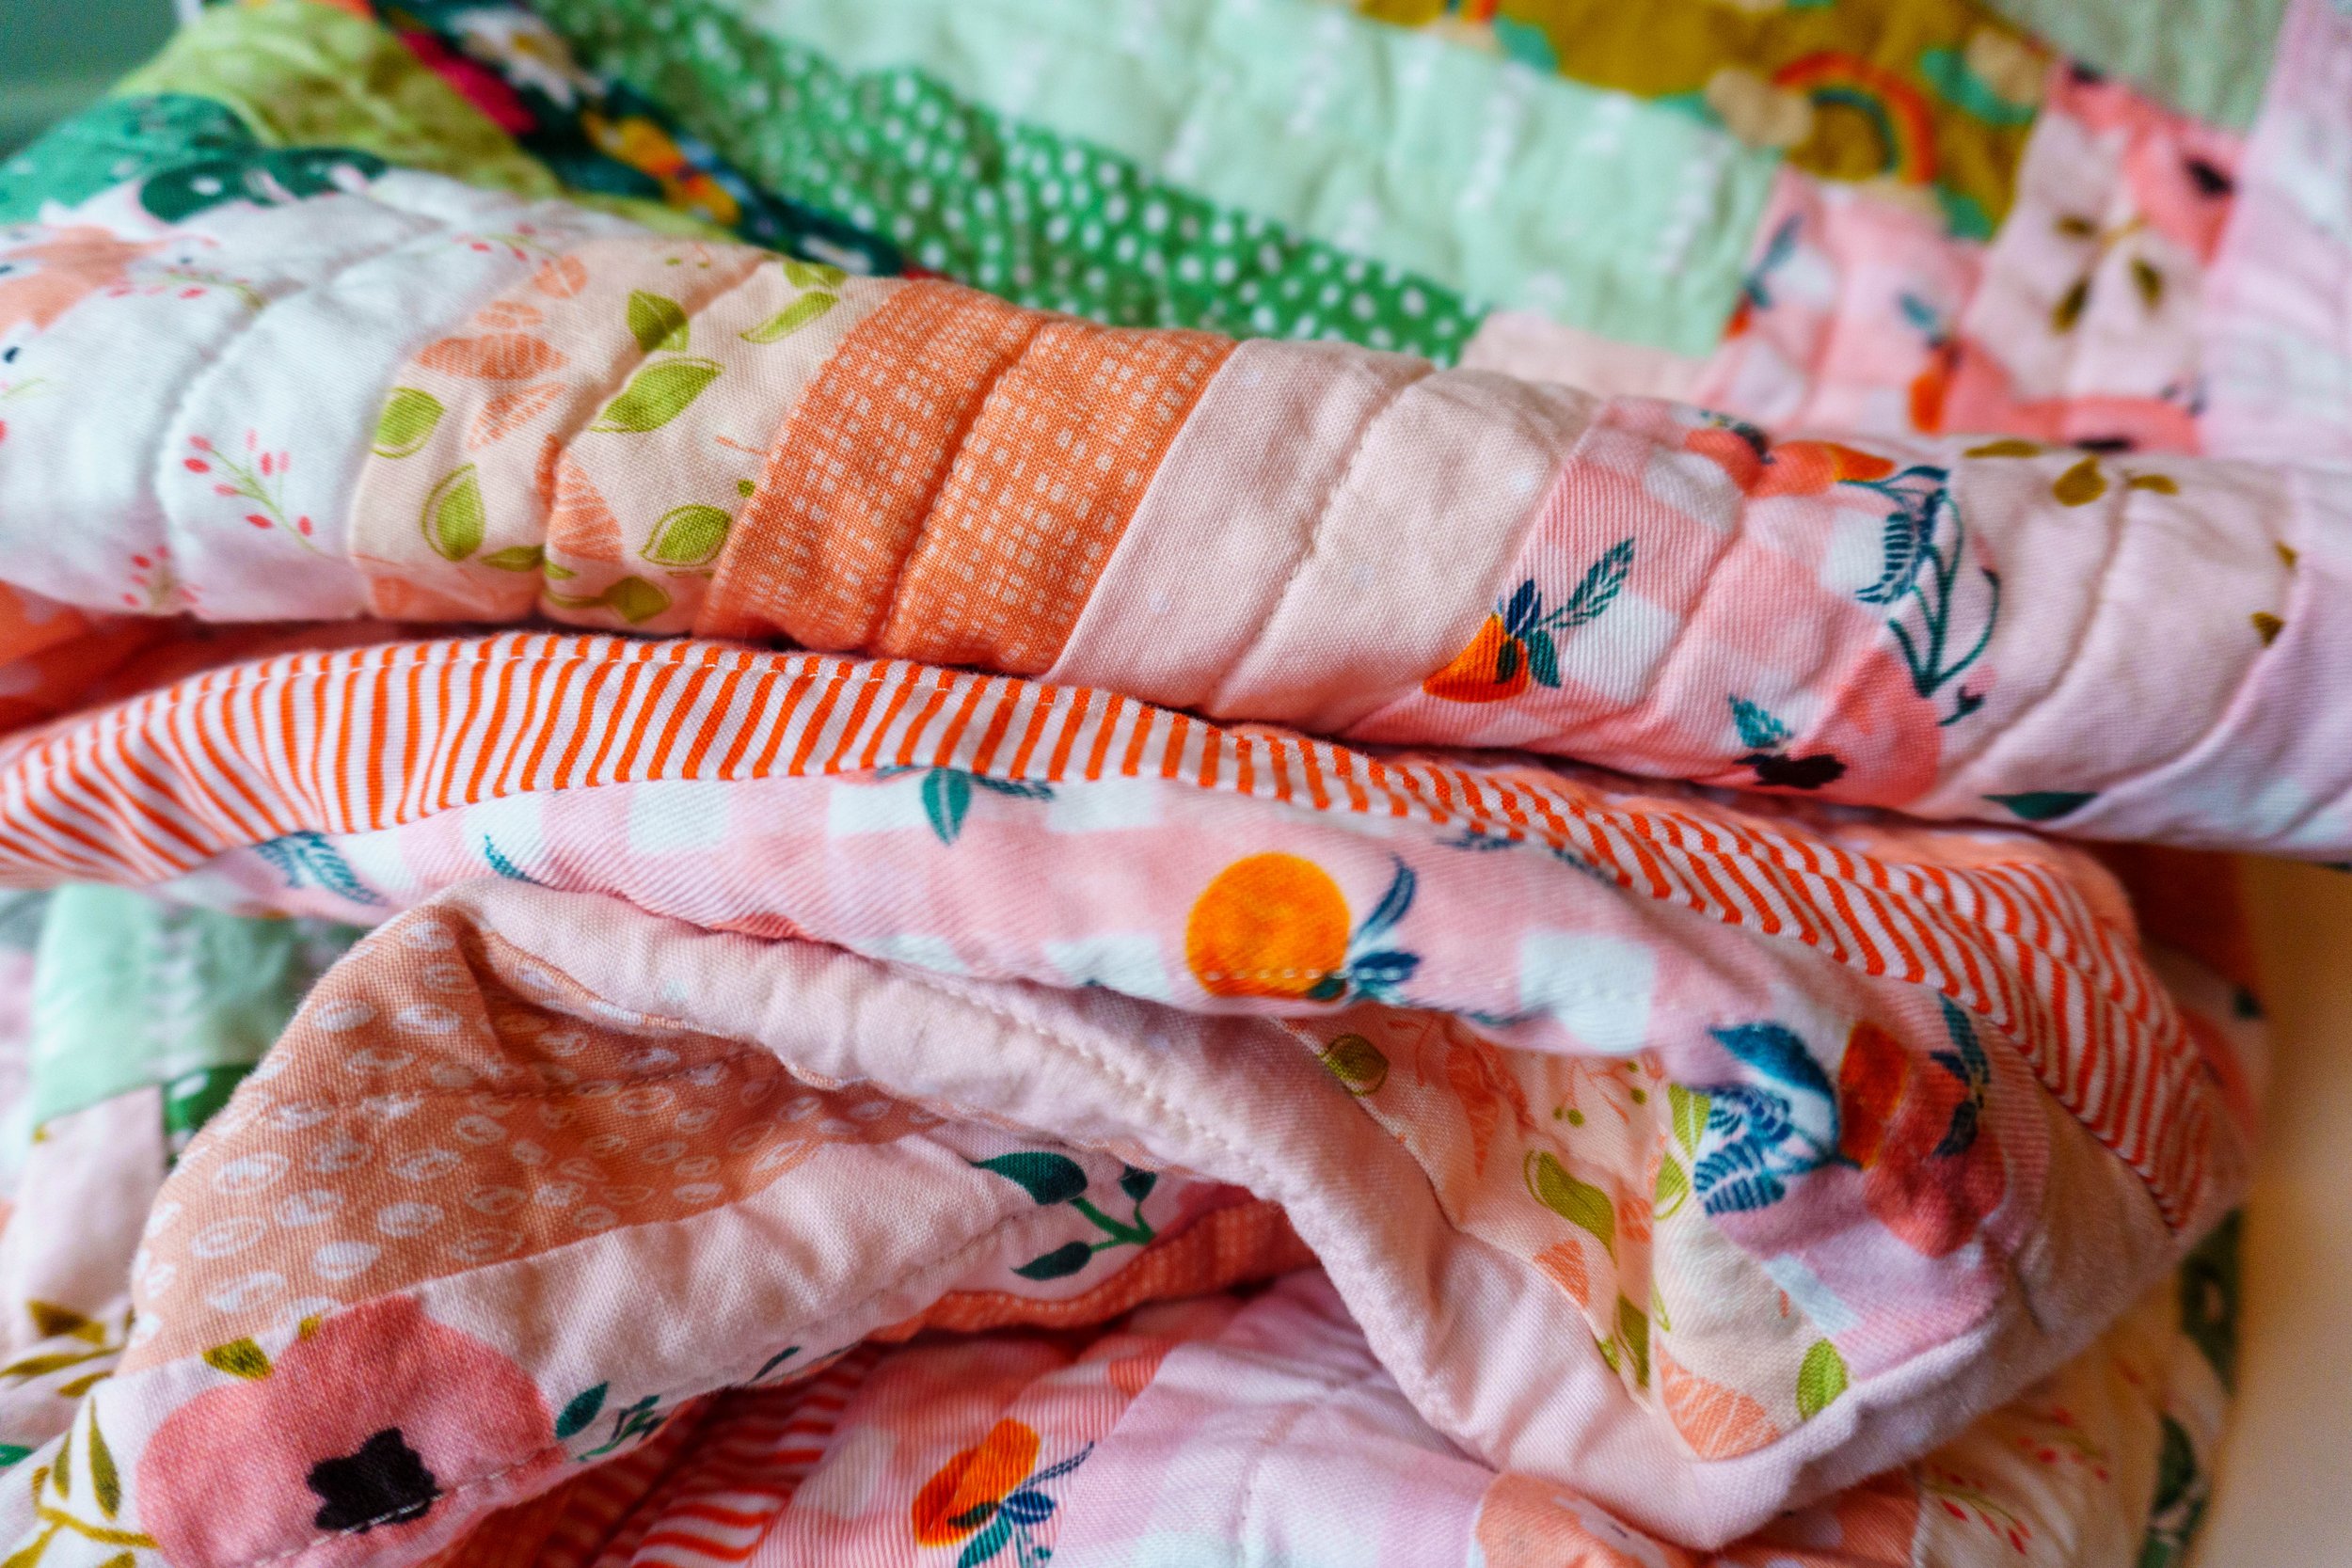
The baby quilt I finished for this tutorial is one I made on a whim. I was about the move (again) and I find quilting so therapeutic, so even though I didn’t have a baby in mind to gift this quilt to, I made it anyway because I wanted to create something and I also wanted to use up some fabrics from my drawer. After finishing the quilt, I added it to my Etsy shop and it sold within a few hours! I’m happy that it’s going to be cherished in someone’s nursery.
The quilt is basically a giant log cabin. I used pinks and greens and just kept adding to each side in turn until it measured 37” square.
I think people sometimes put a lot of pressure on quilting. They think they need to have a fancy pattern, have a lot of knowledge beforehand, or spend a chunk of money on “matching” fabrics. If you’re stuck in this kind of thinking, I encourage you to get out some scraps and just start making some blocks! Look up a quick tutorial if you need to and just start. My scrap quilts are always my favorites, every single time.
Cheers to you and happy sewing!
Love, Nikki


